Home Site Map - Techniques - Structure -
Carnation Walling - Wall EPS
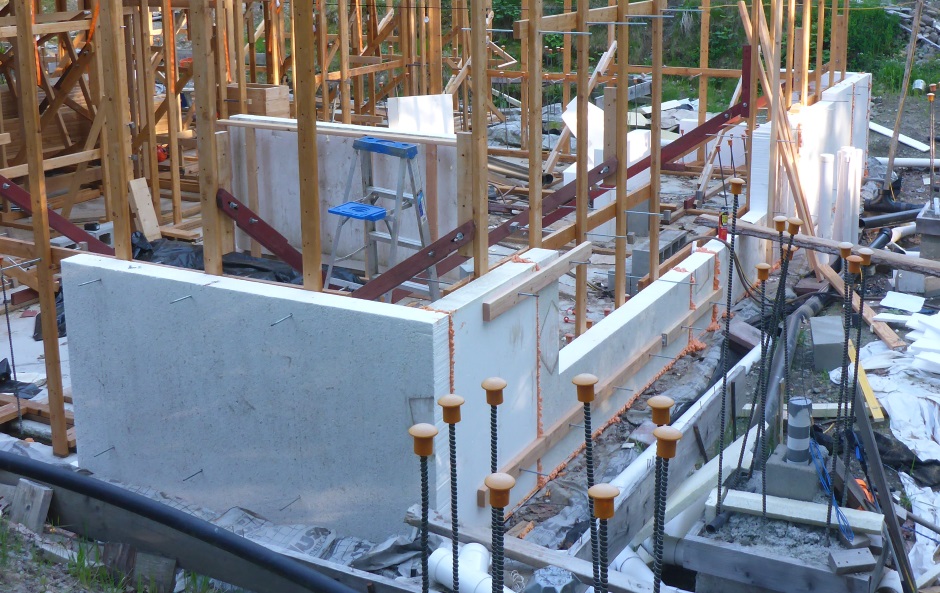
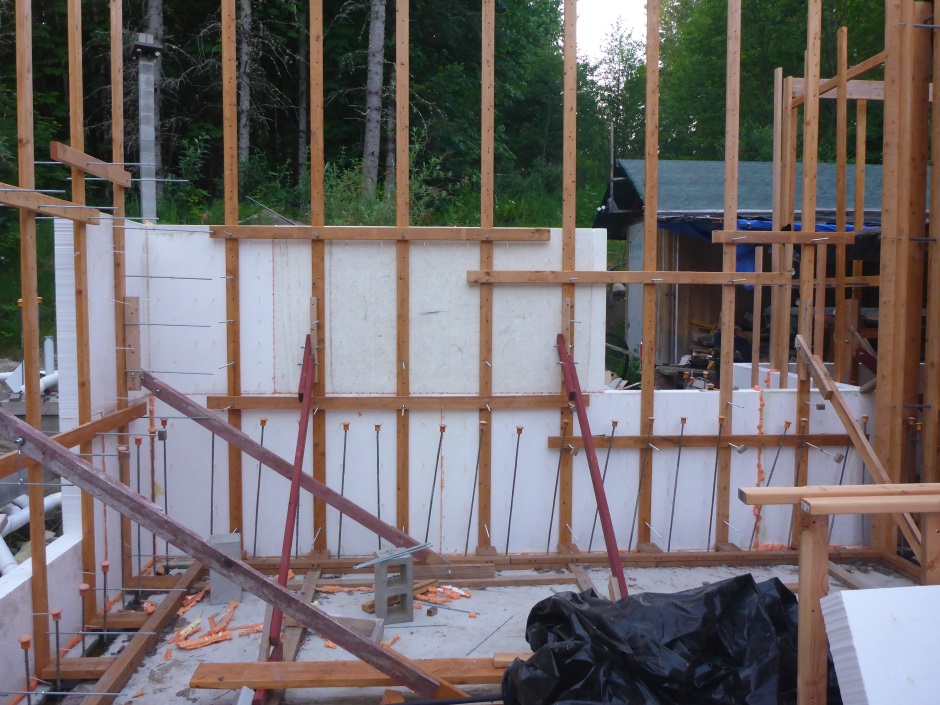
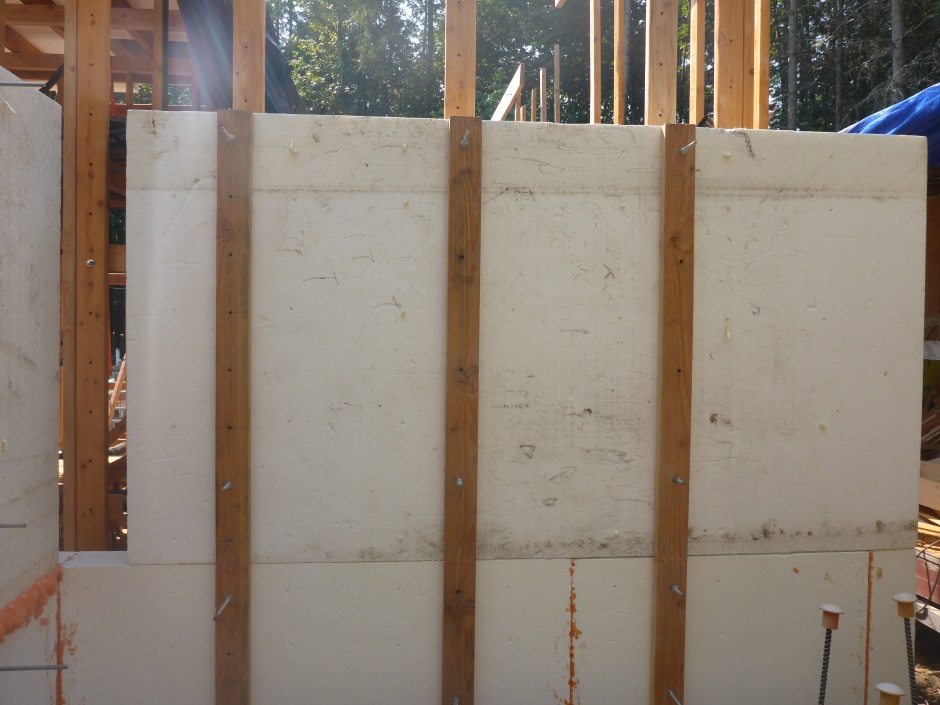
![]() The EPS sheets are cut and drilled on a jig and then fitted to the
3/8 threaded rod through the vertical batons.
The EPS sheets are cut and drilled on a jig and then fitted to the
3/8 threaded rod through the vertical batons.
Gluing EPS
Throughout subsequent steps it is necessary to glue EPS.
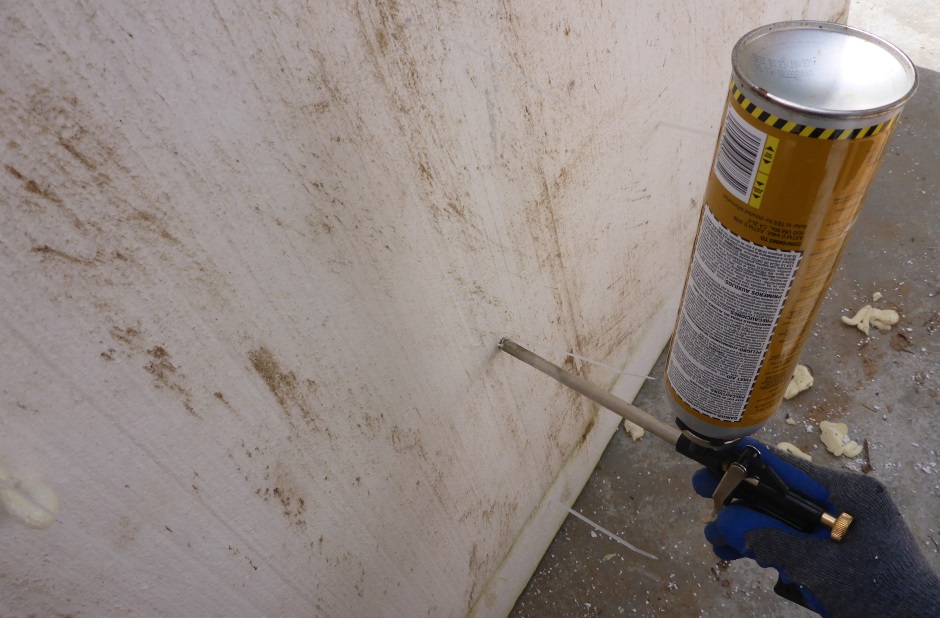
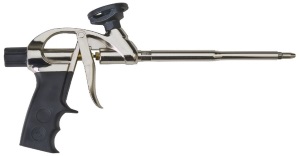
When you don't want sheets pushed apart by foam expansion while setting, the best gluing method is to use
a
You can use cleaner on the foam gun after you finish, but personally I don't bother. When eventually after a couple of months the gun gets clogged up I just buy another $15 gun.
It depends a bit on your particular supplier, but the sheets of EPS I purchase are actually about 3'11-7/8" x 7'11-7/8". At the edges of the sheets I use Foam Gap Filler as it has more body to fill the gap. You will need a second foam gun equipped with the foam gap filler.
As you have EPS gluing needs, either choose Foam Adhesive or Foam Gap Filler on a case by case basis depending on how much expansion you want.
Prepare 6" thick EPS sheets
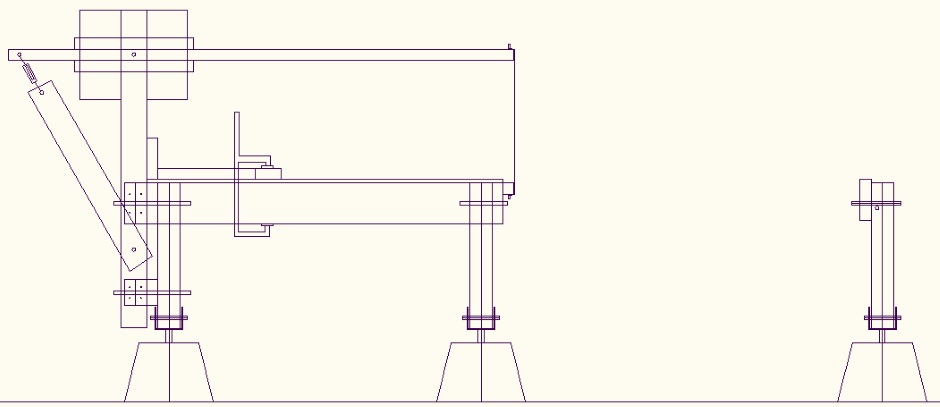
Make Hotwire Cutter Outside Bench
To cut the 8'x4' EPS sheets you need to make yourself a Hotwire Cutter Outside Bench . This needs to be 16 feet long.
Cut 6" EPS to length
For the base row of sheets on the slab you should look at your CAD drawing (see earlier) as this will tell you the sheet sizes that are needed.
The joins in the EPS sheets are at the secondary tie rod marker points offset by 1" towards the outside convex corner. At the building quadrant crossover points (shown by the blue cross on the CAD drawing) the 6" EPS sheets are cut past the center point as shown on your CAD drawing.
Over-lap corner pieces are 7'5" long whereas under-lap pieces are only 2'11" long. This arbitrary decision to make the under-lap case much shorter provides staggering of sheets. The row above both staggers the overlap joins and also staggers the sheets along the wall.
The sizes are...
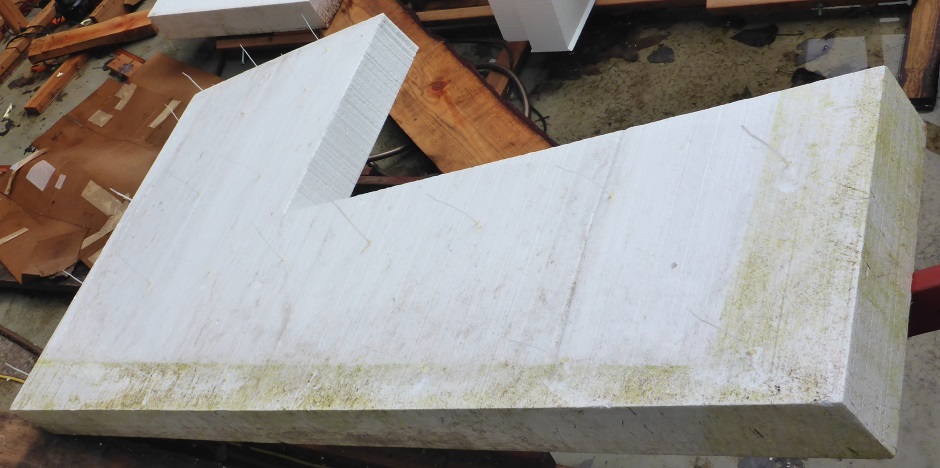
6" EPS corner over-lap (7'5"
wide, 4' high)
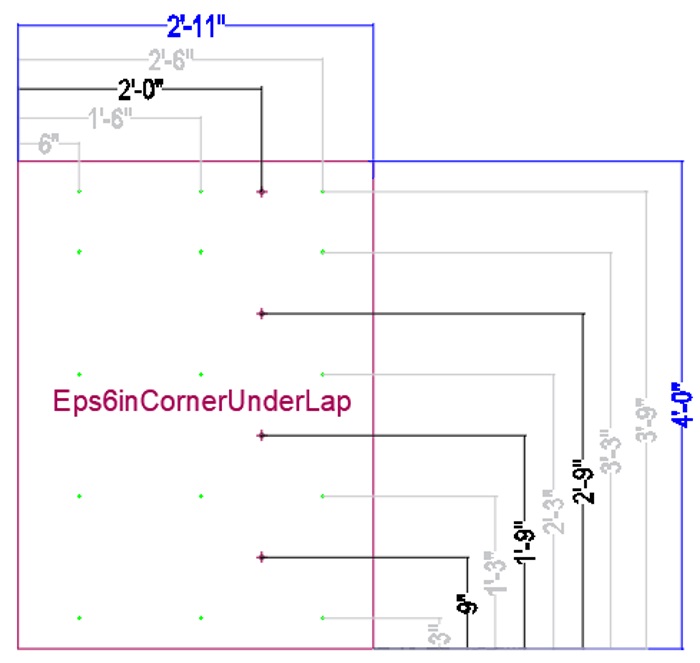
6" EPS corner under-lap (2'11" wide,
4' high)
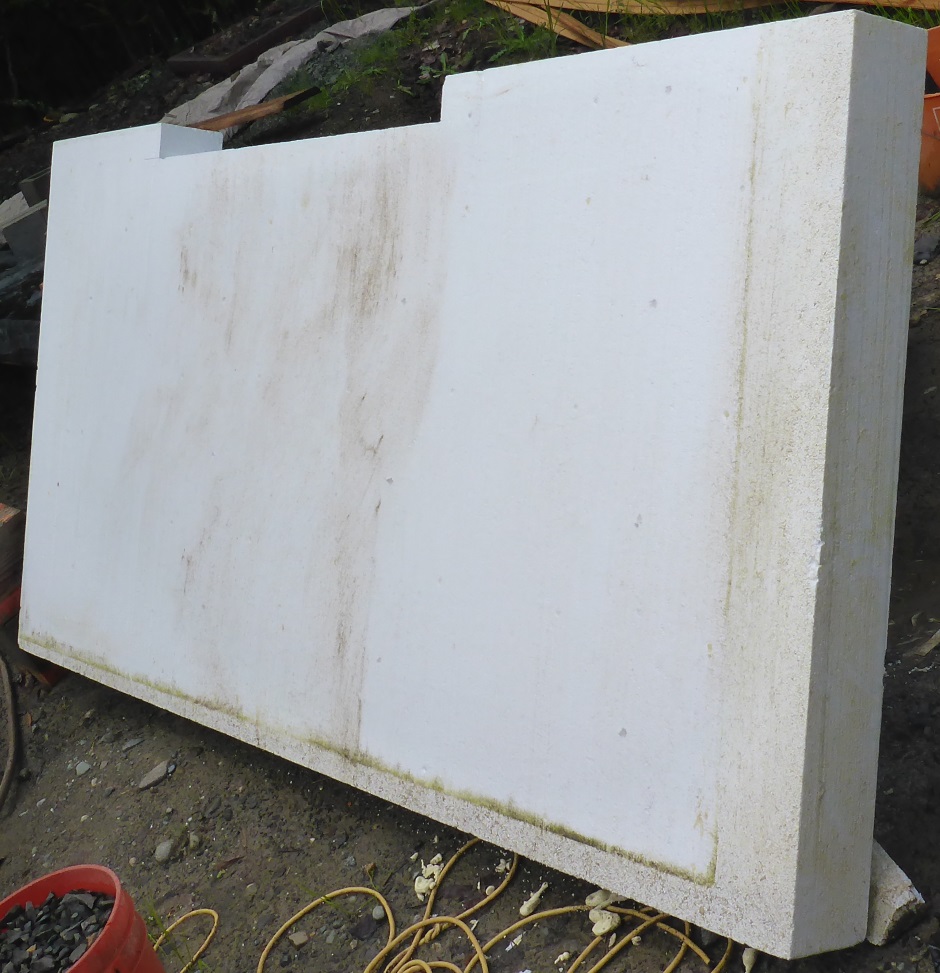
6" EPS non-corner (8' wide, 4' high)
The cutting is done using a Hotwire Cutter Outside Bench . I mark a line with a felt marker pen and then cut freehand along the line.
Non-corner sheets are kept as 8' wide.
Cut holes for windows and doors
The information about where to cut for wall openings comes from the CAD drawing. These holes can be cut using a Hotwire Cutter Outside Bench by cutting freehand following marker pen drawn lines.
Make drill jigs
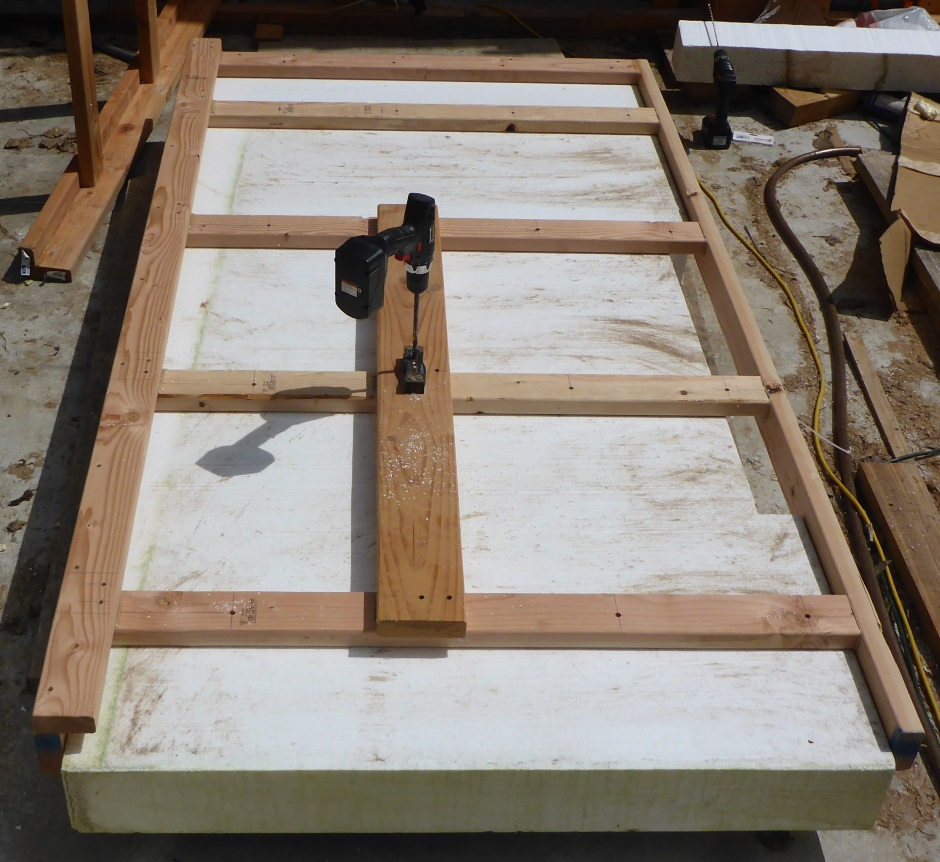
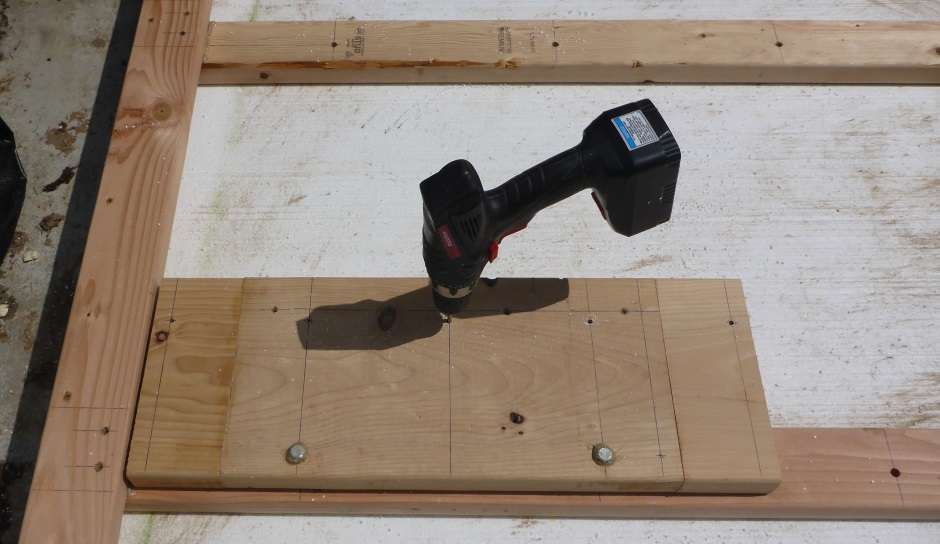
The jigs, each made from a lattice of 2x4s, are used to provide a template for drilling the holes. The reason for using a jig for the primary undisputable holes is that when fitting to the walls you don't need to worry about shims and/or alignment. The optional additional holes can be done once the EPS has been fitted to the wall.
The bottom left of the sheet exactly lines up over the 8'x4' EPS sheet. The bottom left is the reference. Bits of 2x4 hang over the edge at the bottom and left and are used to accurately position the jig template over the EPS sheet.
Note that some holes required in the 6" EPS sheet are 3/8" (purple) and some are smaller (1/4") (green) (for the cable ties).
The jigs required (that are all 4' high) are...
6" EPS corner over-lap (7'5")
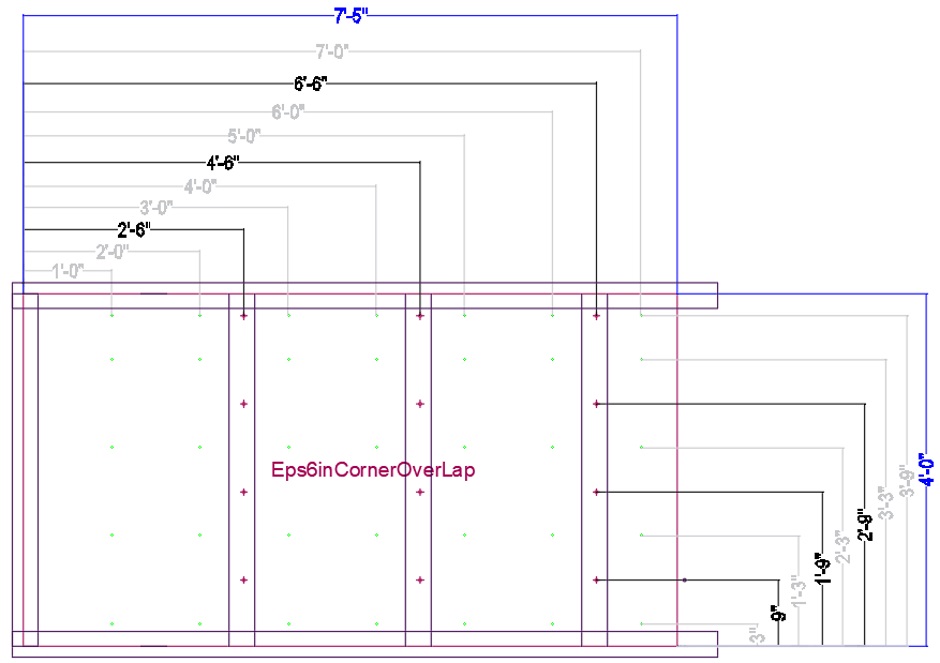
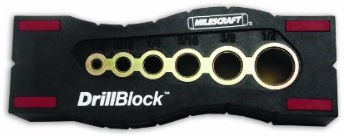
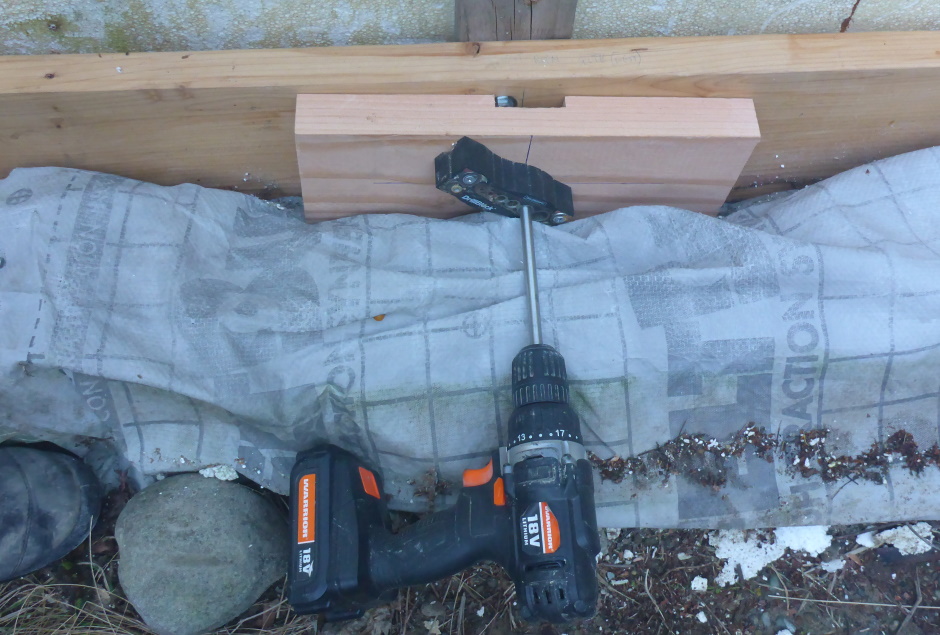
For drilling the 3/8" holes, use a jig with a drill block to keep the drill square.
For drilling the 3/16" holes for the cable ties, use a jig that locates the required holes relative to the 3/8" holes. Note that there is an extra row of cable tie holes near the top of the sheet.
6" EPS corner under-lap (2'11")
These pieces are made on the same jig as the overlap case, but you need to use a 6" offcut to pad out the end of the EPS sheet relative to the reference side.
6" EPS non-corner (8')
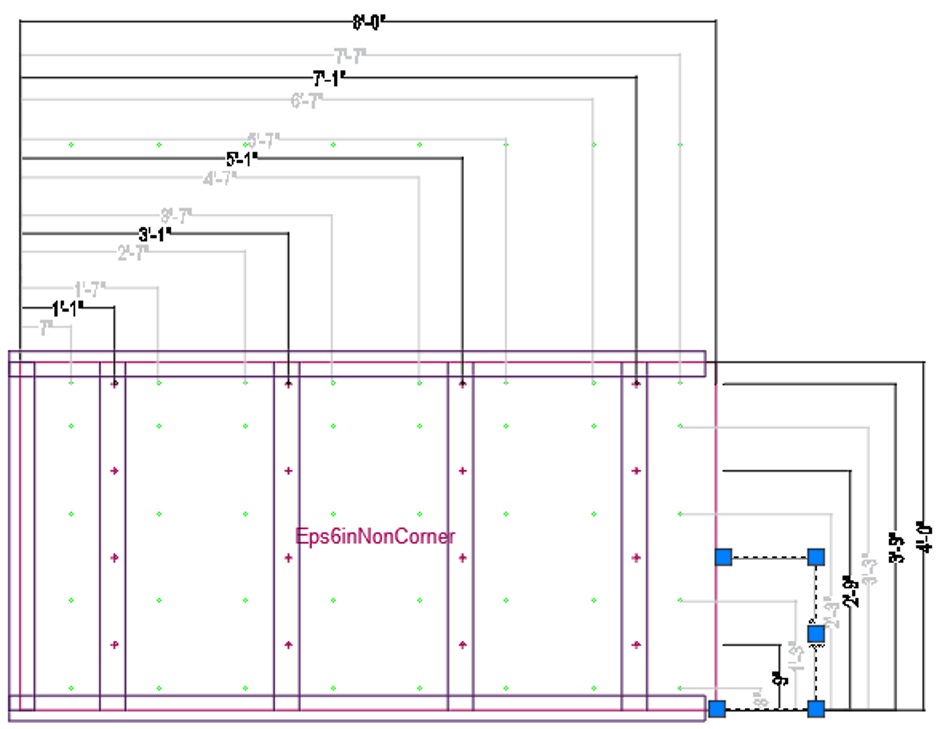
The standard wall tie hole distances from the bottom of the sheet are... 9", 1'9", 2'9", 3'9".
The distance from the edge needs to allow for the corner overlap
(either an under-lap or an over-lap).
For the corner pieces the first
column of wall tie holes are 2 foot from the edge for an under-lap piece and
2'6" for
an over-lap piece. They are then 2 foot between columns of holes for
the rest of the sheet. The difference can be handled with one jig
using a 6" padding piece.
For non-corner pieces the first column of wall tie holes are 1'1 inch from the edge and then every 2 foot after that. The non-corner case is sufficiently different to warrant a separate jig.
The X'3" holes are only used above and below window openings (and at the bottom of sheets that go directly on the slab). These X'3" holes can be drilled as needed once the sheet has been installed.
The jigs also have holes for the cable ties used to hold the 6" EPS to the concrete. These holes are on the X'6" points offset by 6" relative to the wall tie holes. The holes are 3/16".
It is good to do the 3/16" holes for the cable ties while on the jig as this allows the cable ties to be glued in place before the EPS is fitted to the wall. A sub-jig that fits between the vertical 2x4s is used to drill the 3/16" holes for the cable ties.
Drill wall tie holes
The holes are 3/8" and need to be accurately drilled perpendicular using a drill guide rig. Fixing the drill block into a bigger wood base makes it more accurate. The holes do not need to be any bigger than 3/8" because the EPS can stretch slightly as a the wall tie is fitted.
Drill blockUsing an 8'x4' jig, drill holes with a 3/8" drill (7"+ long) in the required positions for the wall ties.
Only drill holes in the primary X+9" holes. Don't do the X+3 holes or the 4" offset holes (used for the 12" wall case). Other holes can be done as needed once the EPS sheet has been fitted to the wall.
At center points of the building (where the blue cross divides the wall), the 6" EPS spans the gap. This should be all shown on your CAD drawing. The holes on the overlap area are best drilled after the sheet has been fitted.
Some sheets are put on top face up and some top face down, not that there should be any dimensional difference whichever way up it used (assuming the holes are drilled square and perpendicular).
The sheets will have had window and door openings cut in them so obviously as there is no EPS in that area there will not be any holes to drill in that area.
Drill EPS for concrete cable ties
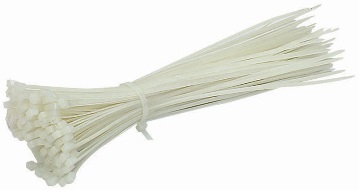
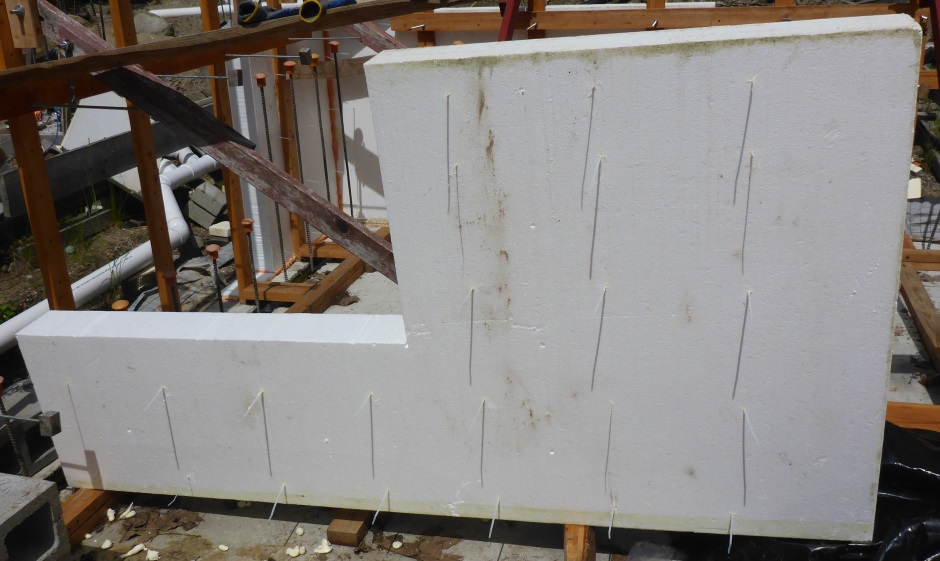
In addition to the holes for the 3/8" threaded rod, it is also necessary to make holes for the cable ties that fix the 6" EPS to the concrete. The cable ties are used differently from normal in that they are used fully straight and rely on the concrete holding onto their tails.
These holes are 3/16". It does not matter if they are not perpendicular but it's better if they are. The hole positions are given by the wooden sub-jig. The hole positions don't need to be accurate.
Fit cable ties
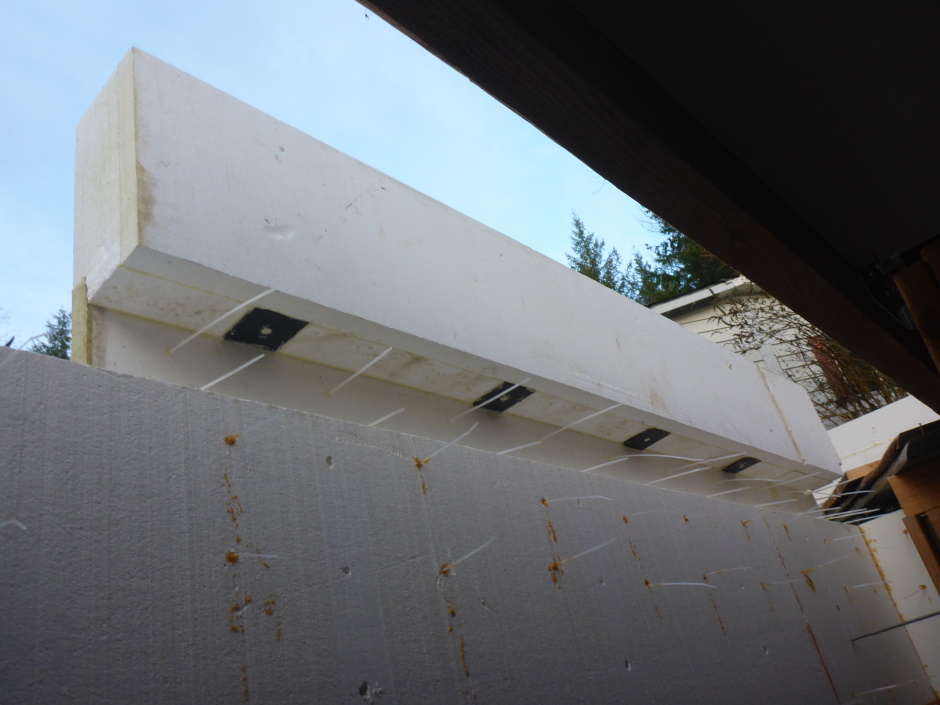
Fit the cable ties before adding the EPS sheet to the wall. They are glued in place using foam adhesive . By pulling and then poking with a spare piece of 3/8" steel rod you need to get the head of the cable tie below the surface of the EPS (because a 2" sheet of EPS will be later glued on top). Trim off any foam above the surface.
Form house outline with 4' tall 6" EPS sheets
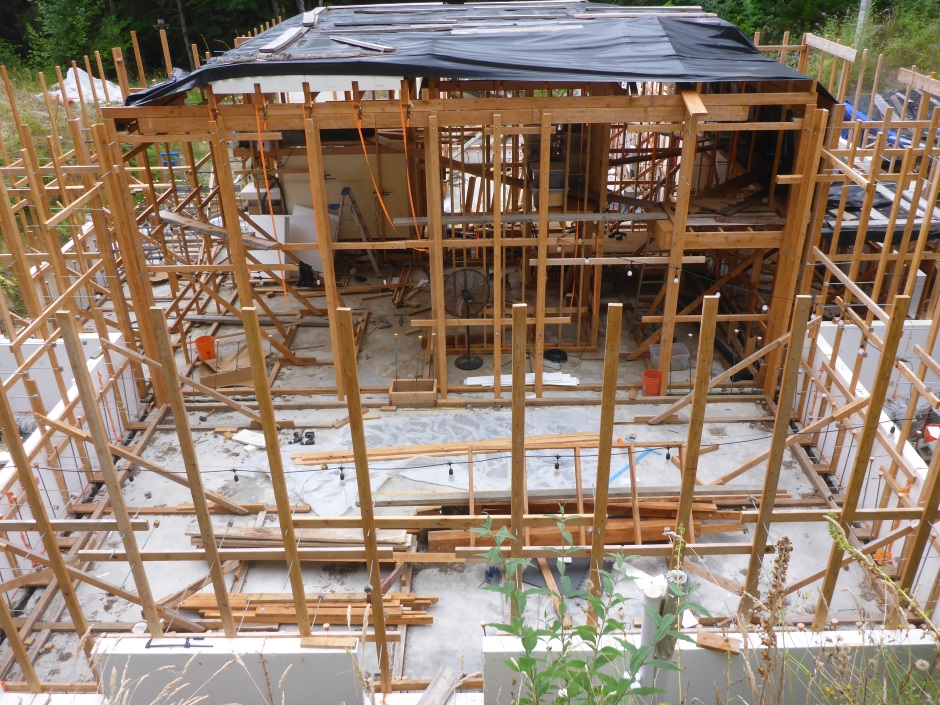
Things operate on 2 foot primary markers from convex corners of the outside edge wall concrete. On the CAD drawing the blue building center cross divides the building into 4 quadrants and makes it obvious which convex corners to use. The joints (of both the EPS and plywood) are arranged to be on the odd numbered secondary foot markers rather than on the even primary foot markers. Less than a quarter of the even marker (primary) internal vertical 2x4 batons have angle bracing. The non-angle-bracing batons typically just have simple internal vertical 2x4 batons.
An arbitrary decision is that for the first row for the 6" EPS, the long over-lap sheets are used for walls that go east west. The walls that go north south use the short under-lap pieces for the row that is on the slab.
There is no EPS used on internal concrete walls and you do not want to add the equivalent thin ply at this time because it will be hurt by the rain.
EPS shims
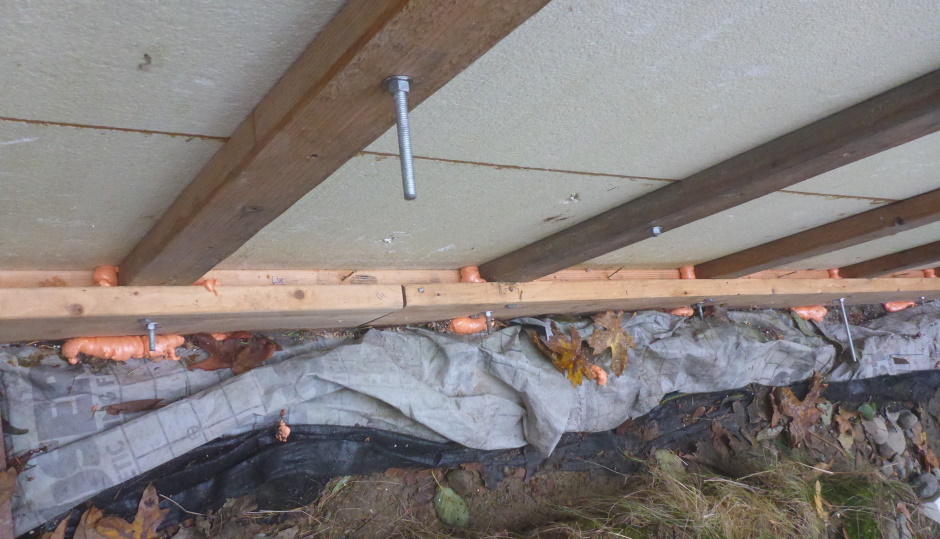
When fitted on the threaded rod through the vertical batons, there will be a gap under most of the 6" thick EPS sheets if the slab is slightly uneven (which it will be). You need the EPS to go all the way down to the slab so that the concrete does not leak out. There need to be continuous 6" wide EPS shims thoroughly glued underneath in order to stop any concrete leakage possibility.
The shims are made from slithers of EPS cut from EPS 6" thick sheet offcuts. The cutting is best done using a Hotwire Cutter Outside Bench . Use the outer laser determined marks on the slab at the tie rod positions to determine the EPS shim required.
Make them 6" wide (rather than the full 8" width of the full EPS) because the concrete slab will be a bit ragged near the edge adjacent to the Form-a-drain.
Do this all the way round the outline of the building until all the gaps under the where the 6" EPS sheets will be have the appropriate shims. Sometimes it is necessary to cut the shims around high spots on the concrete slab. In practice the shims can be added just ahead of the appropriate 6" EPS sheets as you work your way along the wall.
It is worth checking that the 6" EPS sheet will still fit onto the threaded rods using the selected shim thickness and that the gap between the top of the shim and the bottom of the 6" EPS sheet is not excessive (ie not more than about 1/8").
Glue EPS shims to concrete slab
Glue the underside of the EPS shims to the concrete slab using foam adhesive . All gaps between the shims need to be fully filled with foam adhesive and/or foam gap filler to avoid concrete leaks.
Fit 6" EPS sheets
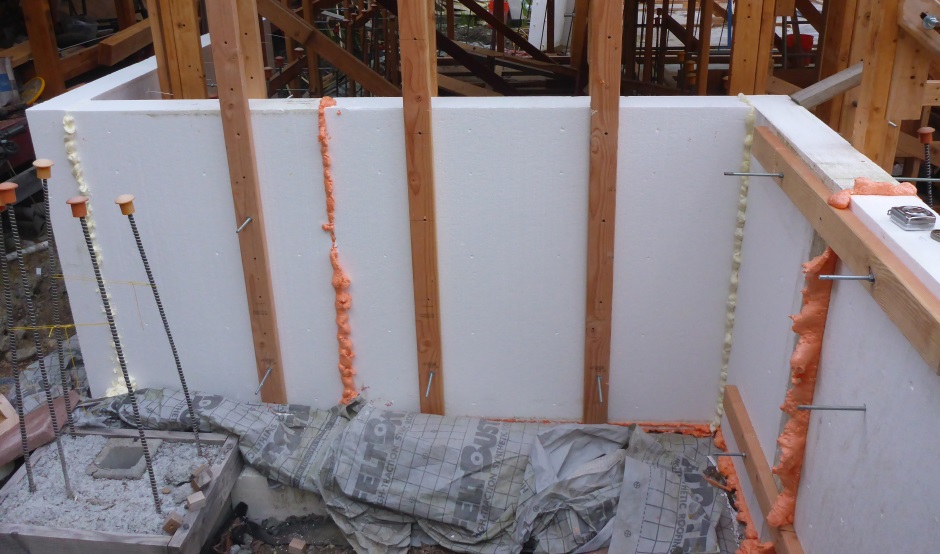
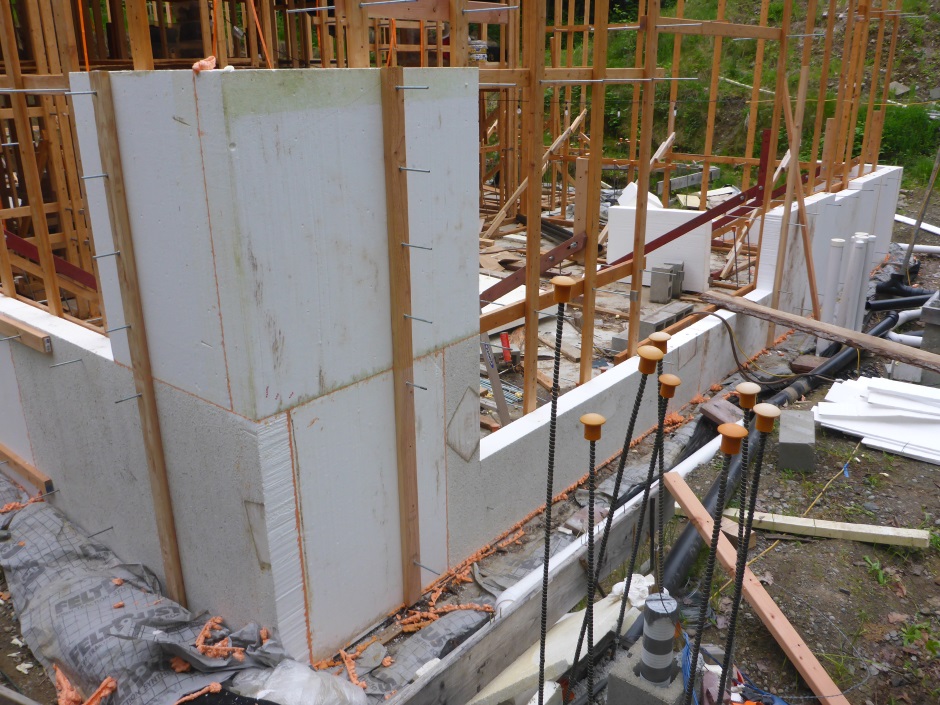
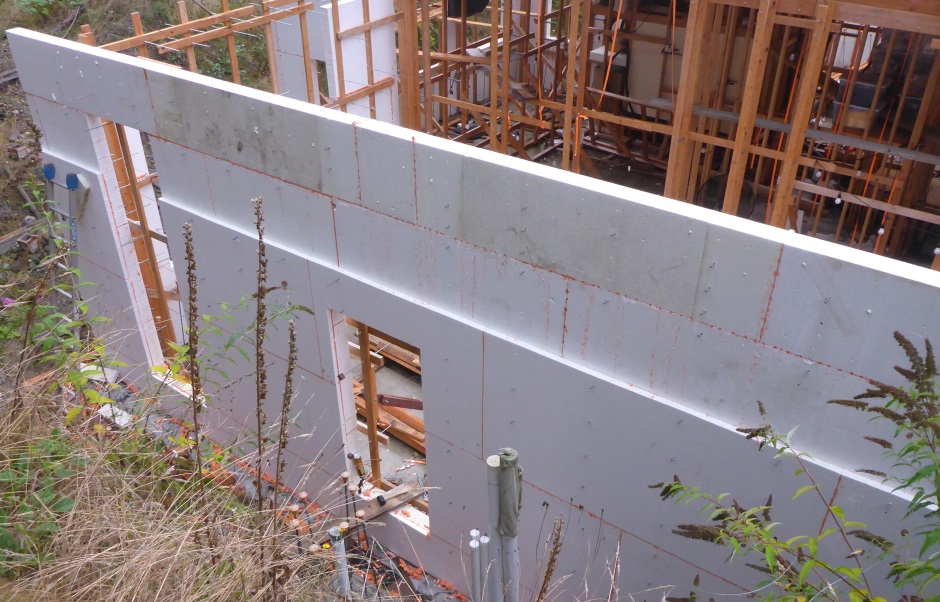
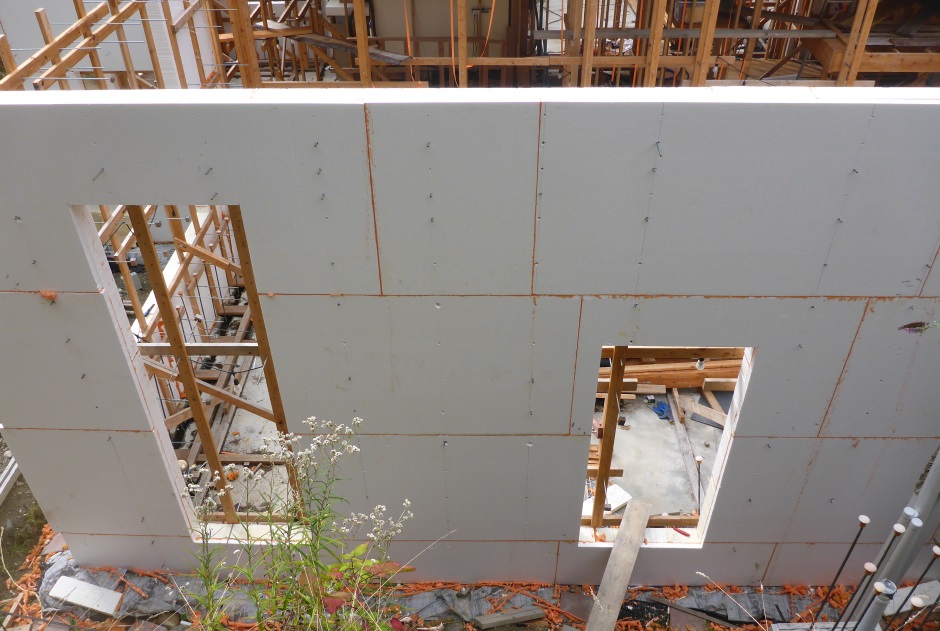
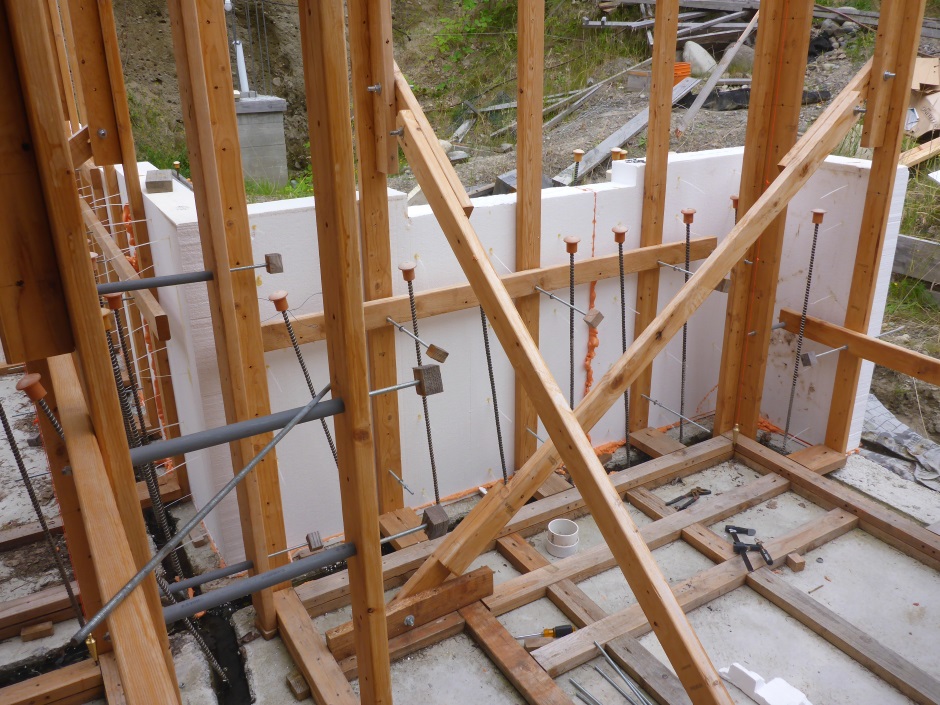
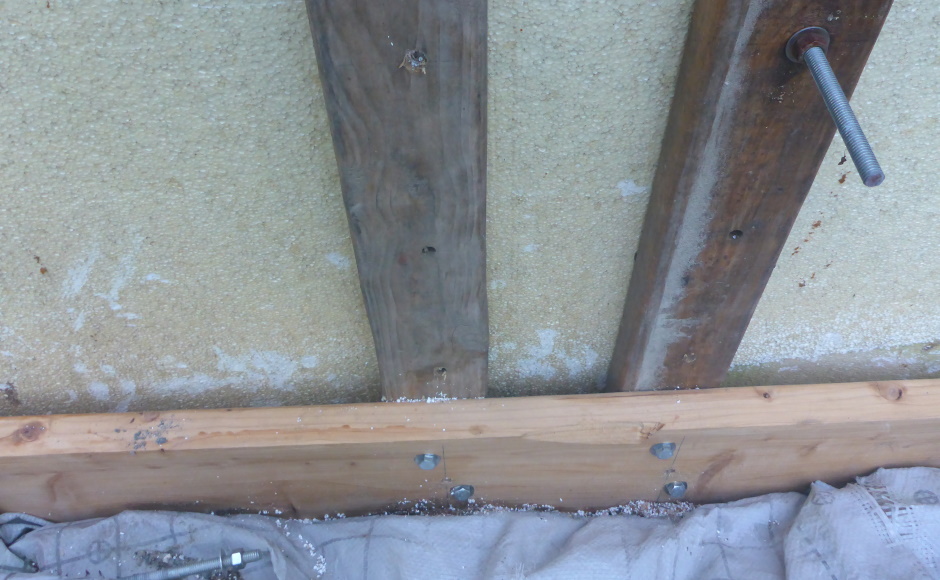
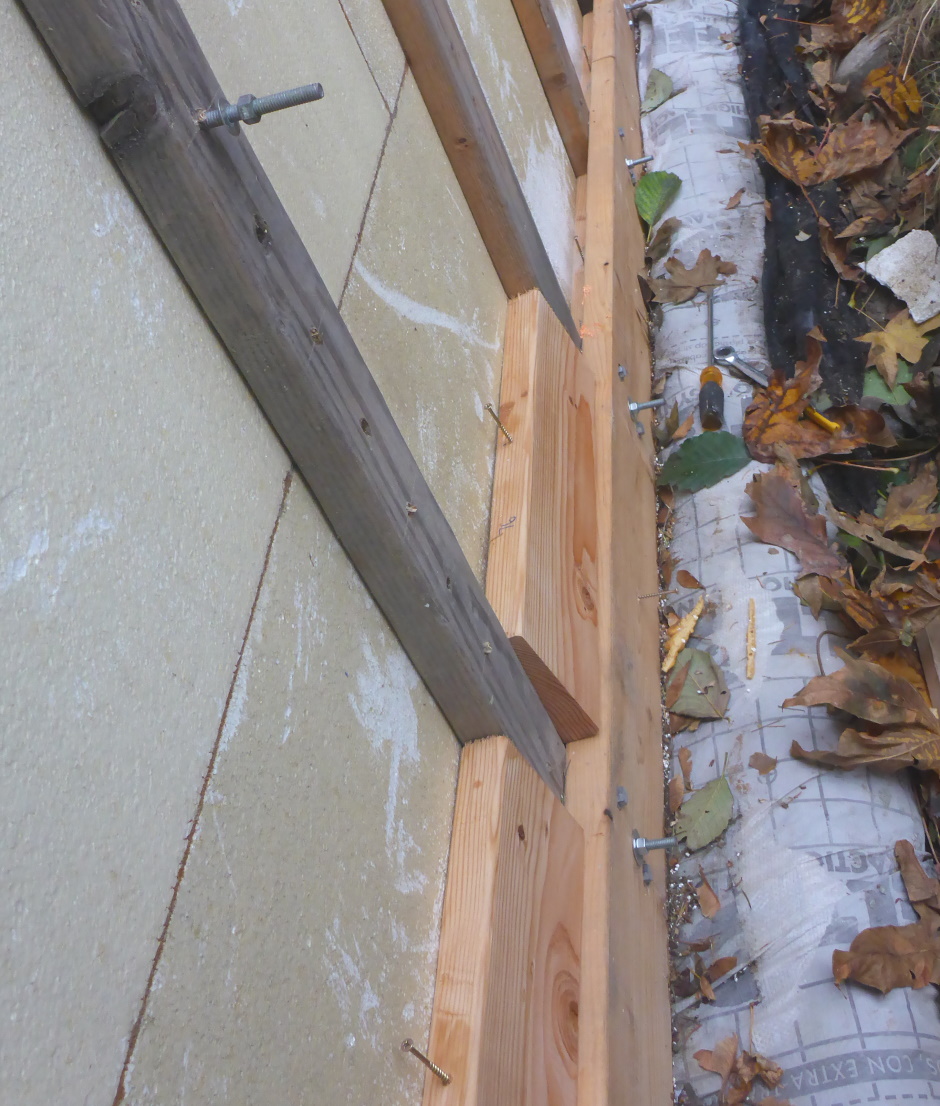
Against the vertical 2x4s put 4' high horizontal 6" thick EPS 8'x4' sheets. They fit over the threaded rods that come through the vertical batons.Start at the corners of the house (using over-lap or under-lap corner pieces) and work towards the middle (using regular 8' long sheets). Cut sheets to length as necessary, but do this as per your CAD drawing rather than cutting to fit. If things don't match the CAD drawing then find out why before going any further.
Use foam gap filler on the top of the glued down shims. Ensure all gaps are filled.
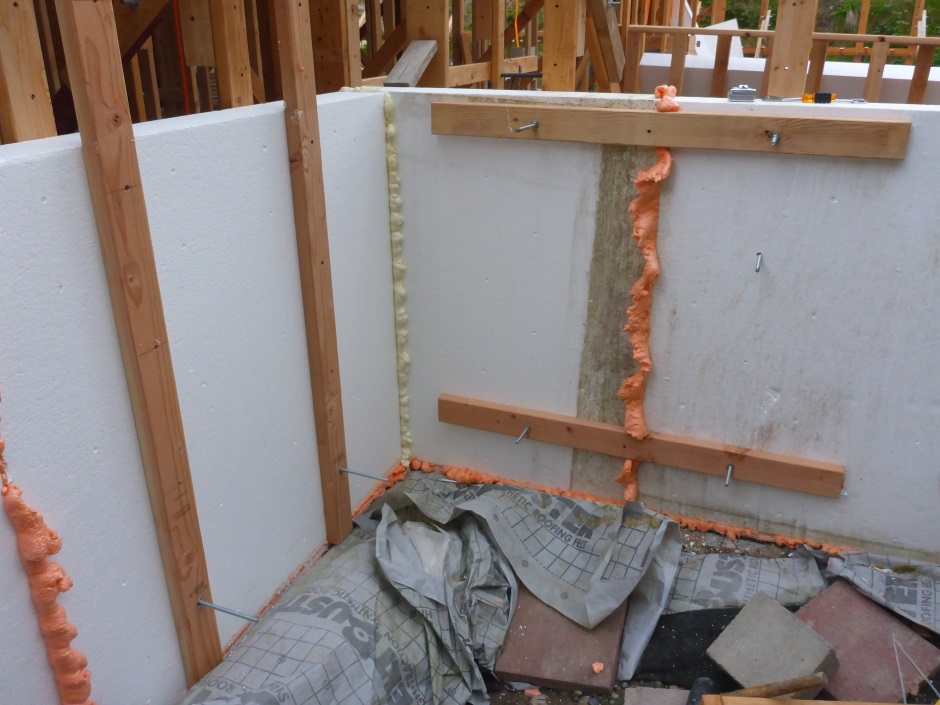
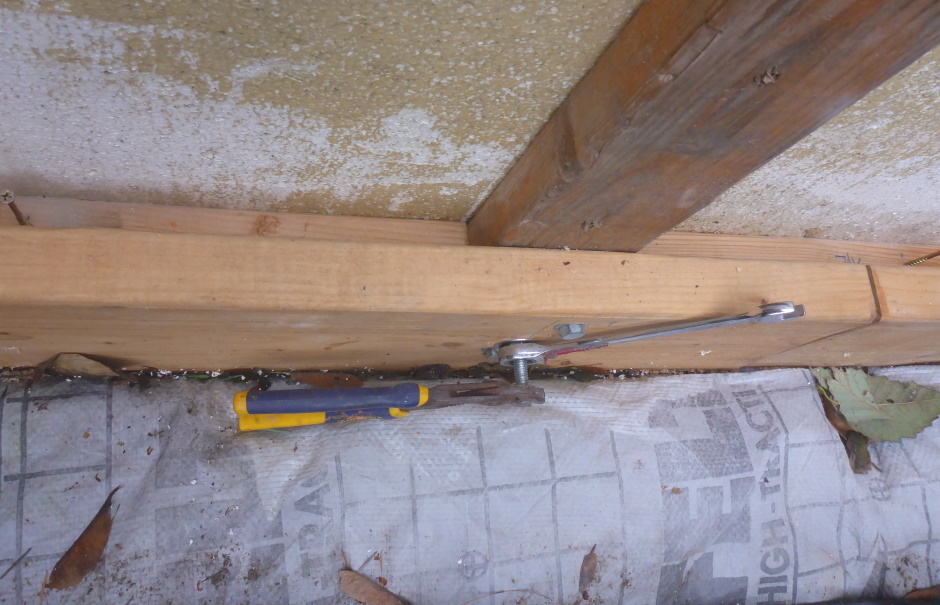
Temporarily put on 8' long dummy versions of the external 2x4 batons and add steel 3/8" nuts and steel washers on the steel threaded 3/8" rod to hold the 6" EPS sheets in place while the foam dries. You can use the dummy batons horizontally or vertically, it doesn't much matter.
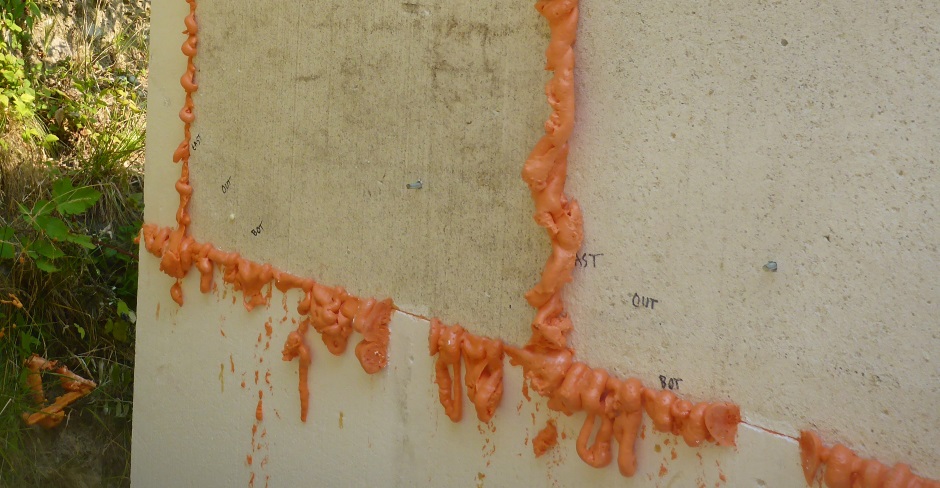
With the EPS sheet it place, using the long thin nose of the foam gun squirt foam gap filler into the join between the sheets. You need to add enough to have the foam come out on the other side of the join between the sheets.
At the corners and at T pieces, the edge of one 6" EPS sheet is glued to the overlap face of another 6" EPS sheet.
Excess foam is trimmed off with a 9mm craft knife after it has dried.
Install 2nd and third row 6" EPS sheets
Look at your CAD drawing to see the sheets needed for the second row. Don't forget to cut for the window and door openings. Sometimes because of a large window open EPS is not needed at all for the 2nd and 3rd rows in that area. Sometimes because of the wall openings, using the jigs is not practical marking out with a felt market pen is the best bet and drilling at the market places.
Fit each sheet to the threaded rods and use washers and nuts to attach the 8 foot temporary batons. When the sheet is fully in place, skirt foam gap filler into all the joins, making sure there is enough to come out of the other side of the join.
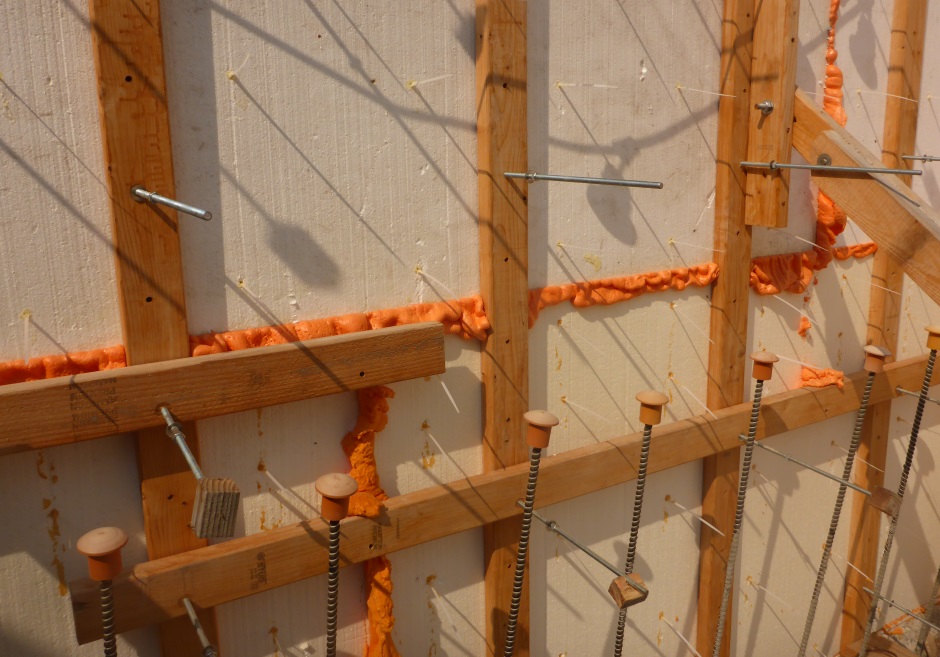
Throughout the process of adding the 6" EPS sheets, keep checking the corner pumb-bobs and use a long spirit level to check that the walls are accurately vertical. Adjust angle props and guy wires if necessary to achieve the accurate vertical.
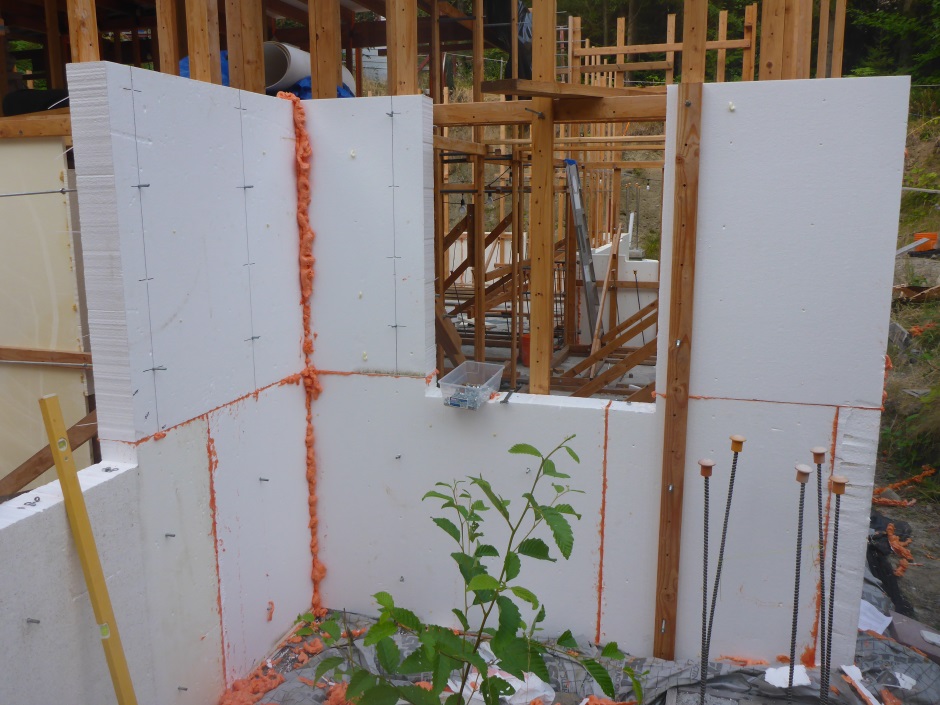
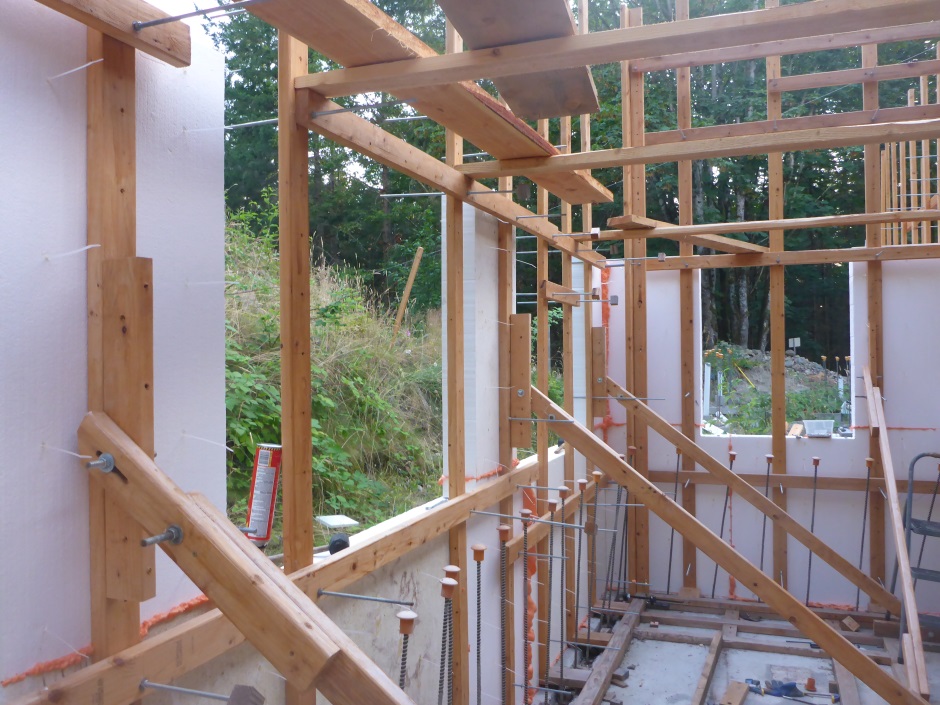
The third row of 6" EPS is the same pattern of cut/drilled sheets as the first row.
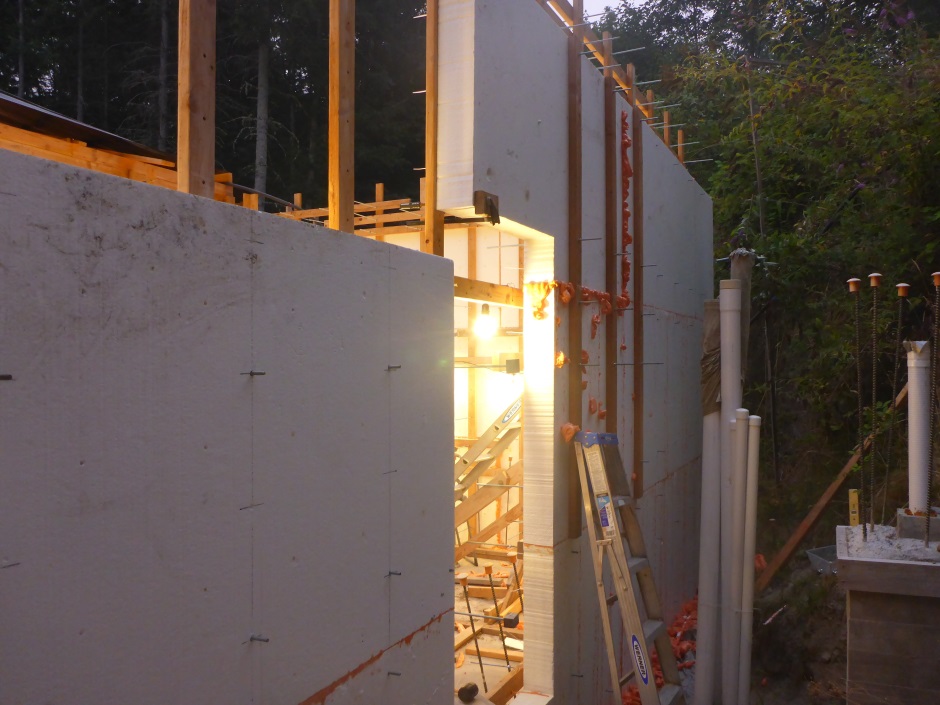
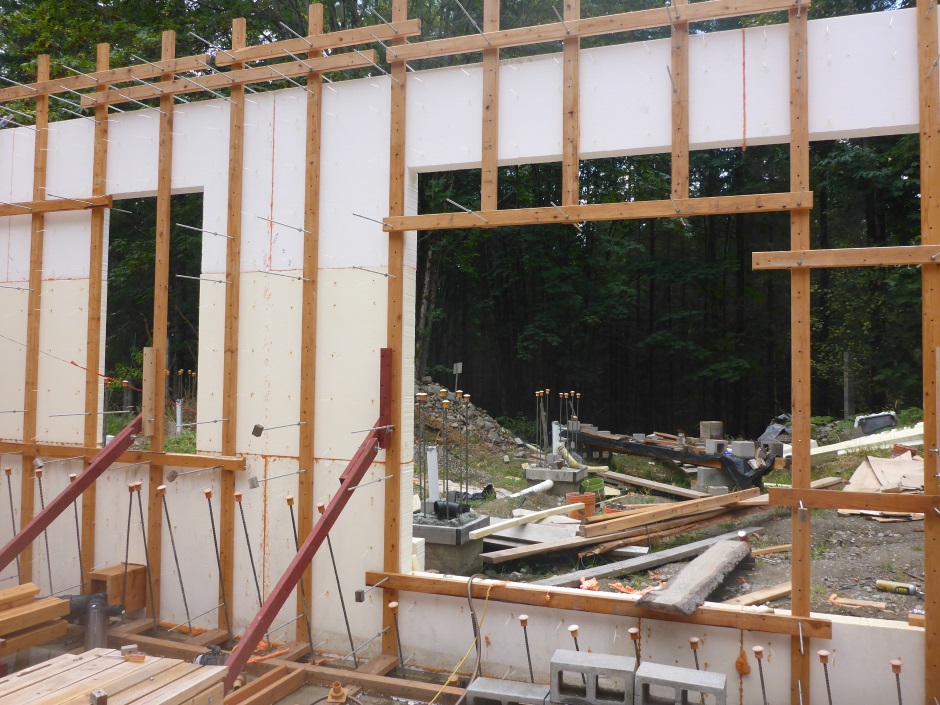
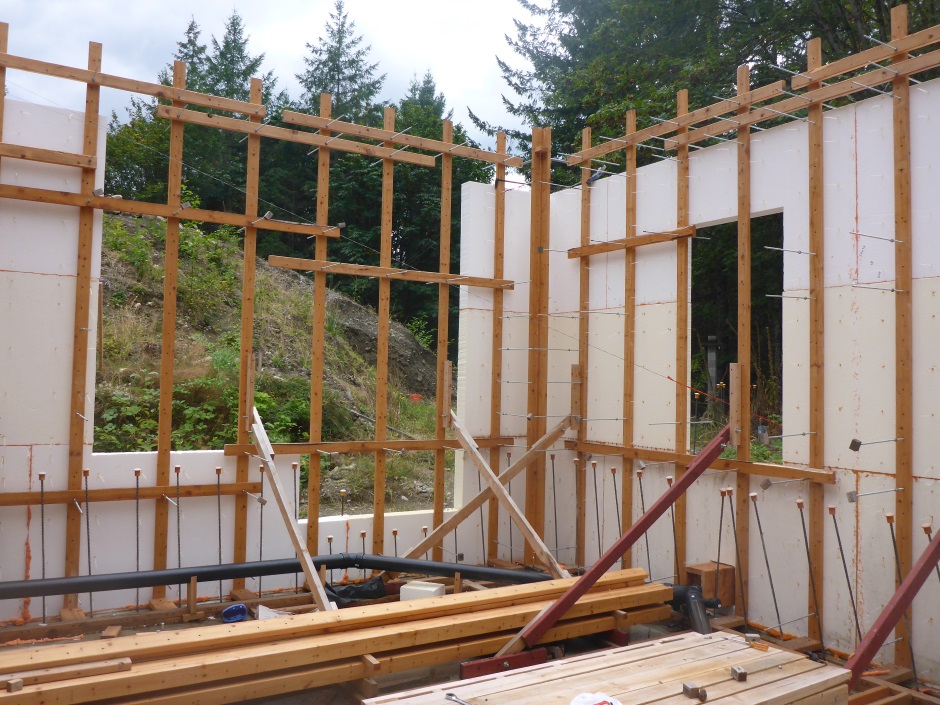
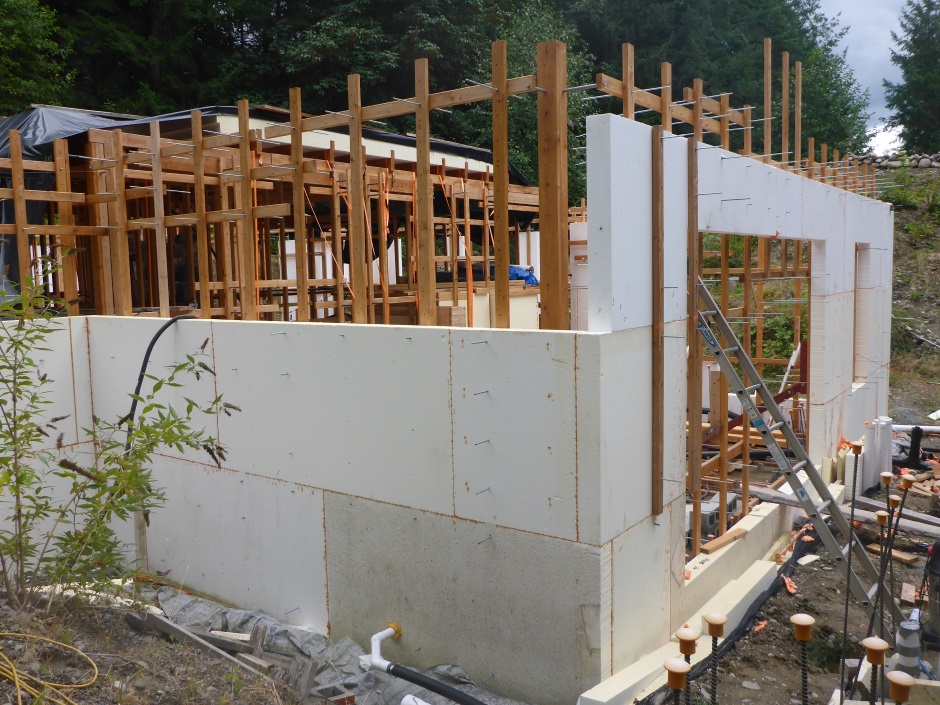
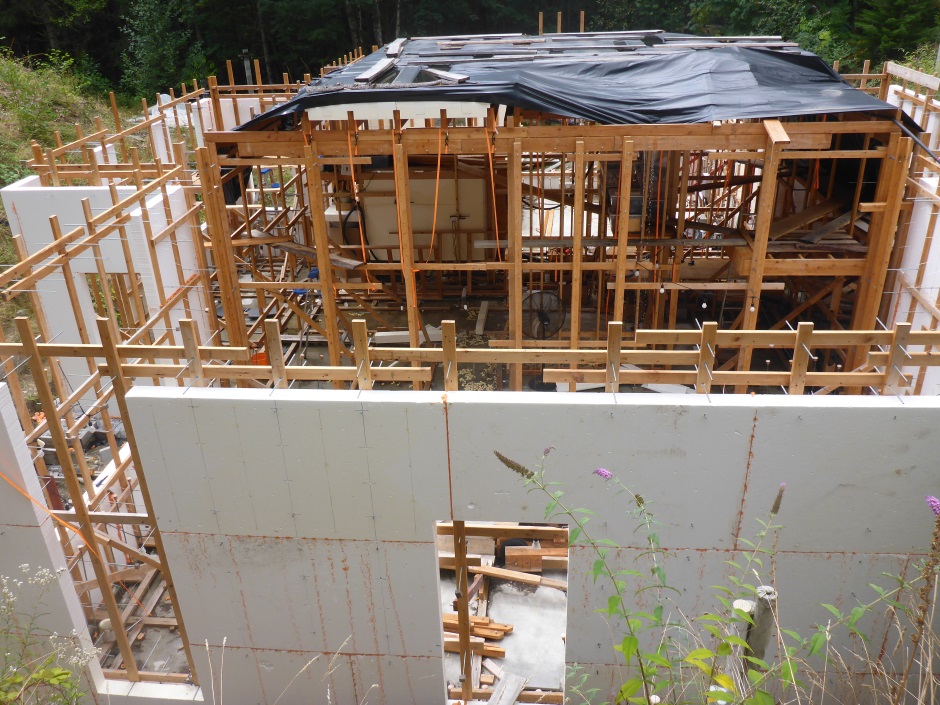
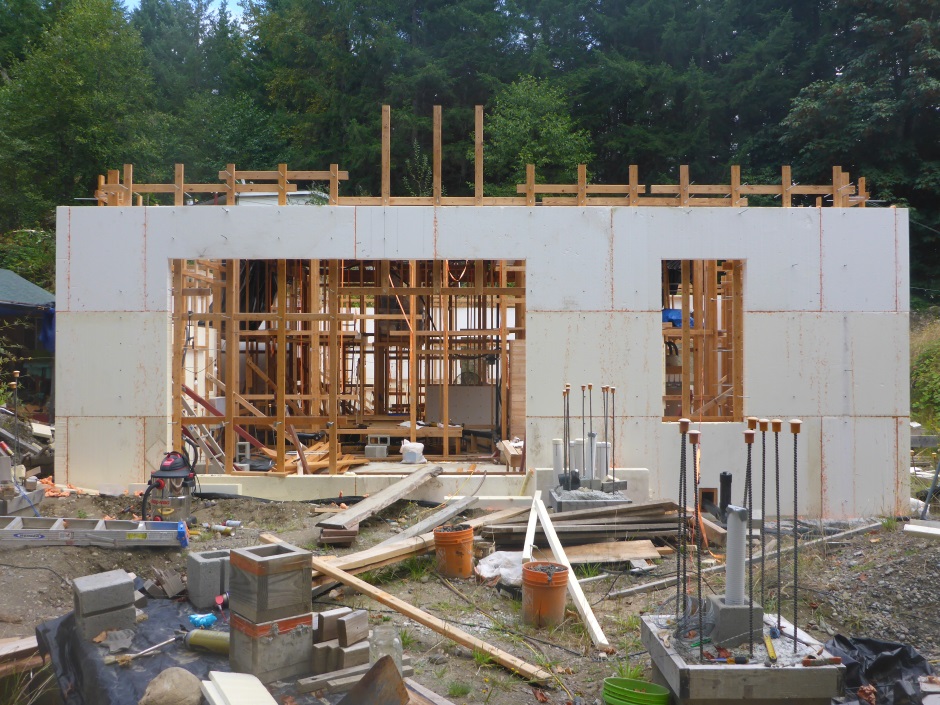
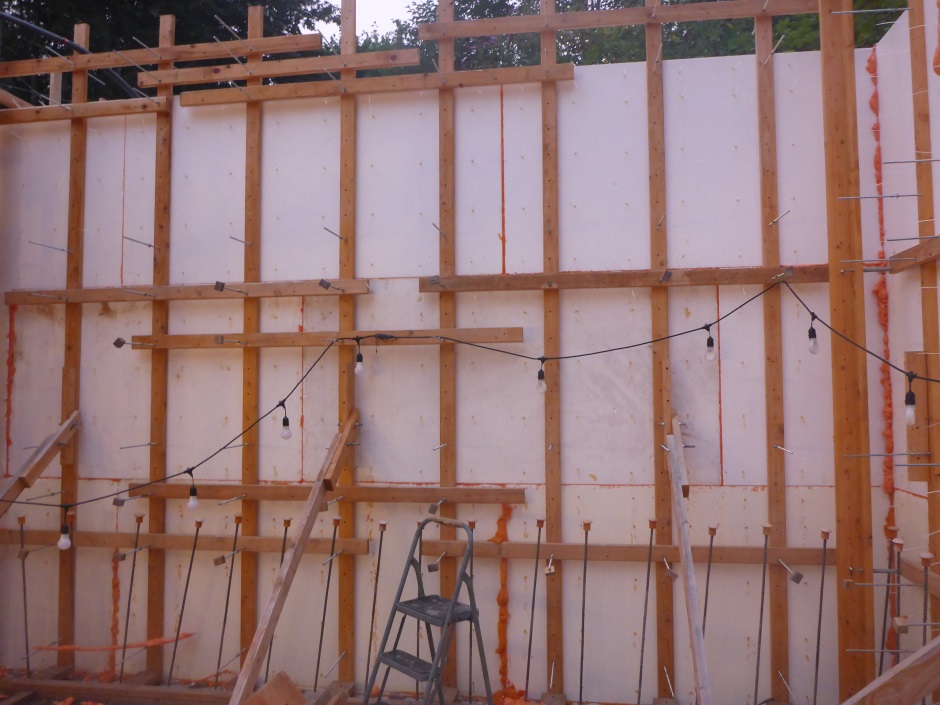
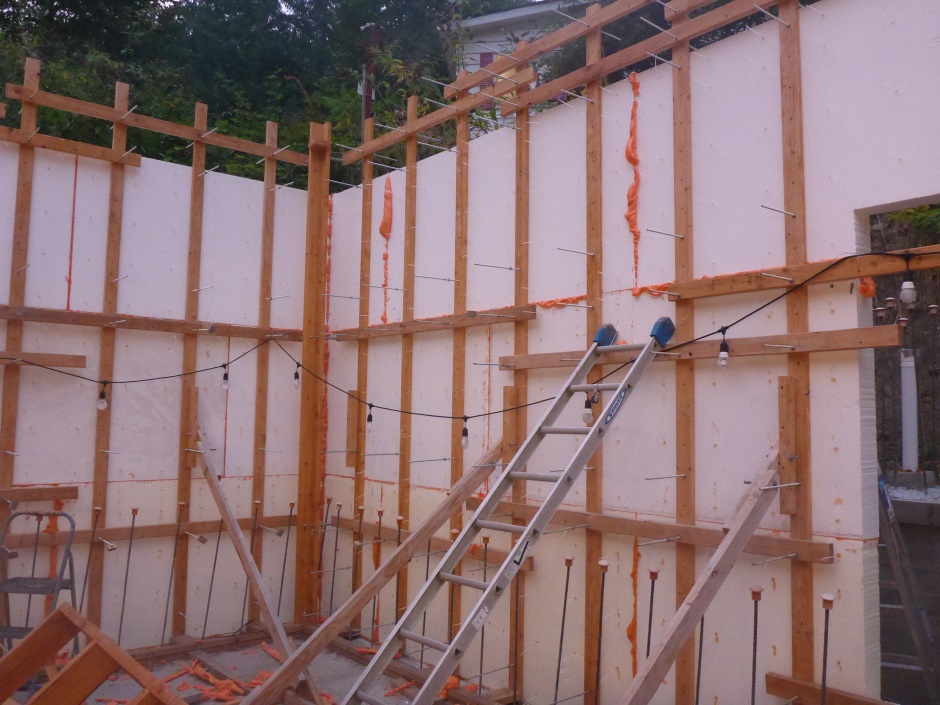
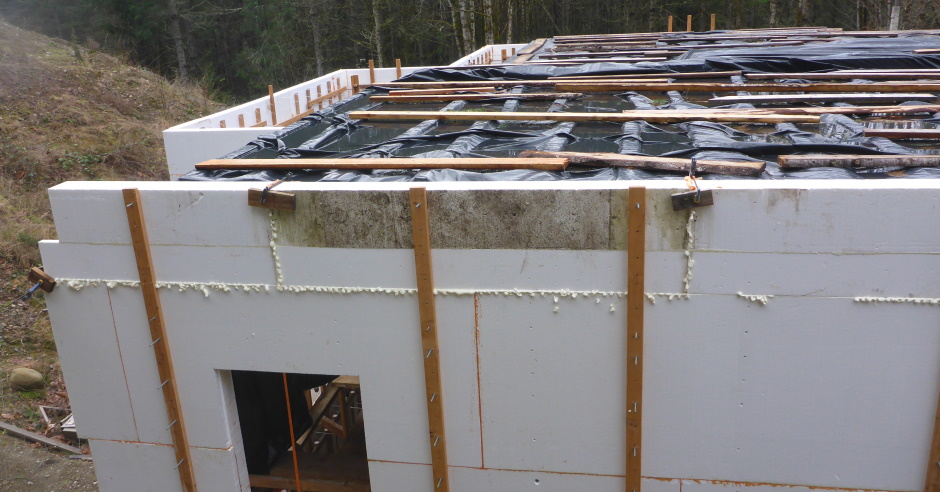
You keep adding rows of 6" EPS until you reach the top of the wall for that house level. For my house for the basement that is a height above foundation slab to the slab of the floor above of 16 feet. For the main level it is 14 feet and for the bedroom level it is 12 feet. The Carnation Flooring that forms the concrete ceiling sits lower than the slab height, but this is not of any relevance to the building up of the wall EPS because the EPS is on the outside of the wall. What is very relevant is whether there is a lip for supporting concrete decking or a balcony. Concrete decking and balconies are also done with Carnation Flooring . My basement level has wrap-around decking all around the house, ie there is always a decking lip so the wall EPS never goes up to the height of the slab of the floor above. It stops 2' short. Even when there is no concrete lip it is still best to assume there is one because that makes it easier to put a rain proof temporary cover over the building while working.
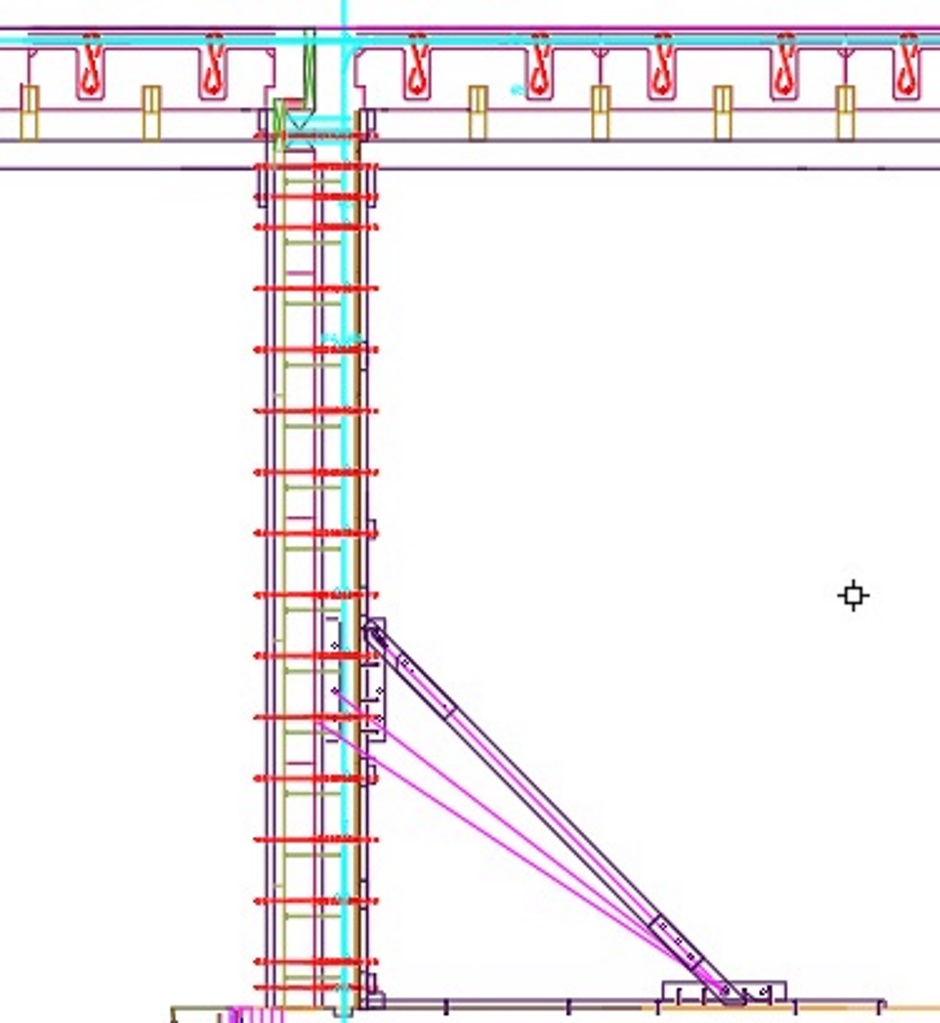
After each sheet has been glued, the temporary 8' batons can be removed and moved on to be used on the next sheet to be glued. Most of the threaded rods can be left loose through the holes, but in a few strategic places it is good to have a baton fixed on with nuts just in case you get strong winds.
Forth row of 6" EPS
For my 16' high basement with a concrete lip round the outside, the forth row of 6" EPS is only 2 foot tall. The sheet pattern is the same as the second row even though the sheets are only 2' tall.
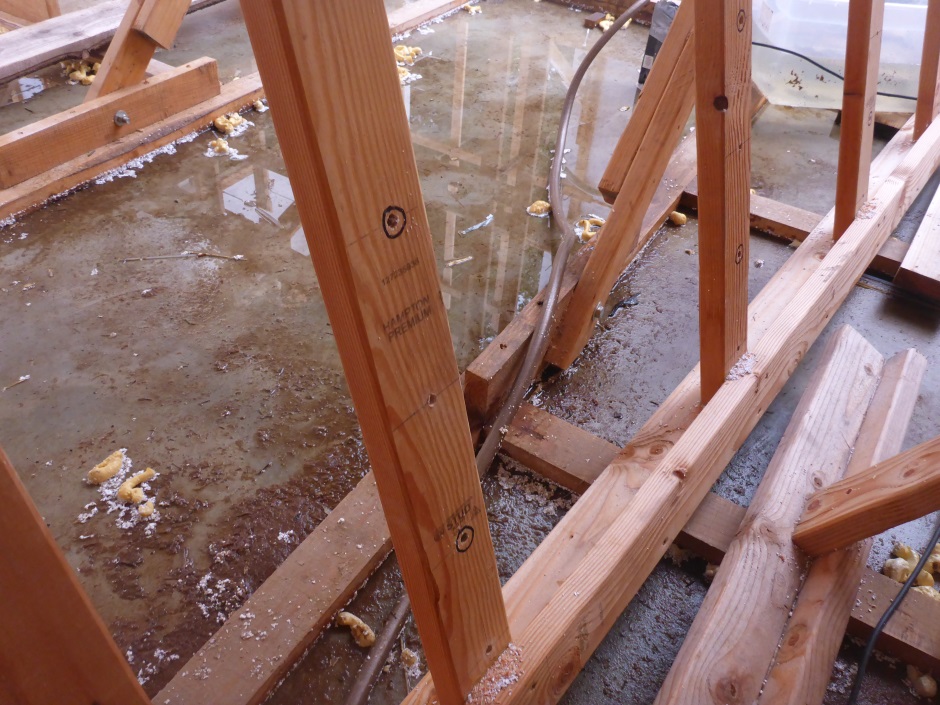
Because more tie rods are needed at the top to handle the concrete lip, the 2' tall blocks are also drilled at the X'3" positions as well as the normal X'9" positions. The extra holes are done on the jig by drilling the extra holes in the jig. In the picture of the jig below you can see the X'9" holes ringed to highlight them and the X'3" holes drilled but not ringed.
The story so far
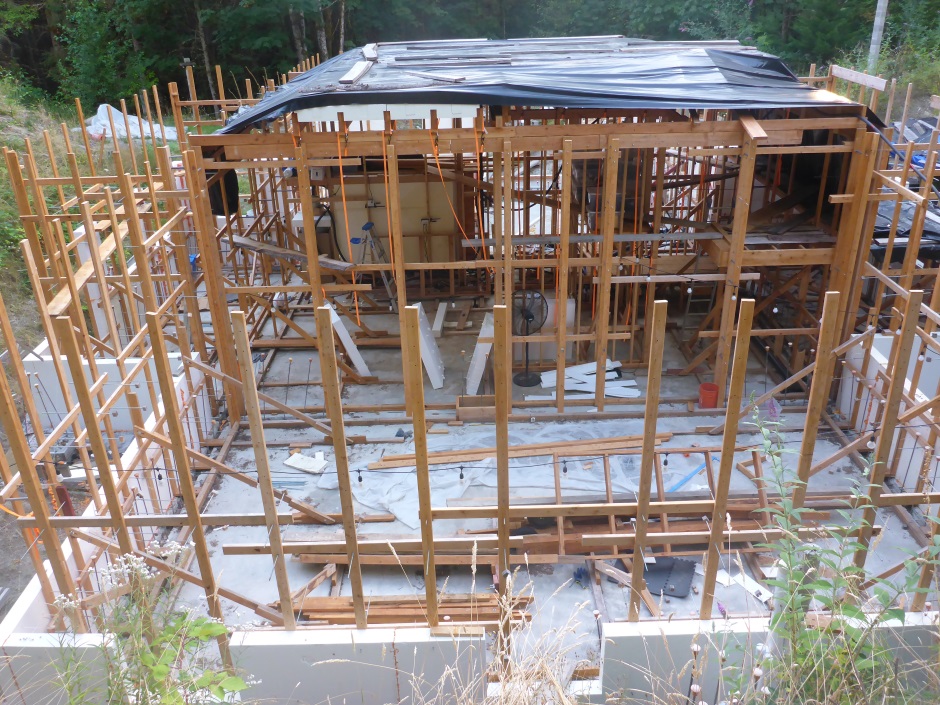
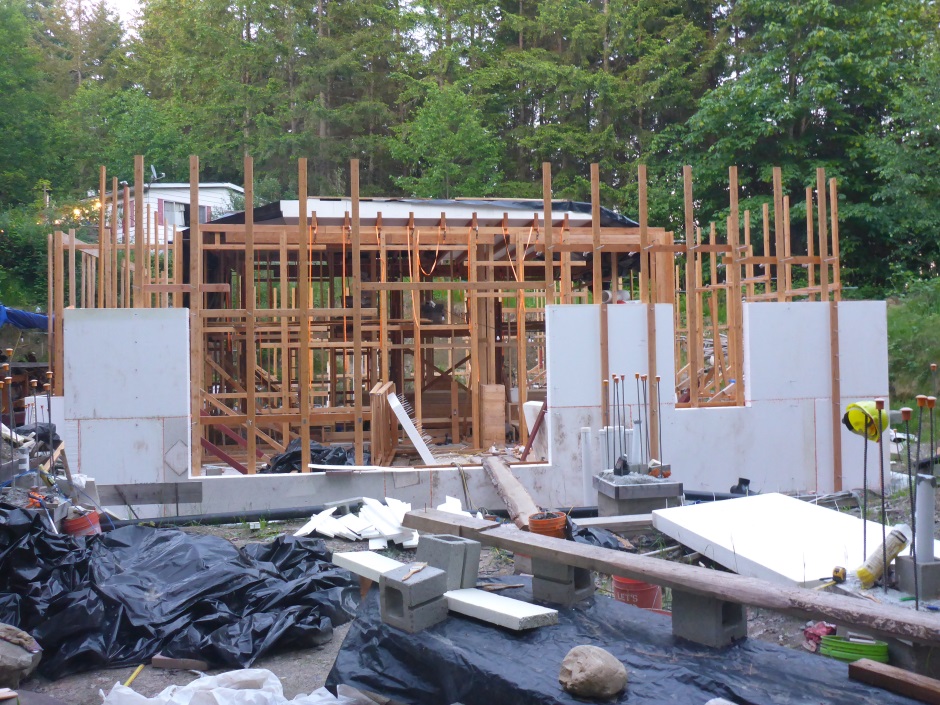
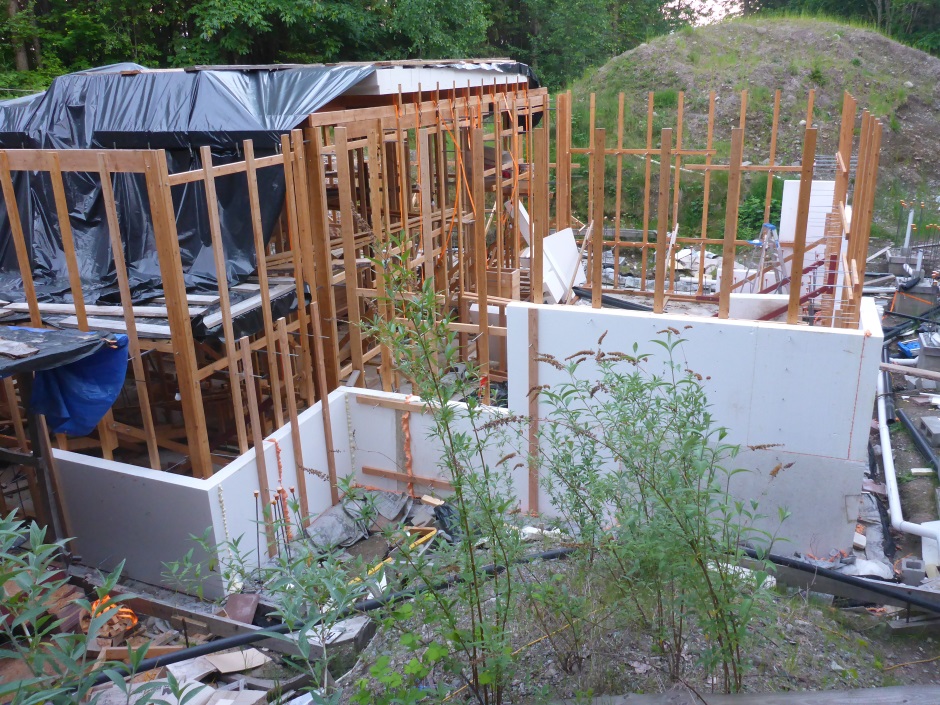
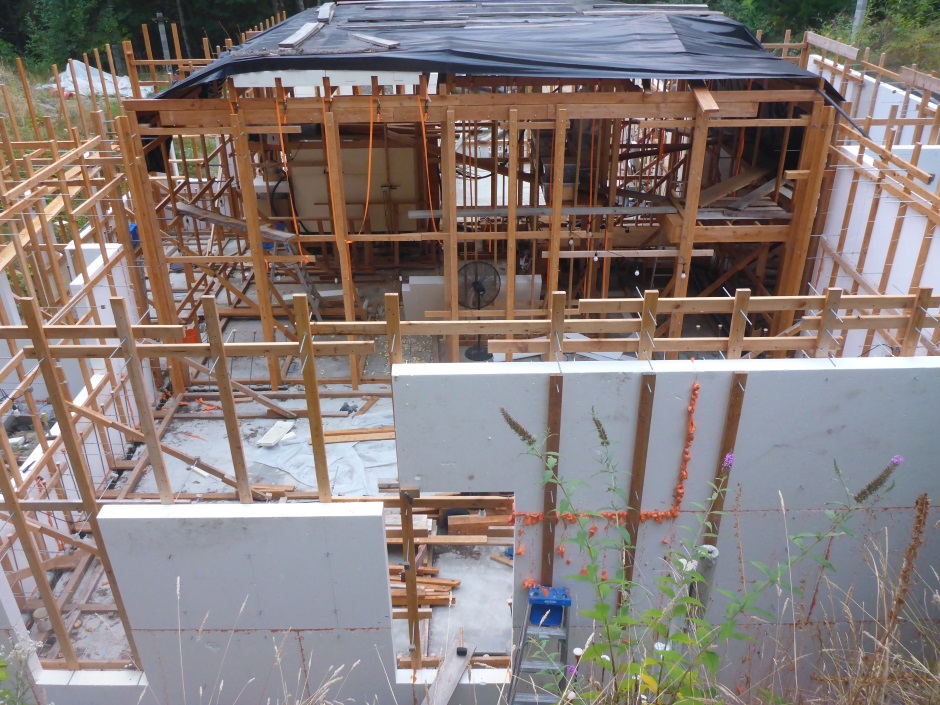
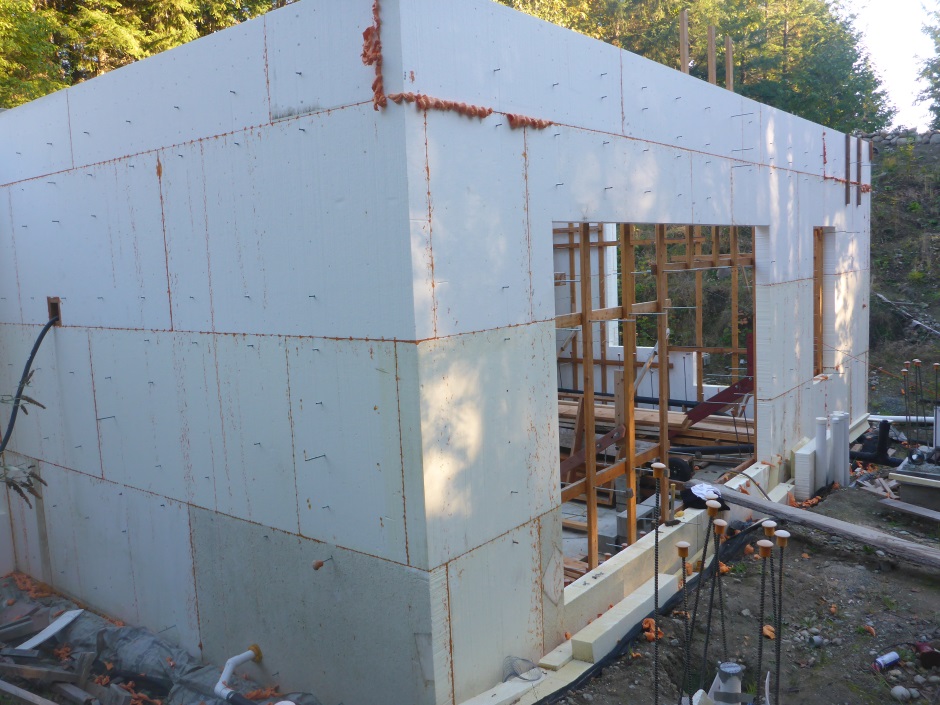
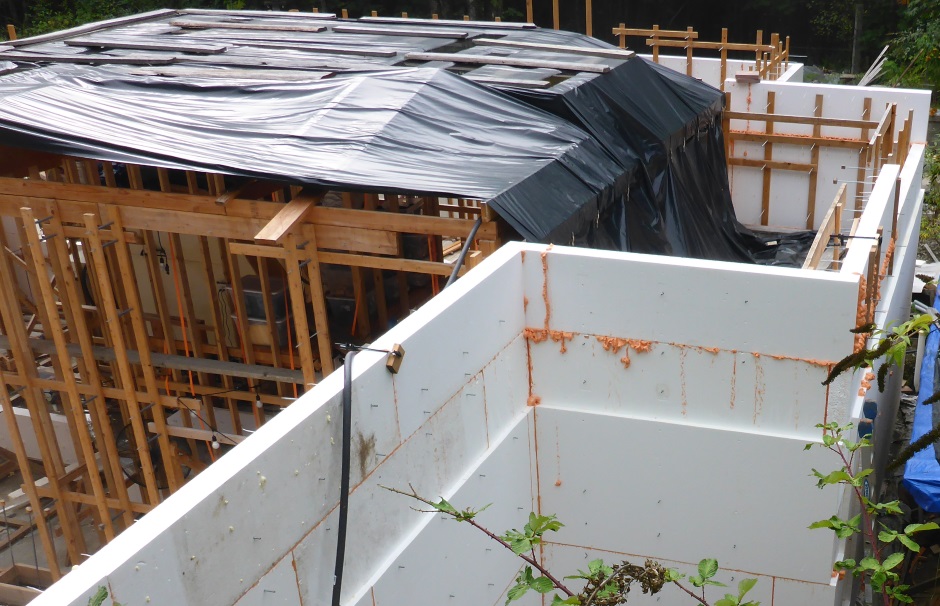
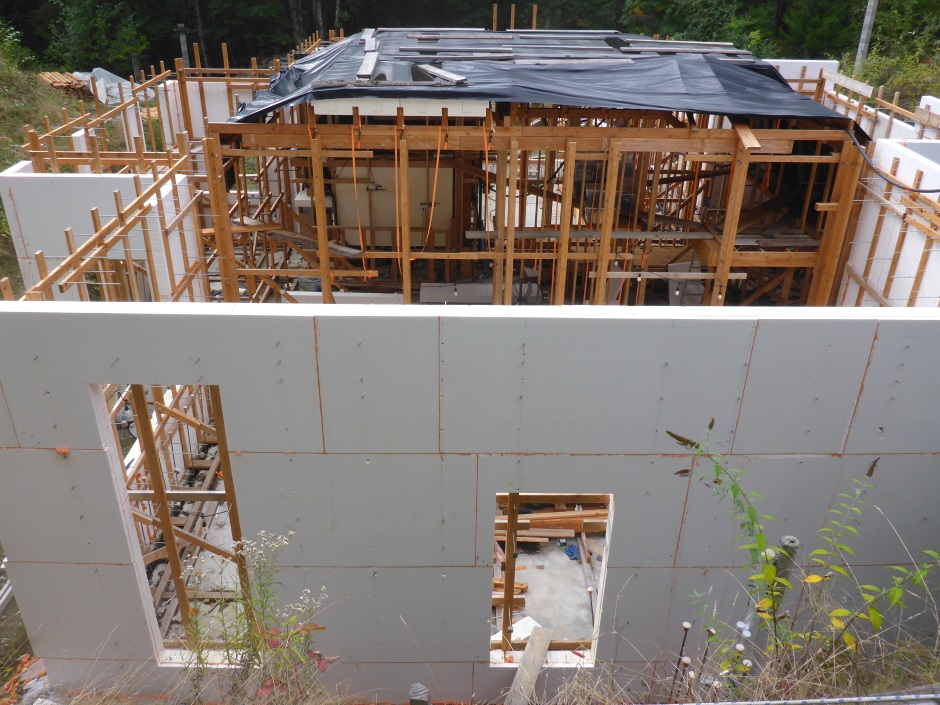
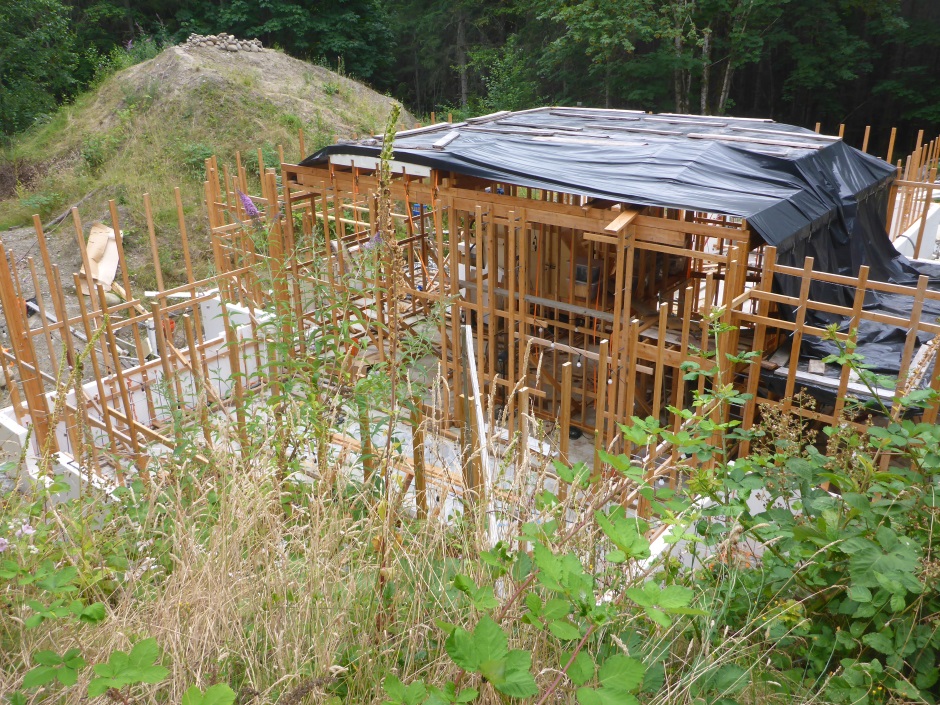
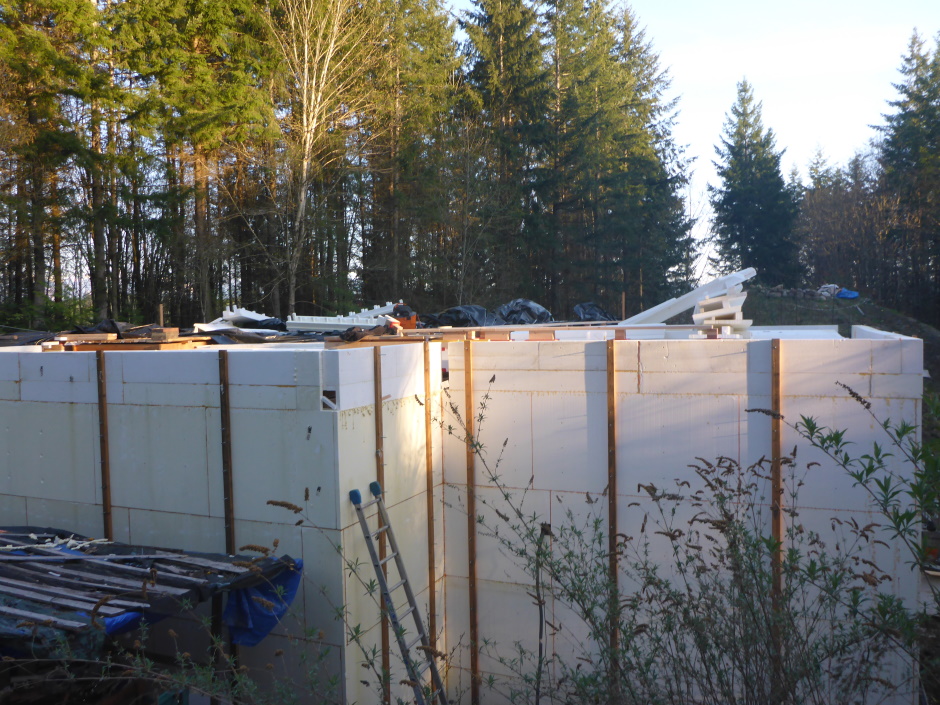
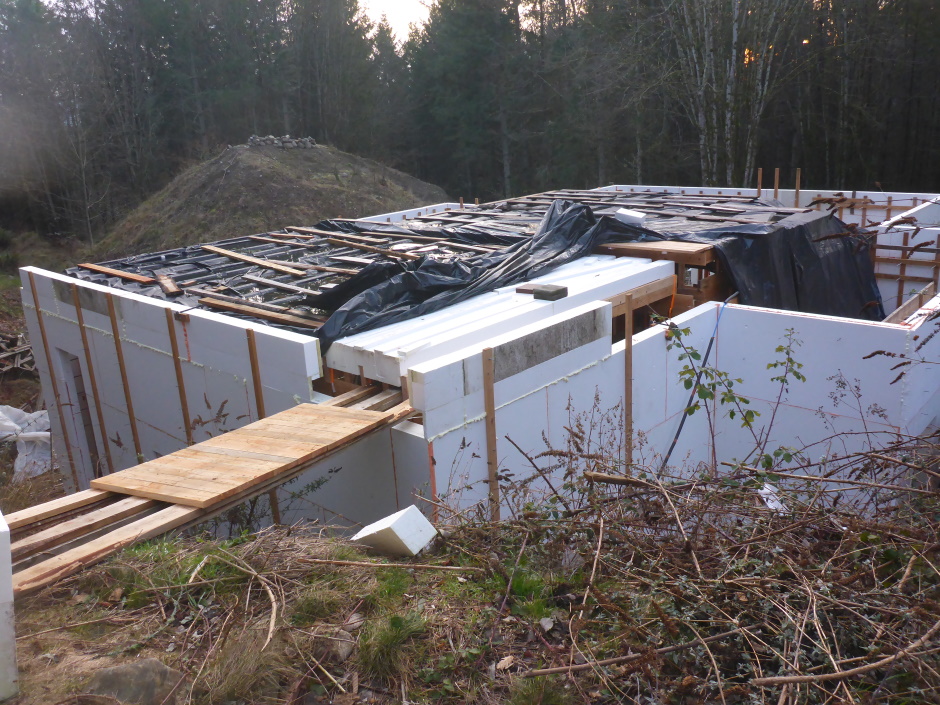
The house now has 6" thick polystyrene walls all the way round and up to the full height. There are openings in the EPS corresponding to where the windows and doors will be. The EPS is supported by the vertical 2x4 batons on the inside. With a few strategic batons on the outside and the angled 2x4 bracing about every 6 feet and the internal walls and mezzanines the structure should be able to withstand strong winds. There is no equivalent plywood yet on the internal walls as it is better to wait to be in a dry environment.
Prepare 2" thick EPS sheets
Cut sheets
Over-lap corner pieces are 1'7" long whereas under-lap pieces are 5'5" long. This arbitrary decision to make the over-lap case much shorter provides staggering of sheets. The row above both staggers the overlap joins in the 2" EPS, and staggers the joins relative to the 6" EPS, and also staggers the sheets along the wall.
The lengths of the 2" EPS sheets for the base row should be shown on your CAD drawing.
The sizes are...
2" EPS corner over-lap base
(1'7" wide, 2' high)
2" EPS corner under-lap base (5'5" wide, 2' high)
2" EPS non-corner
base (8' wide, 2' high)
2" EPS corner over-lap
upper (1'7" wide, 4' high)
2" EPS corner under-lap upper (5'5" wide, 4' high)
2" EPS non-corner upper (8' wide, 4' high)
The sheets at the bottom of the wall on the slab are cut to 2' high. The cutting is done using a Hotwire Cutter Outside Bench .
Don't forget to cut for the window and door openings.
At center points of the building (where the blue cross divides the wall), the 2" EPS is extended to span the gap. Beyond the gap you can just drill the extra holes once the sheet is installed.
The jigs used for drilling the holes are the same jigs as used for the 6" EPS.
Not all the sheets need jig drilling because not all the sheets have holes.
You do not need any cable tie holes in the 2" EPS sheets.
The drilled sheets required are...
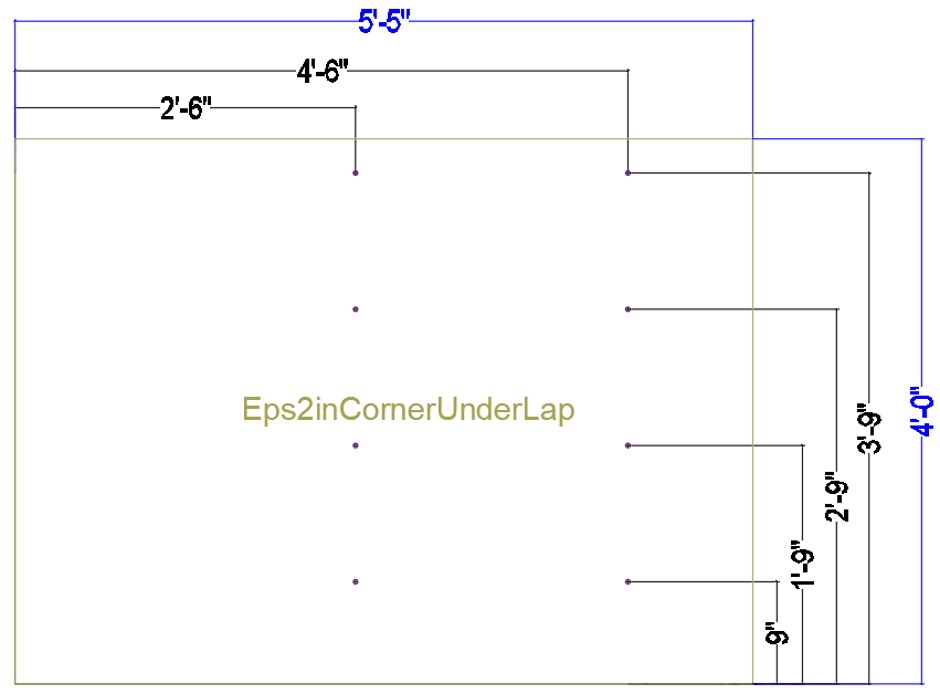
2" EPS corner under-lap upper (5'5" wide, 4' high)
2" EPS non-corner upper (8' wide, 4' high)
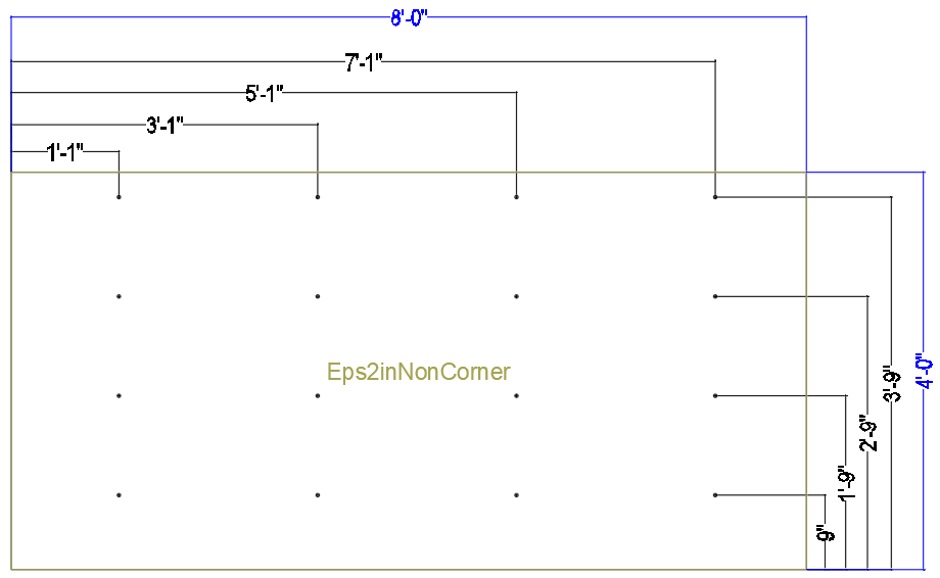
For a (2 foot high) sheet that rests on the slab, the hole distances from the bottom of the sheet will just be 1'9".
For other sheets (4 foot high) up the wall, the hole distances from the bottom of the sheet will be 9", 1'9", 2'9", 3'9".
For the corner pieces the first column of wall tie holes are 2'6" from the edge for an under-lap piece (for an 8" cavity). They are then 2' between columns of holes for the rest of the sheet.
Drill wall tie holes
Using the jig, drill wall holes in the required positions for the ties. The holes are 3/8" and need to be accurately drilled perpendicular using a drill guide rig.
Some sheets are put on top face up and some top face down, not that there should be any dimensional difference whichever way up it used (assuming the holes are drilled square and perpendicular).
At center points of the building (where the blue cross divides the wall), the 2" EPS is extended to span the gap. The holes in the overlap are drilled once the sheet has been fitted. The holes should be all shown on your CAD drawing.
Install 2" EPS sheets
Glue and fit the 2" cut sheets
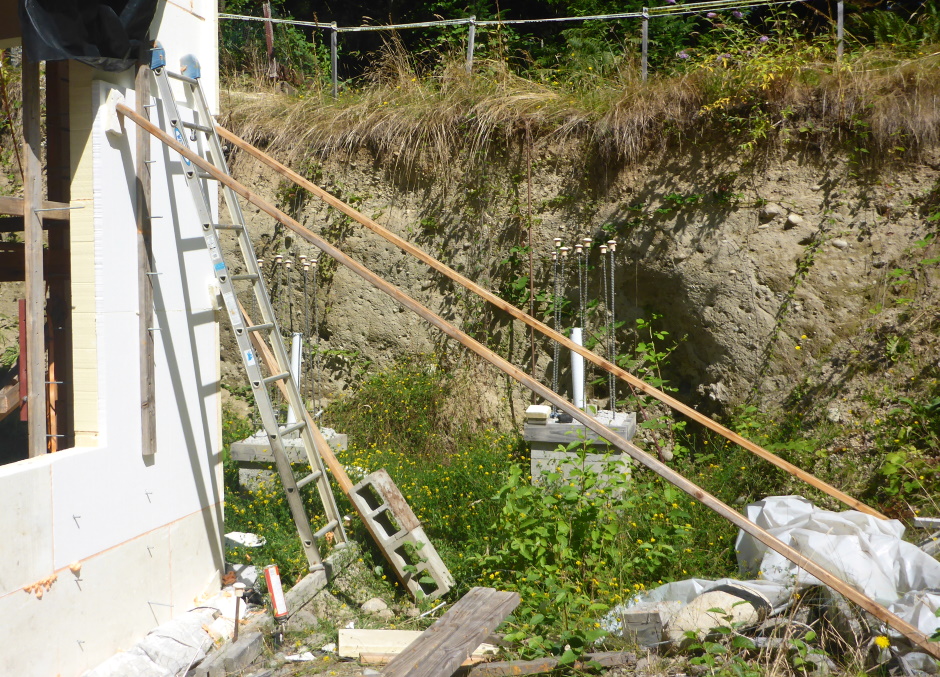
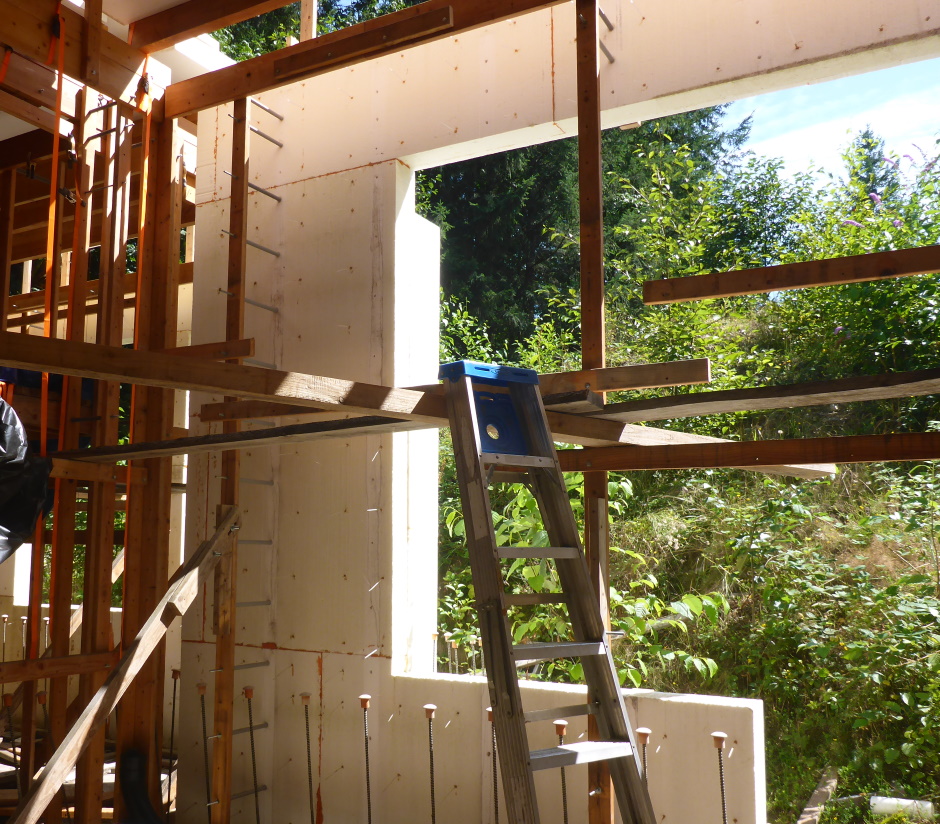
Leave the short lengths of 2" EPS for the corners off at this stage because they do not have wall tie holes so cannot be securely sandwiched with the 6" EPS. They can be later added and held while gluing using horizontal corner bracing or more creative propping methods. Remove any temporarily added external vertical 2x4 batons for a section of wall. Apply foam adhesive to the surface of the 2 foot high 2" thick sheet (make sure you have it the right way round). Fit the sheets of 2" thick EPS to the steel threaded rods. Make sure the bottom of the 2" sheets line up exactly with the bottom of the 6" sheets.
After each sheet, fit temporary 8' long external vertical 2x4 batons. The threaded rod between the interior and exterior vertical 2x4 batons is used to sandwich push the 2" and 6" EPS together while the glue is setting. Use steel 3/8" nuts and steel washers and tighten them to squash the 6" EPS and the 2" EPS sheets together. It's ok to remove the batons after the glue has dried so don't worry that the batons extend past the top of the current sheet.
Squirt foam gap filler in the joins between the 2" sheets.
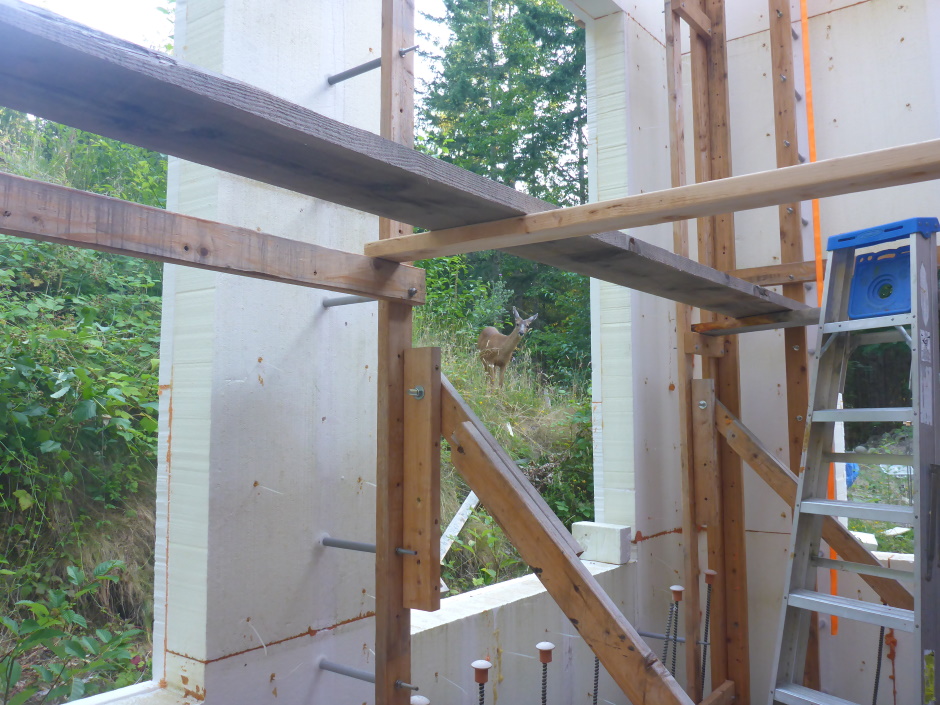
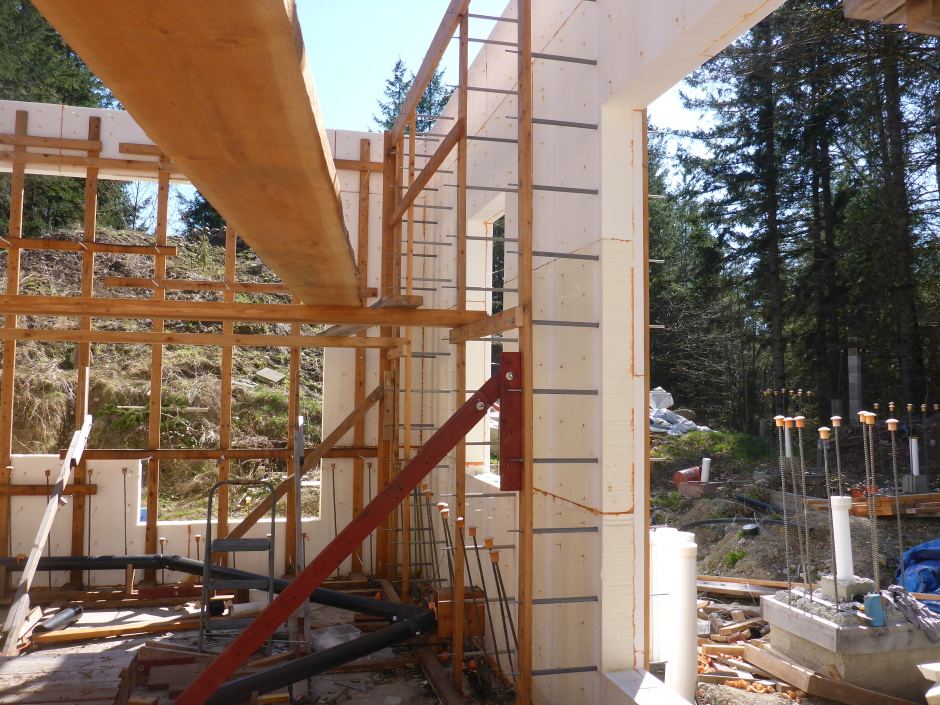
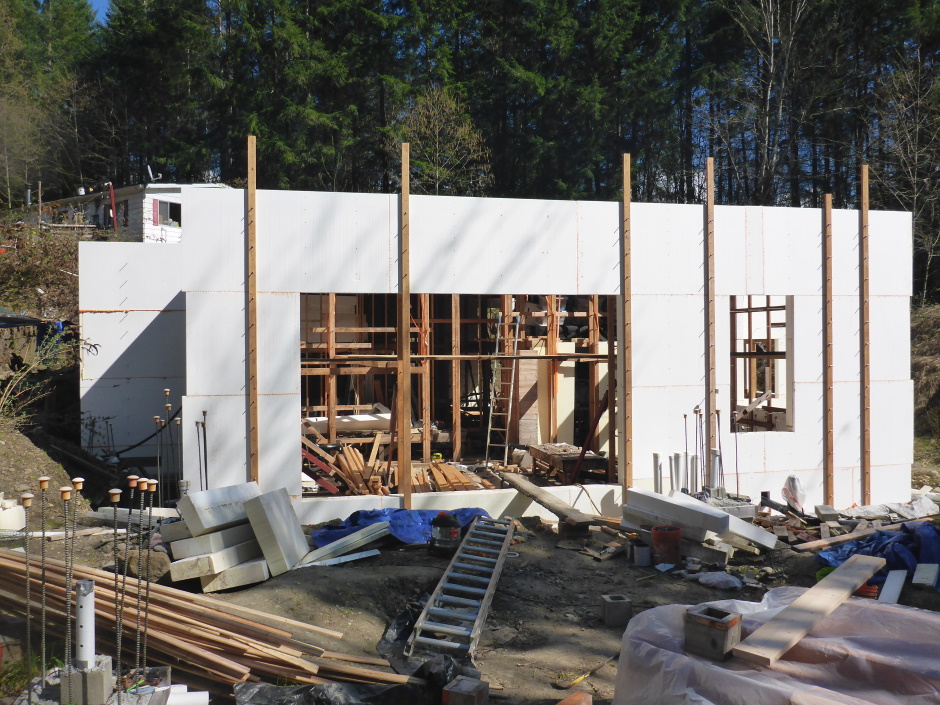
Deck lip
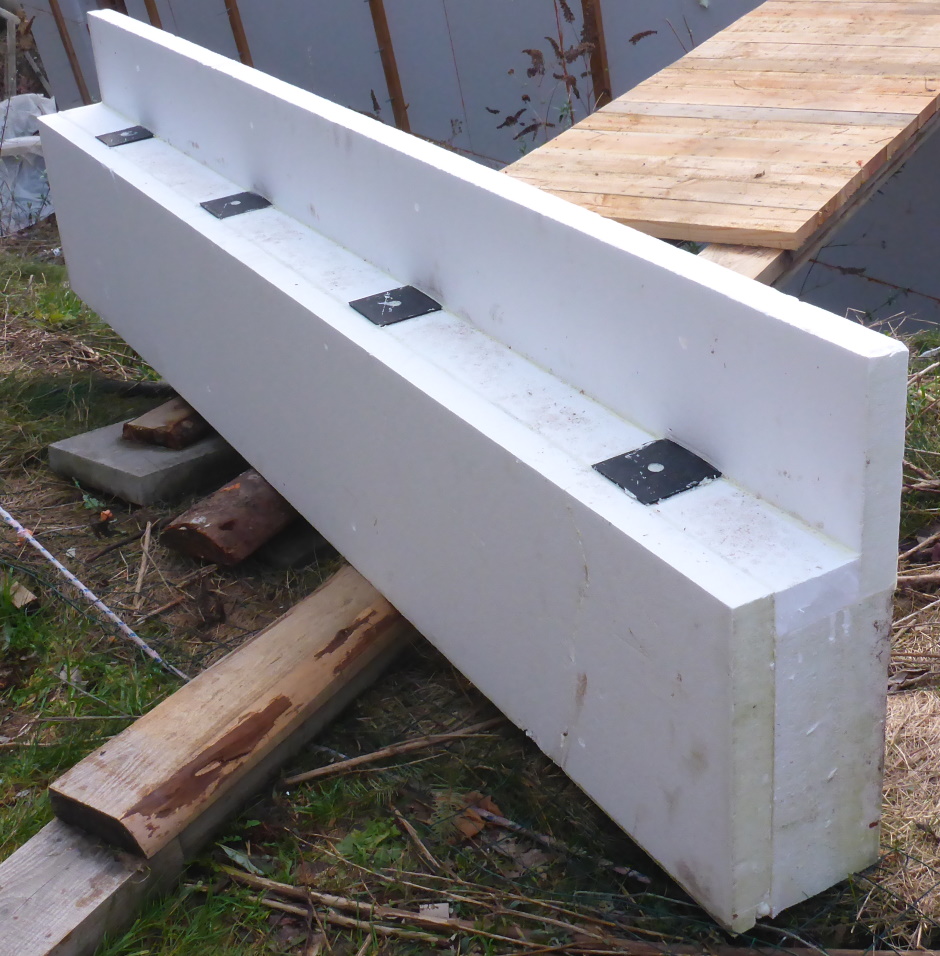

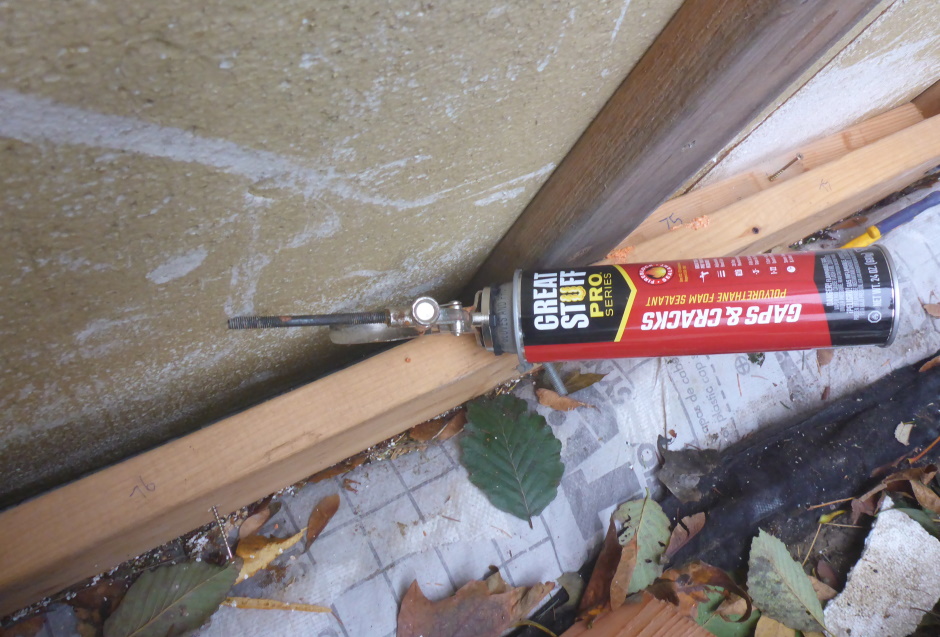
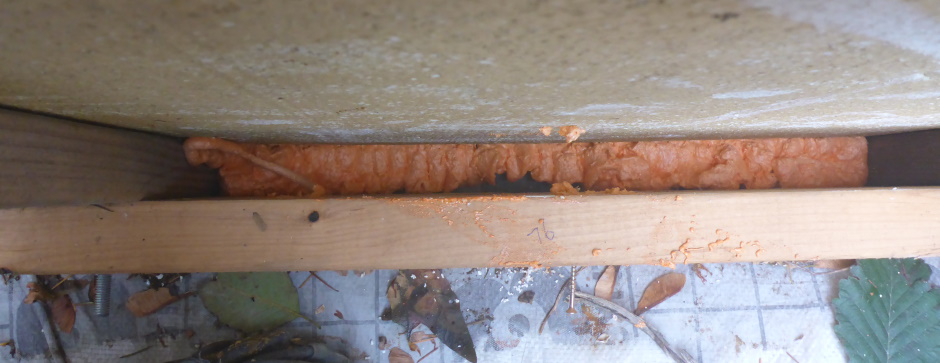
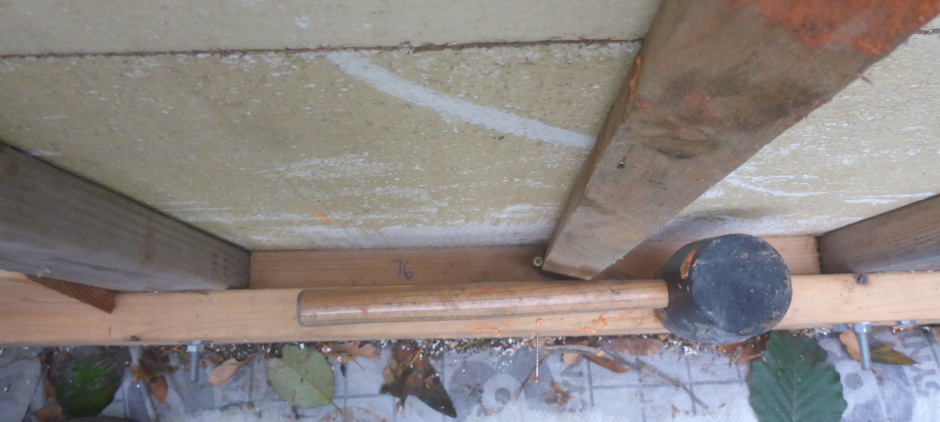
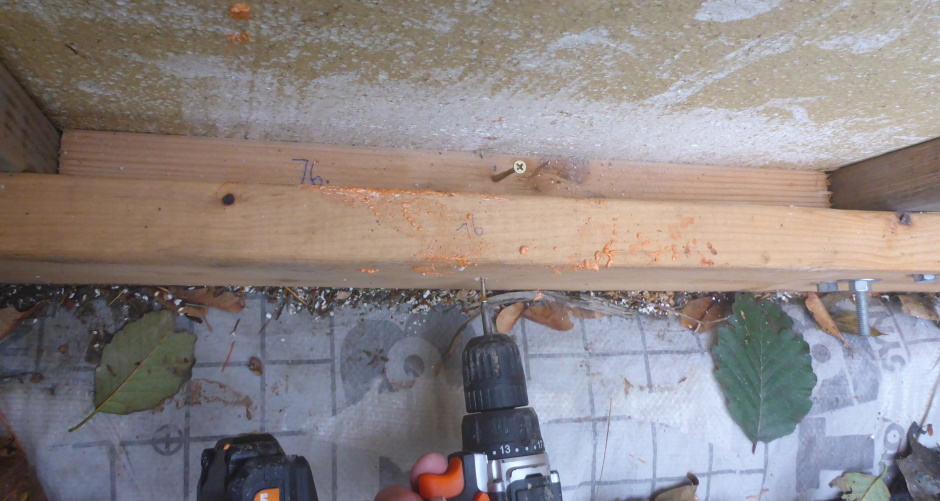
Bracing Outside Wall Bottom
.JPG)
The story so far
There is now a full height glued 8" thick EPS wall all around the house outline. The internal vertical 2x4 batons also go the full height (wall height minus 2' 3-1/2"), but are still temporarily where the concrete will go. There are a few temporary external vertical 2x4 batons to make the structure wind resistant. There is no flooring yet so everything will get wet from rain. The internal walls only have vertical 2x4 batons.


 Foam
Gun

