Home Site Map - Techniques - Plot Infrastructure -
Shed Building
![]() A
shed may not live forever, but you can still build it right by
following this design.
A
shed may not live forever, but you can still build it right by
following this design.
Sometimes a shed is needed
While you are building your house you will need somewhere to keep your tools and where you can work on the various components out of the rain. What's needed is a simple cheap and quick to build wooden shed. In my area the planning rules allow me to build a shed that is up to 200 square feet (with a 2 foot roof overhang) without applying for planning permission. You are not allowed to live in the building or park a car in it and you need to under your own recognizance build it to building code. http://www.kingcounty.gov/property/permits/FAQ/PermitReq.aspx#shed . My design is for a wooden shed that has outside dimensions of 200 square feet and a roof footprint of that is 2' bigger all round.
Great though a wooden shed is, you should consider building a concrete shed instead if you have a fixed location for the shed. Concrete does not rot. Take a look at my design for an Insulated Concrete Shed .
My wooden design is modular so that I can initially use the shed on the house build site and then later move it to a location within the forest for storing forest maintenance tools. Wall sections bolt together with bolts.
All the lumber for the shed came from my forest and was cut on my SawMill.
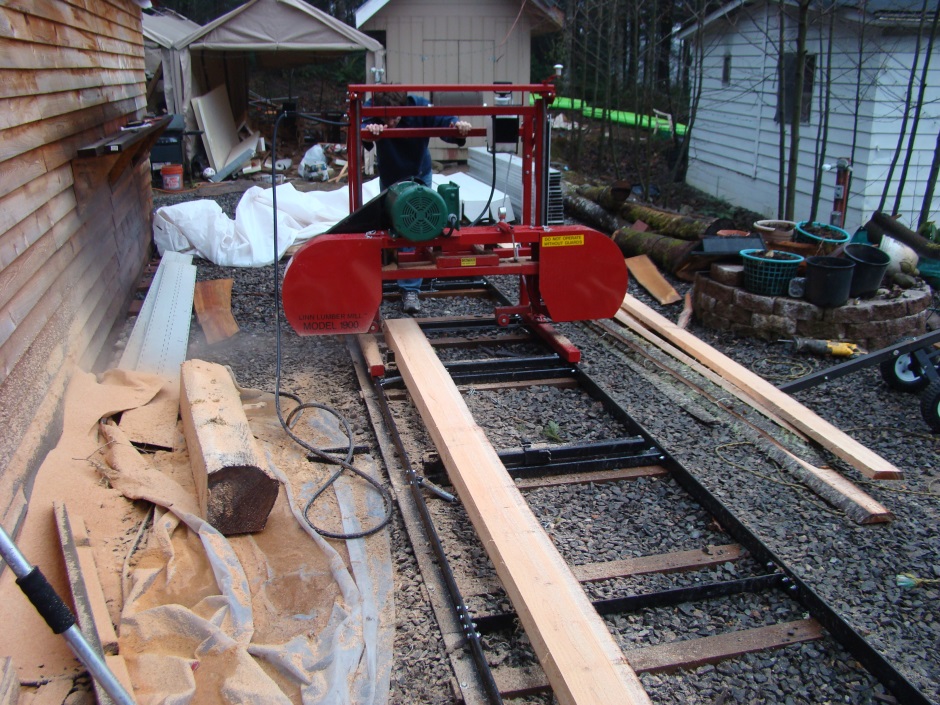
I used green lumber, ie I did not dry it. In most cases I cut the needed trees down in the morning, cut it straight away on my sawmill, and by the afternoon the planks had been cut, drilled, and fitted to the shed. The lumber is bound to shrink a bit over time, but really all that matters it that it is dimensionally accurate while the shed is being assembled.
Simple flat roofed 2x4 shed
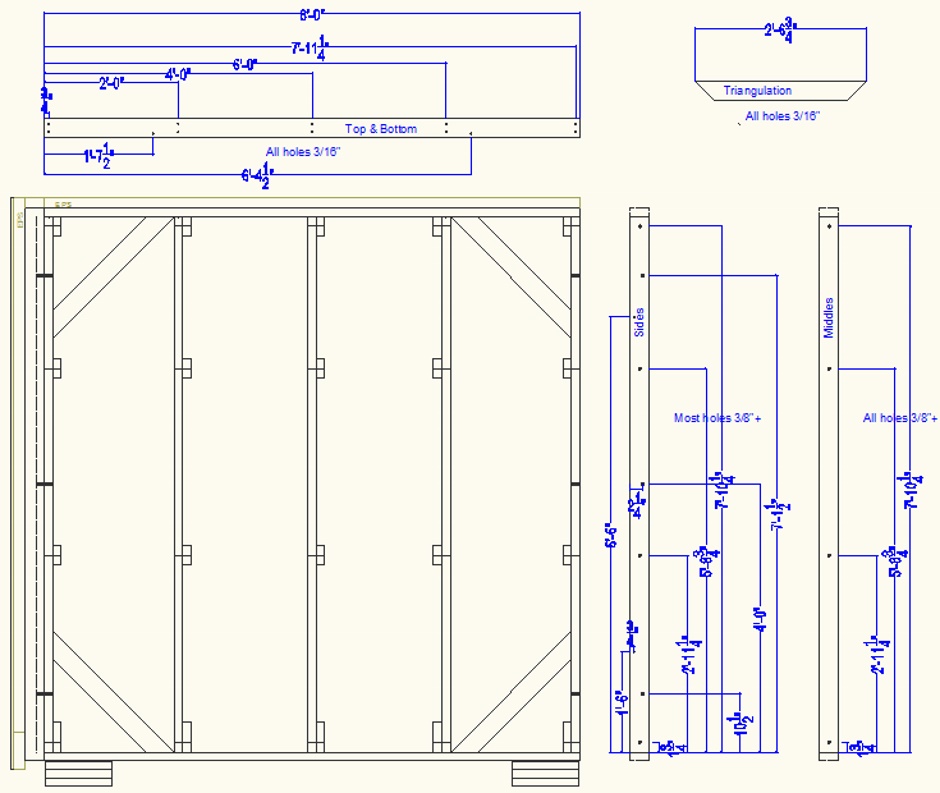
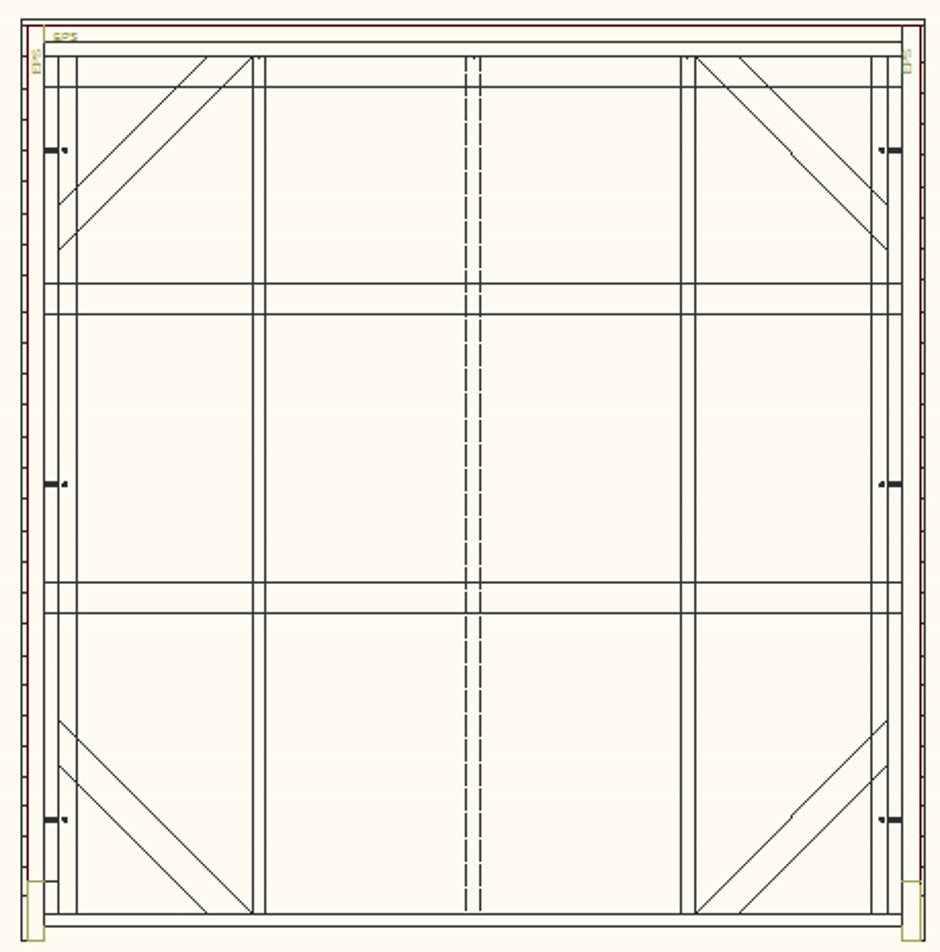
Design drawings
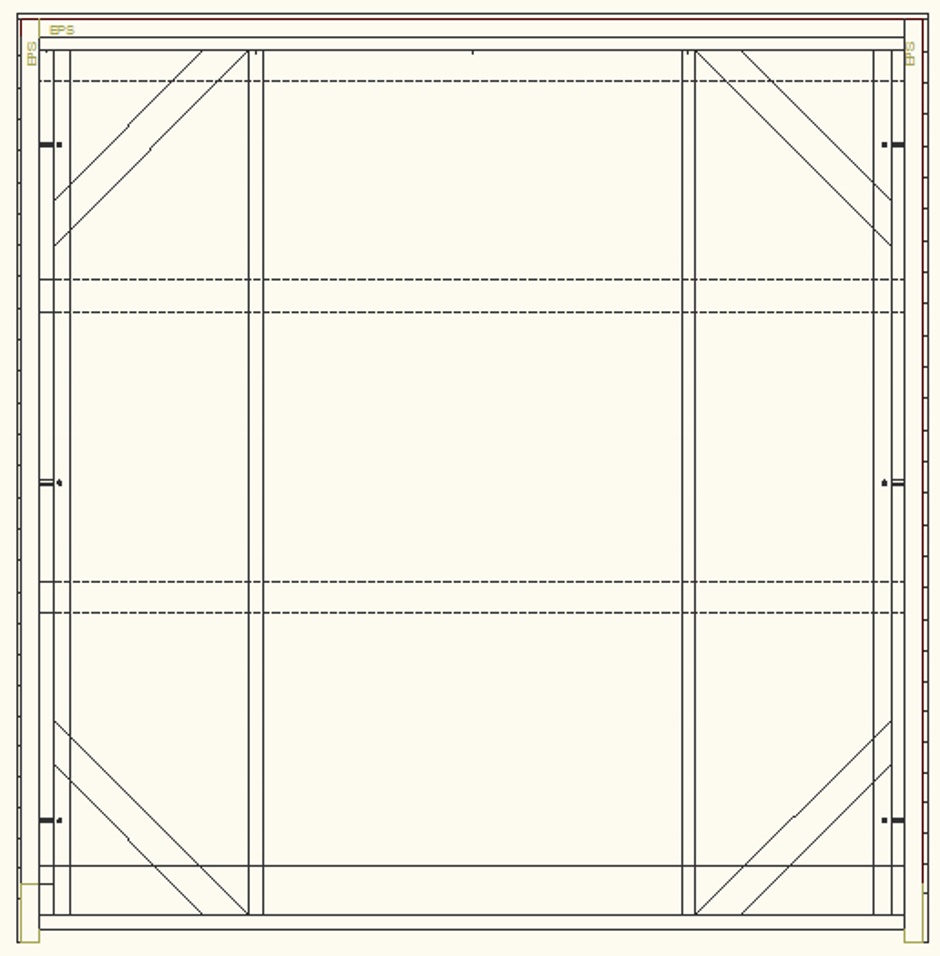
Everything is based round 8 foot long 2x4s. Wall sections are 8' wide and 8'3" high. The outside is clad in 8'x4' sheets of 2" EPS.
Could potentially do without the triangulation corner pieces as internal particleboard can be used for triangulation. When fitting (before particleboard) could use a temporary diagonal piece of 2x4. The particleboard could be fitted during panel assembly but that is not a good idea as it may get rained on.
The best screws to use are...
 Exterior wood screws
If you want to make the shed a bit shorter (to keep within the 200sqft limit) then the last panel on each side can be done as a 4' panel.
Implementation
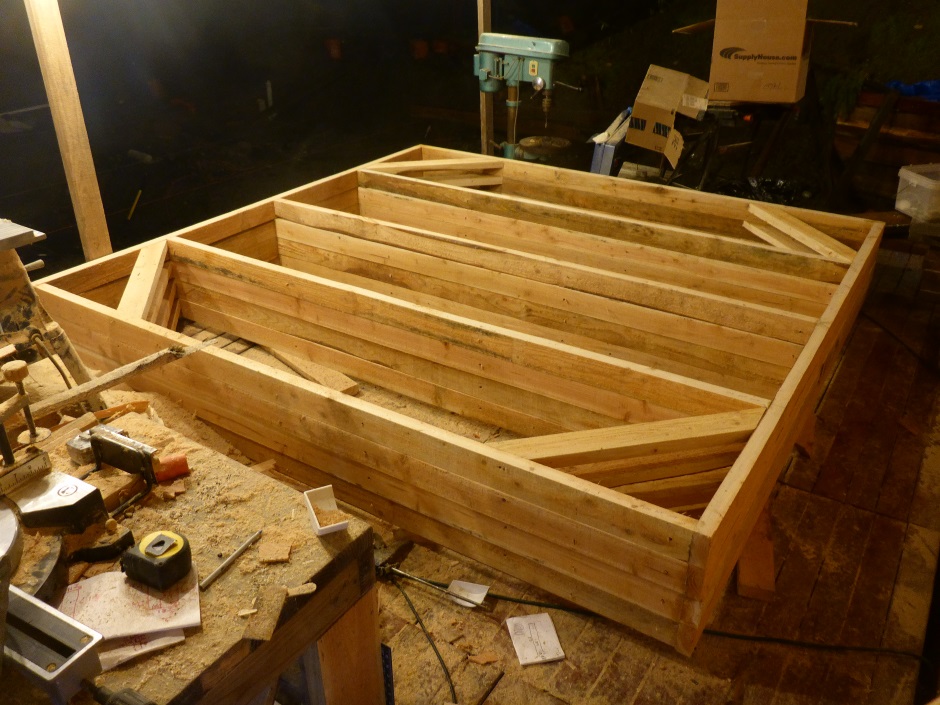
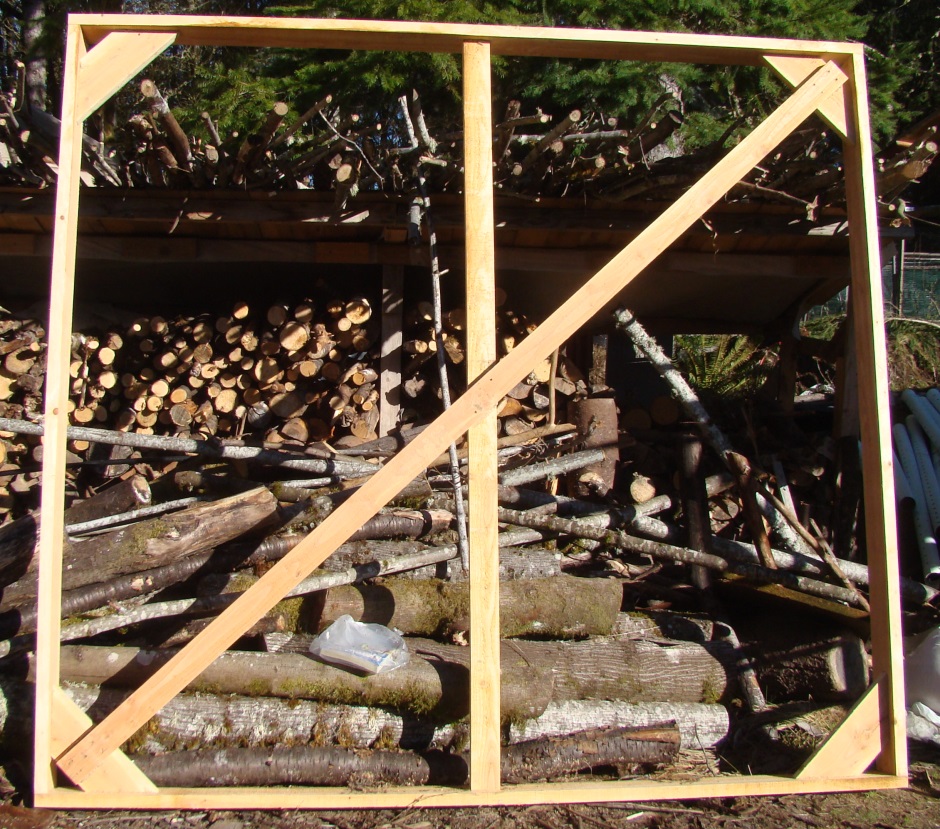
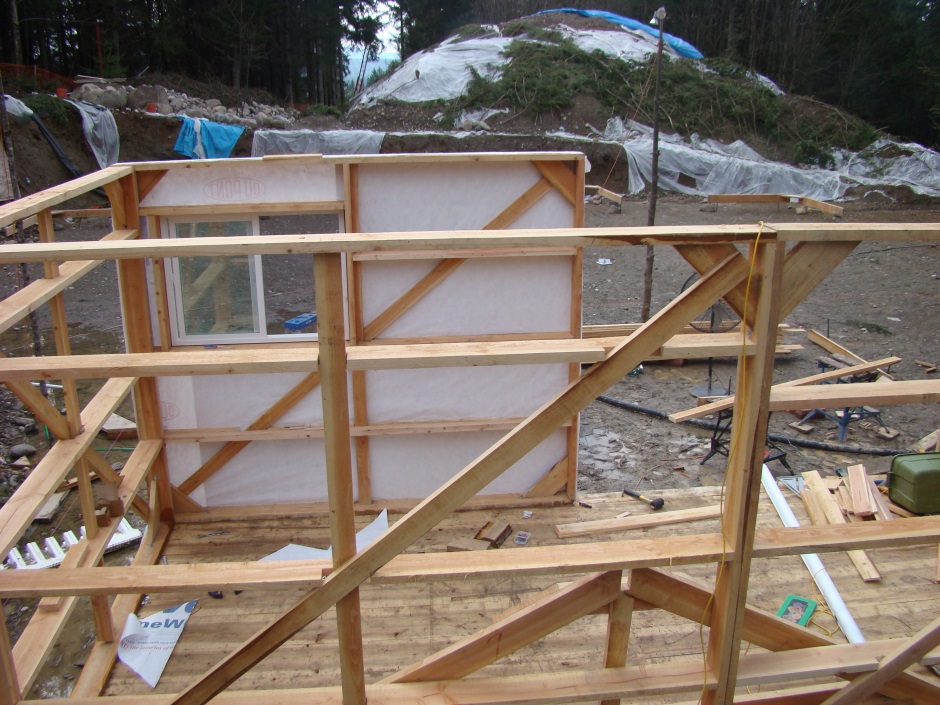
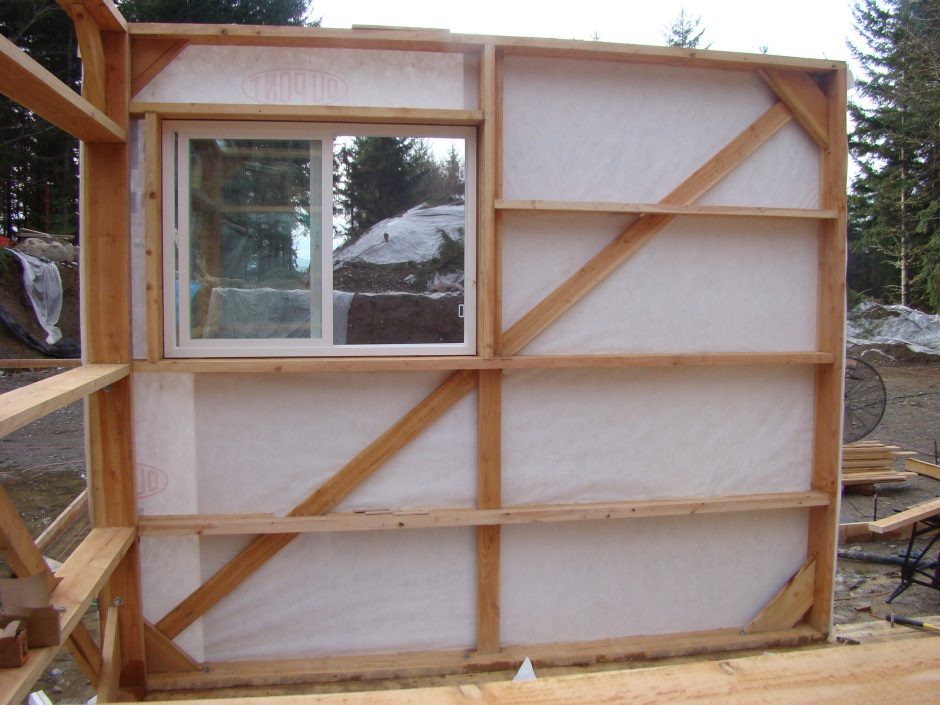
First make a bunch of 8 foot wall sections. After screwing and PL-Premium gluing the outer rectangles of a wall section and the over verticals, measure the diagonals and get the diagonal measurements to be equal. Once you have it square then add (and glue and screw) the triangulation pieces to hold it square. You can use the first wall section to get the others square if you stack them one on top of each other.
The wall panel for the end wall is the same as the panels for the side walls except that they have a couple of 2" wide 2-bys on the side so they can bolt to the side wall sections.
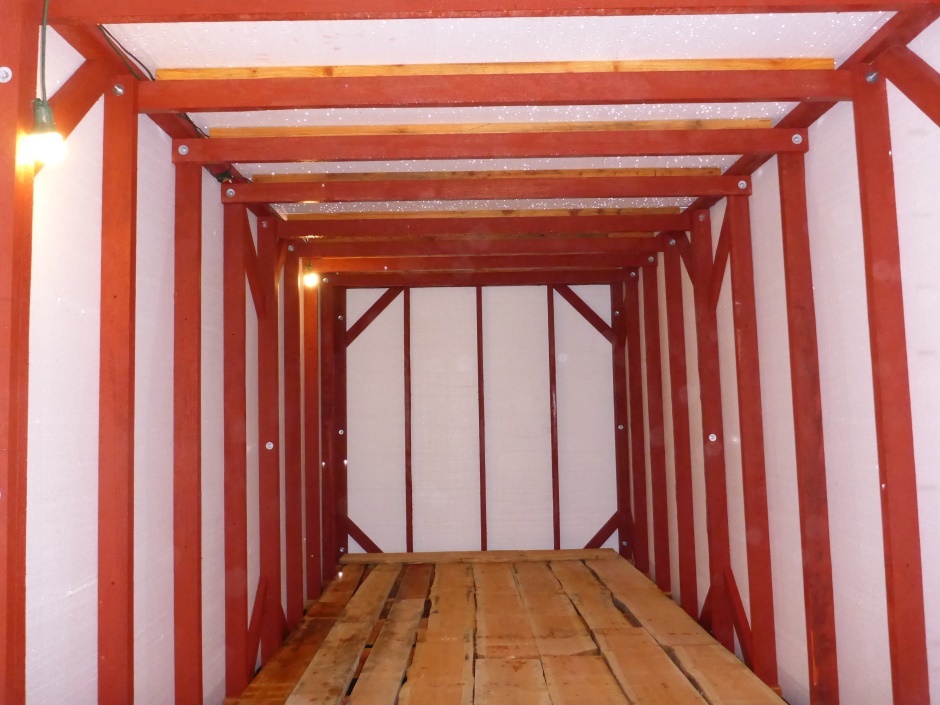
The wall panels are then bolted together. (The pictures below show the wooden panels painted with wood preserving paint but this is not necessary and is wasteful of your time as the inside of the shed will be dry once fully built.
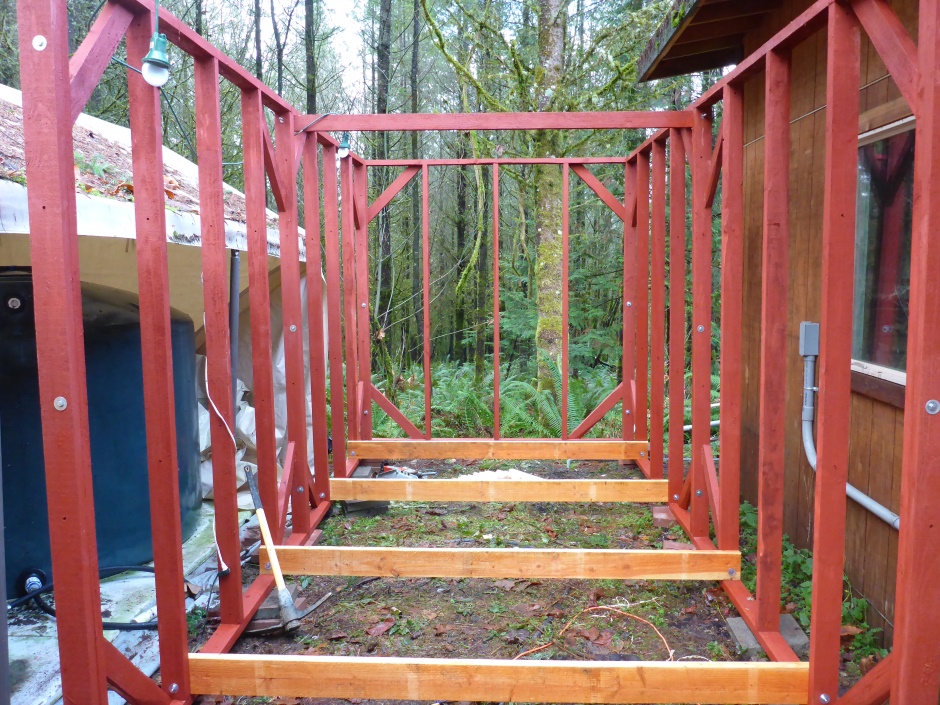
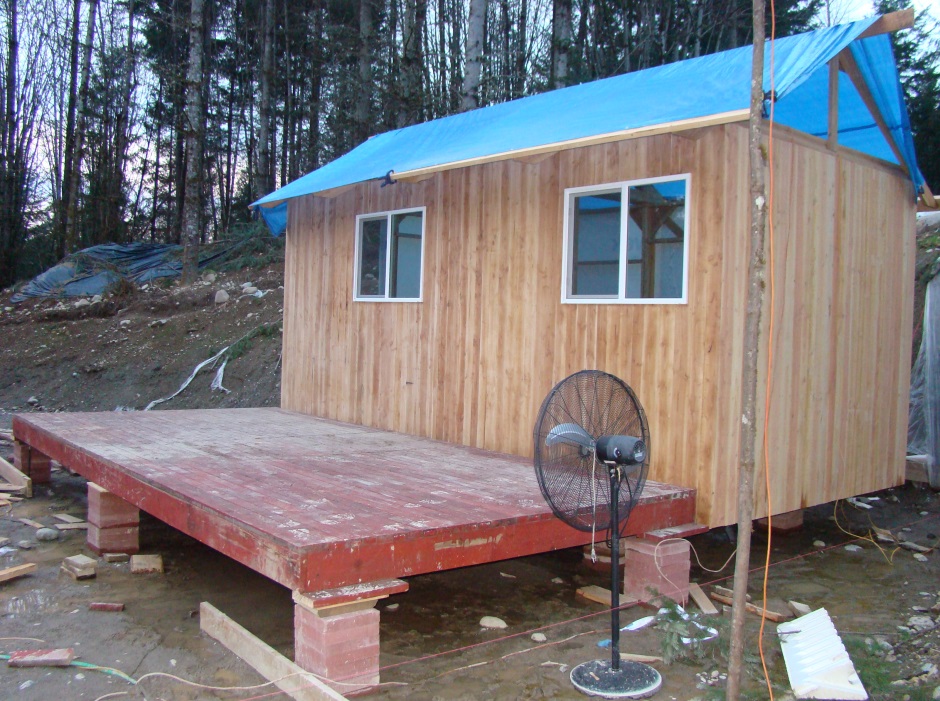
The shed rests on paving slabs to keep it off the wet ground (so the wood does not rot). Use a self leveling laser to get the piles of paving slabs the same height. You will also need some cut to suit wood shims on the piles of paving slabs to accurately level the shed.
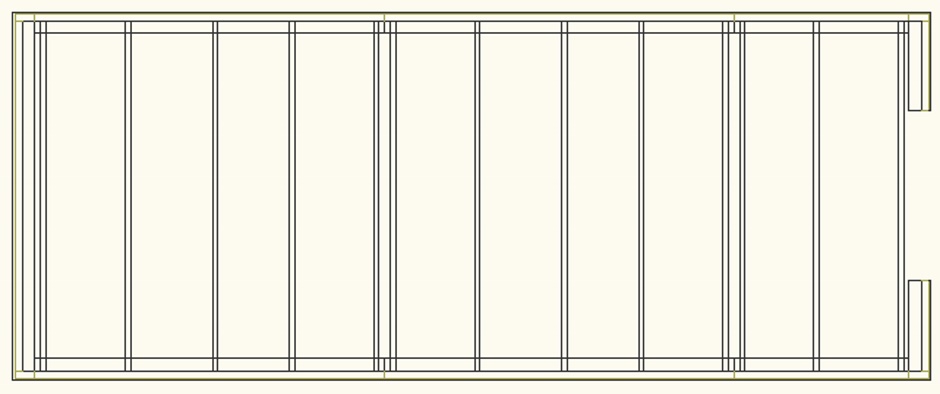
The floor is formed by bolting 2x6 beams across from side to side. This can be done before the shed is accurately leveled.
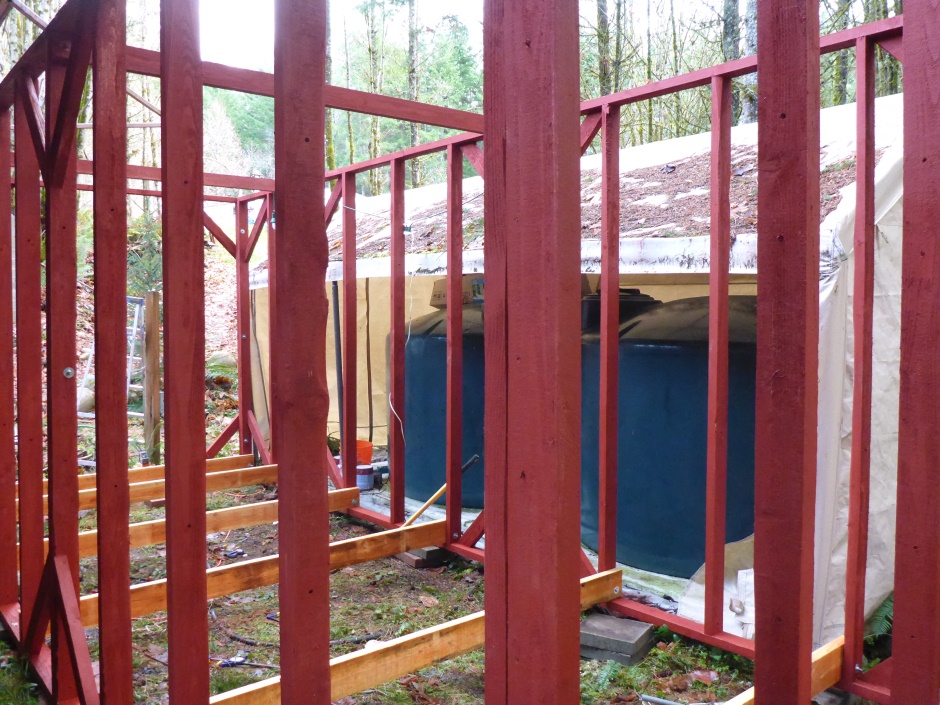
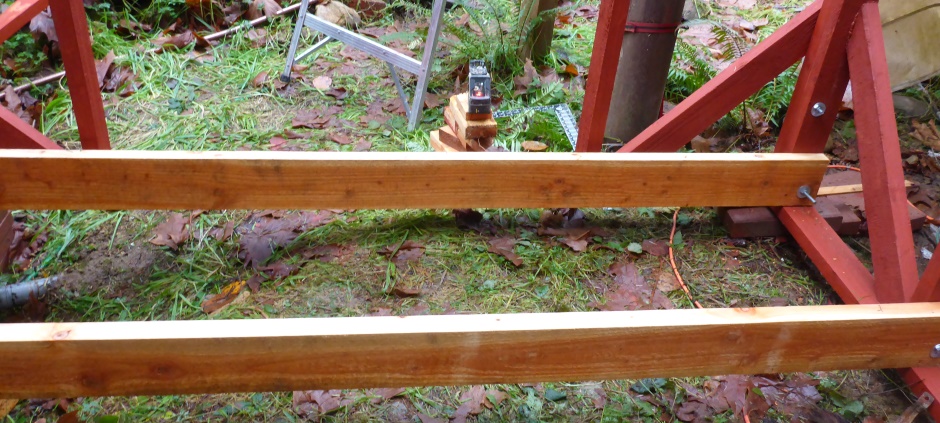
A car jack is useful during the leveling process so you can fit the necessary shims. Also include pieces of waterproof foam gasket to stop water seeping up from the concrete paving slabs into the wood.
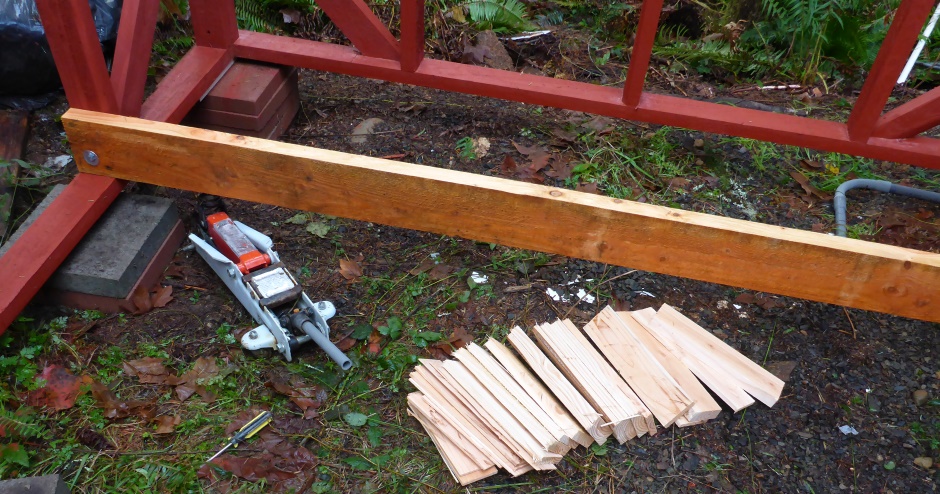
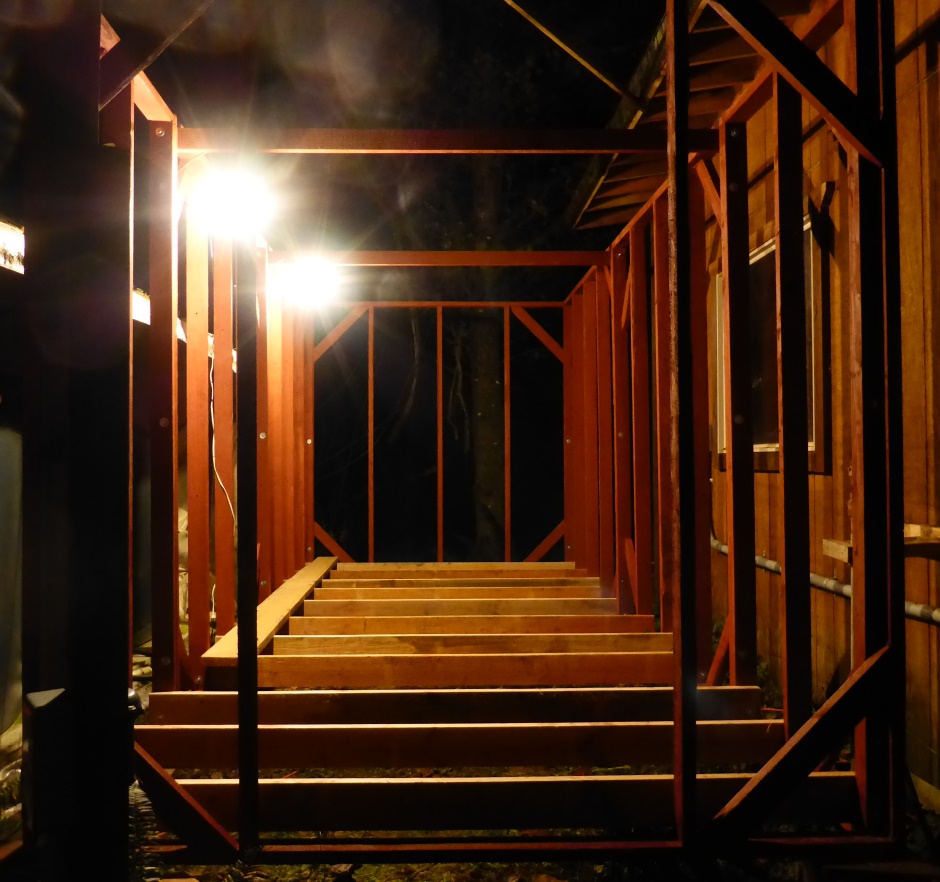
On the outside of the frame, attach 8'x4' sheets of 2" EPS. Type 2 EPS, ie 15psi, is the best choice. Use 3" wood screws and large plastic washers.

The wall EPS sheets are attached such that they extend 2" above the top of the wood frame. This forms a 2" lip all the way round. The roof is formed using more 8'x4' EPS sheets. 2" thick sheets is sufficient, but you can use thicker if you want more roof insulation. I happened to have some spare 6" thick sheets so I used these. There is no need to screw down the sheets because there is a lip to hold it laterally and it will be weighted down to stop the wind sucking it off.
Over the top of the roof sheets put a 10 foot wide piece of 6mil polyethylene sheet and then a layer to keep UV from the sun from hitting it. This is what I refer to as ToughLiner. It is held down with bits of scrap wood from my sawmill. Weighting it down is better than screwing or nailing it down because it is best to avoid making holes in the 6mil polyethylene sheet .
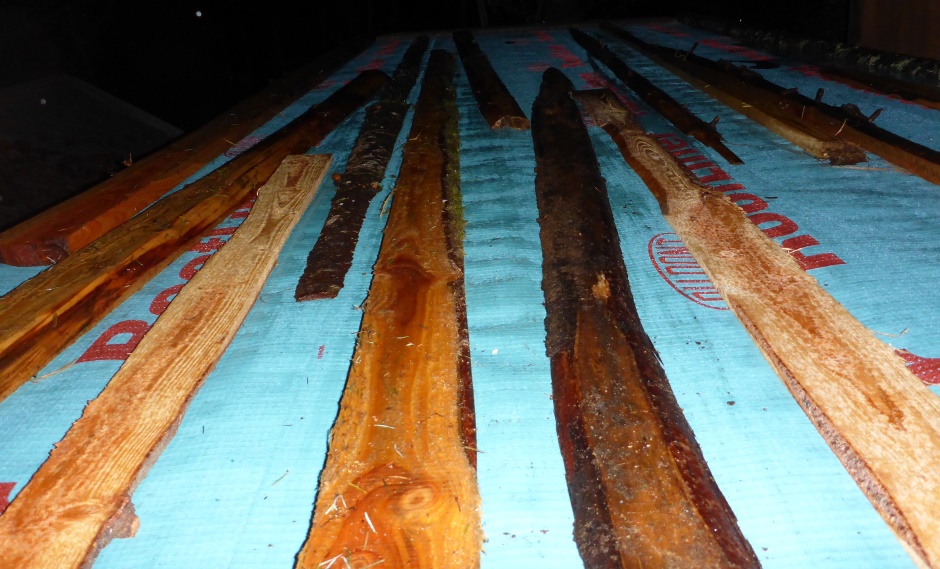
Planks of wood over the floor beams form the floor. In my case one of the functions the shed is to dry freshly cut wood from my sawmill so I just loosely placed rough planks to form a temporary floor.
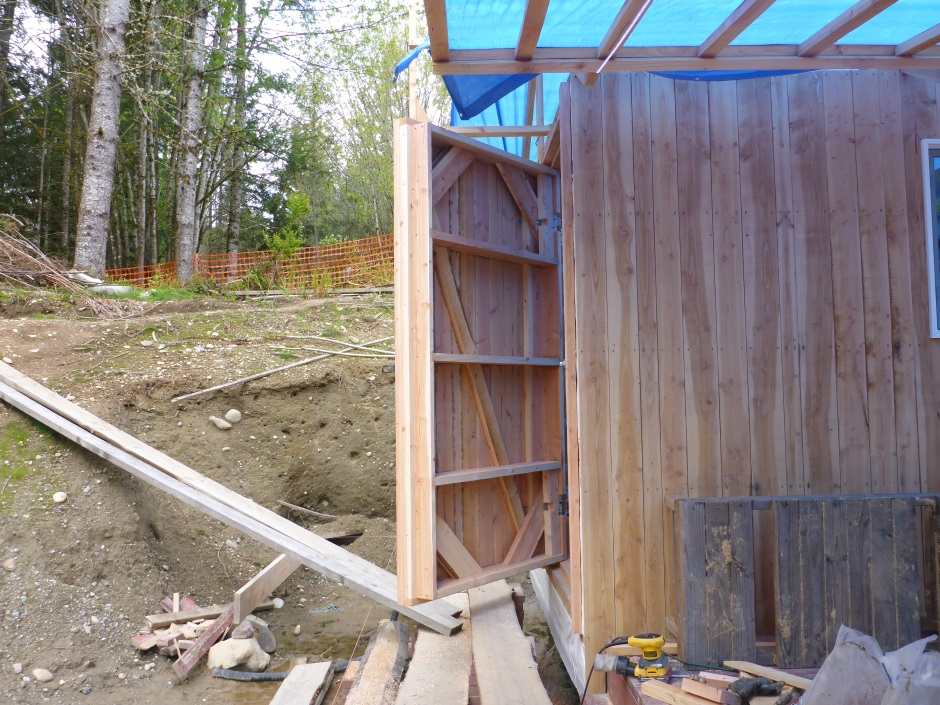
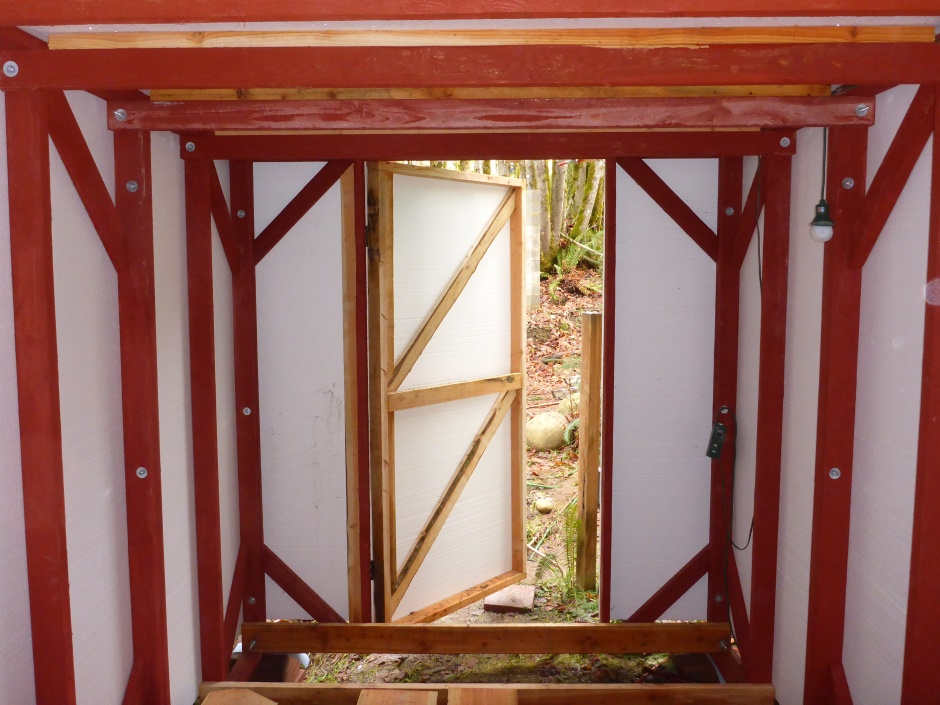
A door is formed using a 2x4 frame with a couple of 45 degree pieces and a cross piece. It is good to make the door 8' x 4' to correspond to a sheet of EPS.
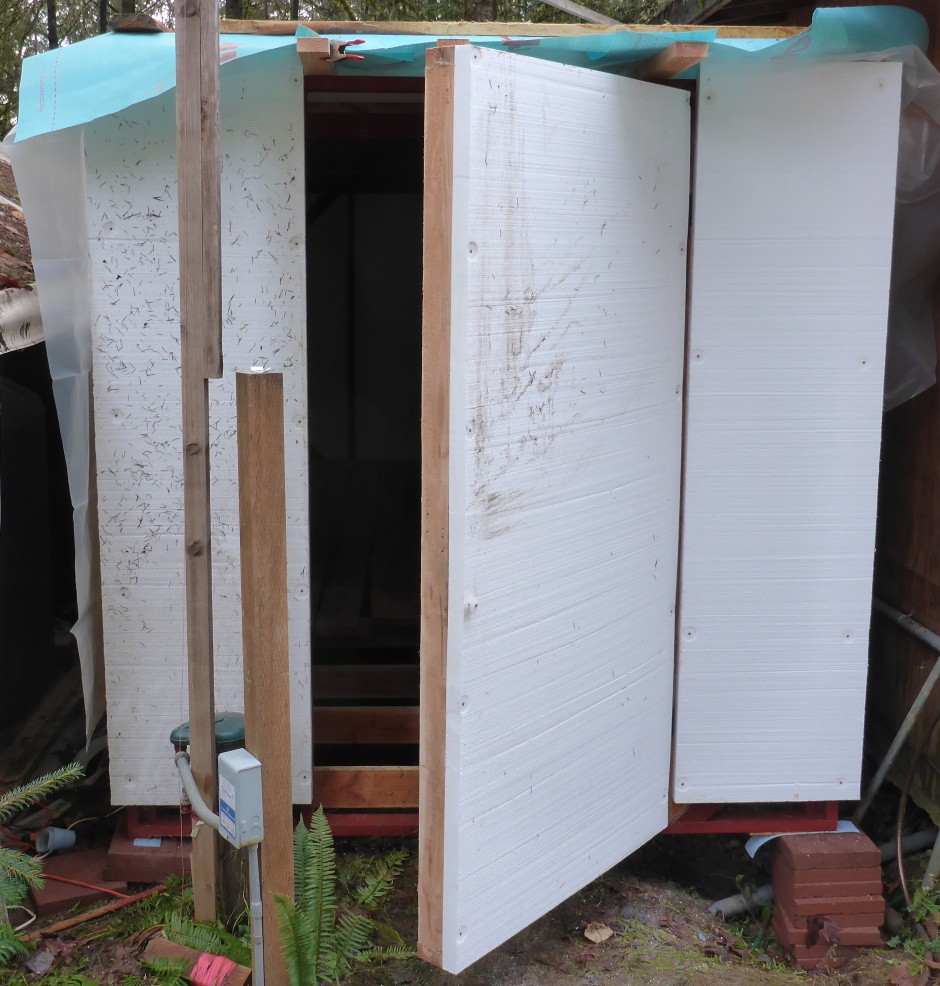
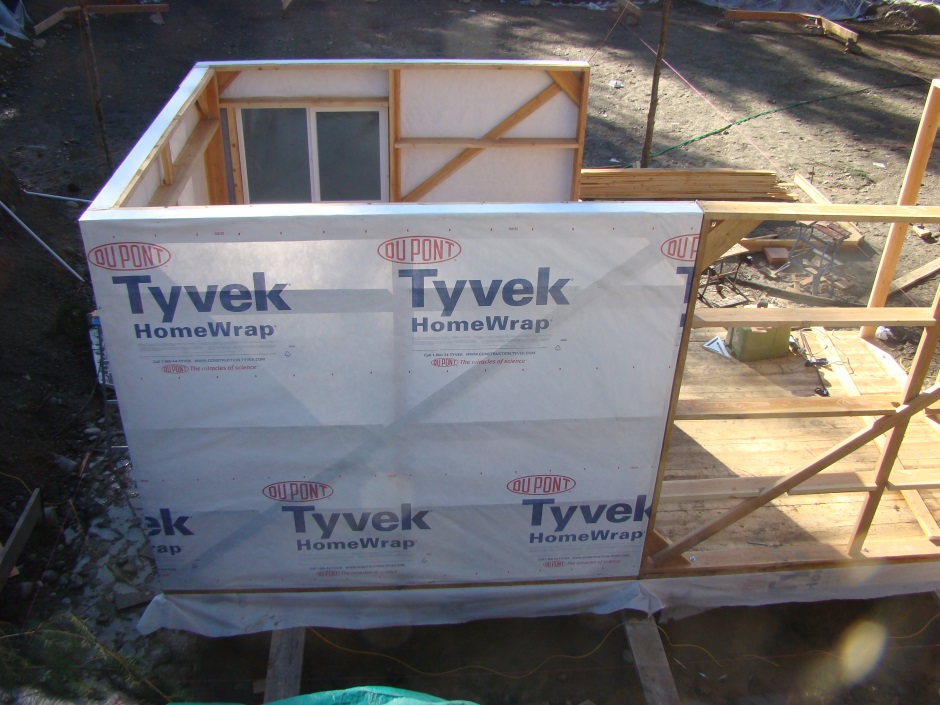
On the walls, add some Tyvek house wrap to get the rain to run down without seeking out the gaps between EPS sheets. On the outside to protect from UV and mechanical damage and to make it look nice, attach half inch thick wood boards. Random widths is fine. Attach them horizontally butt to butt. There is no need to overlap them as you are not relying on them to keep the rain out. Use 3.5" external wood screws at positions corresponding to the vertical 2x4 frame studs.
Substantial pitched roof 2x6 shed
This is the design of the first wooden shed I built. It is a little over engineered in that it uses 6" wide lumber to form the wall section panels. It is also better to use EPS on the outside of the frame before adding the outer wood cladding. It does feature a more upmarket sloped roof although this is more work than a flat roof. It also has a more substantial floor that the walls bolt on top of.
Design drawings
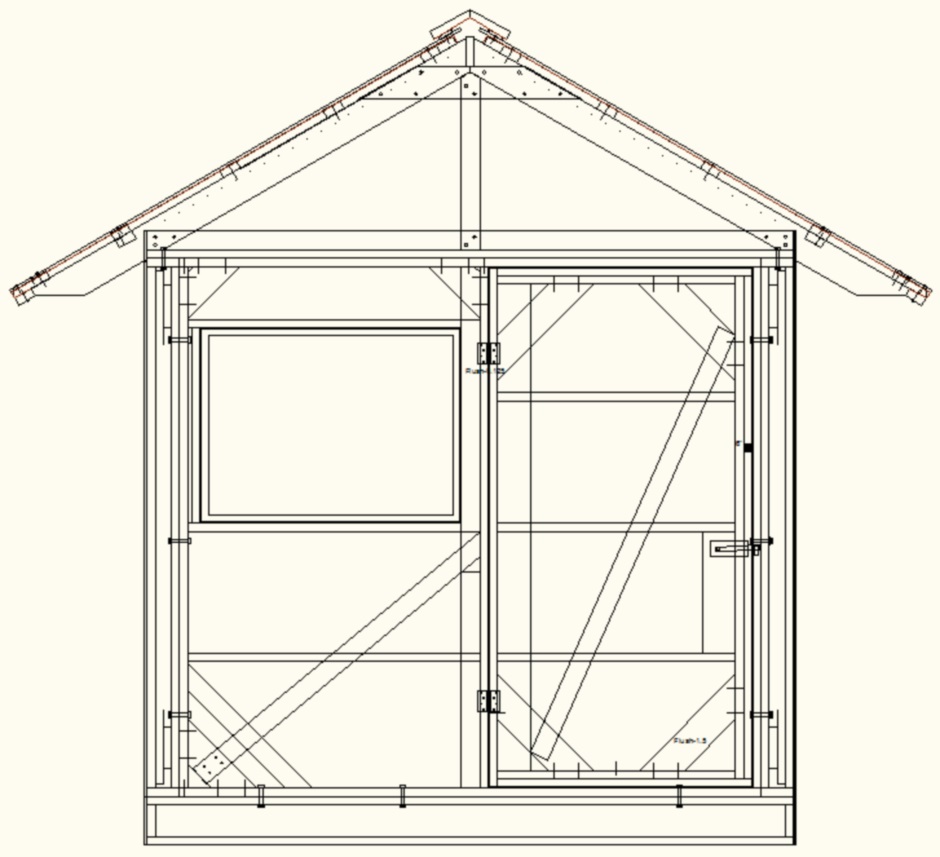
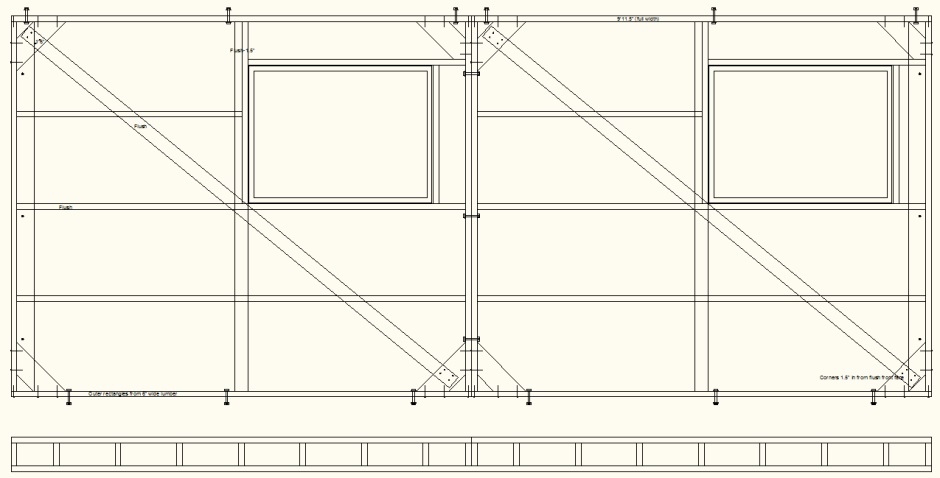
End wall panel with a door and window
Two side panels, both with a 4'x3' window
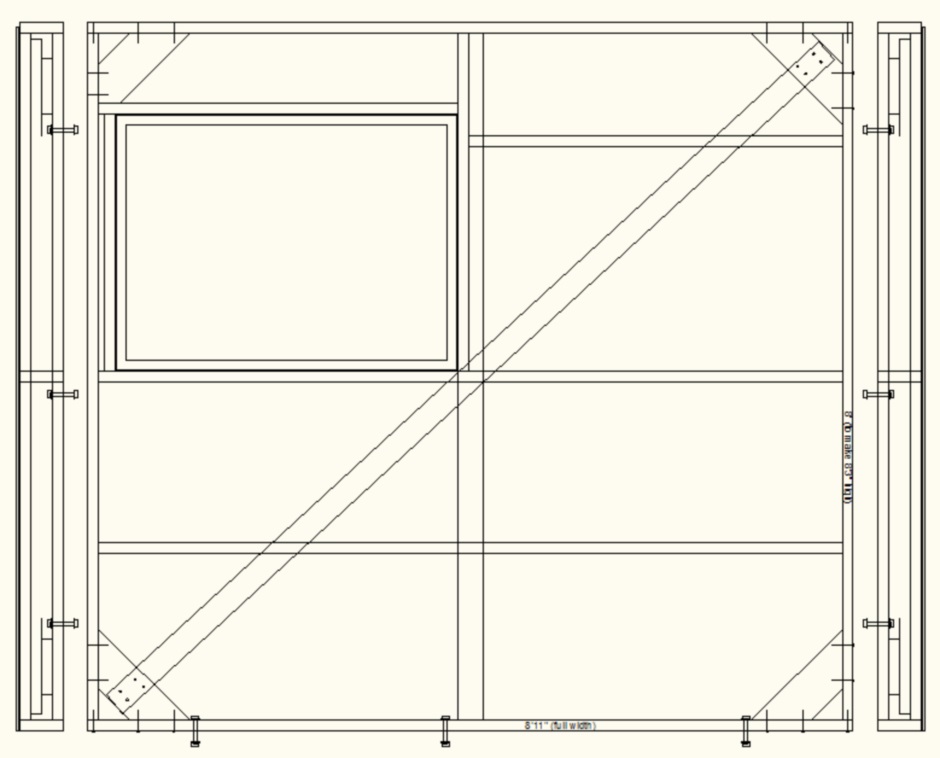
End wall panel with 4'x3' window
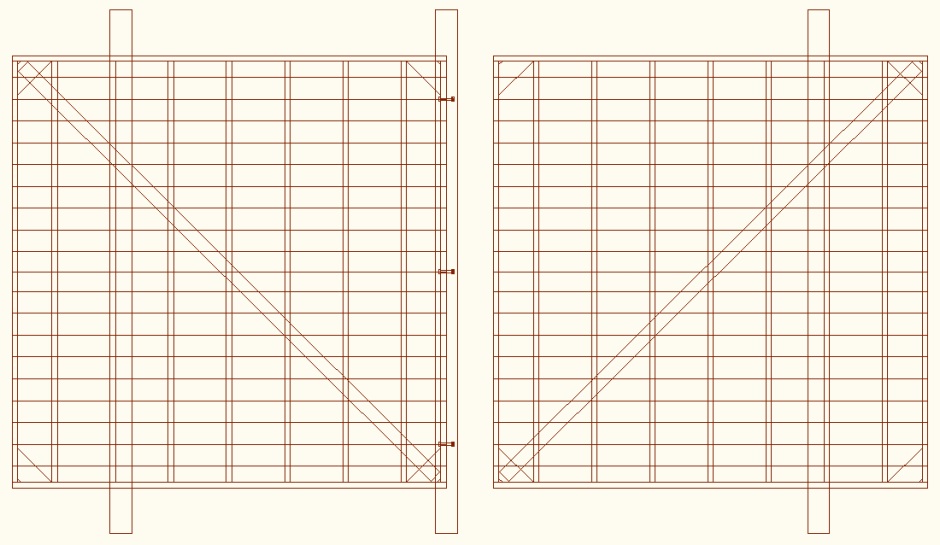
Floor panels with foundation planks
Roof trusses viewed from side

Build the floor panels
There is no foundation involved with the shed. It just sits on piles of concrete paving slabs to raise it off the wet ground. As there is no foundation slab it is necessary to have a nice strong wooden floor assembly.
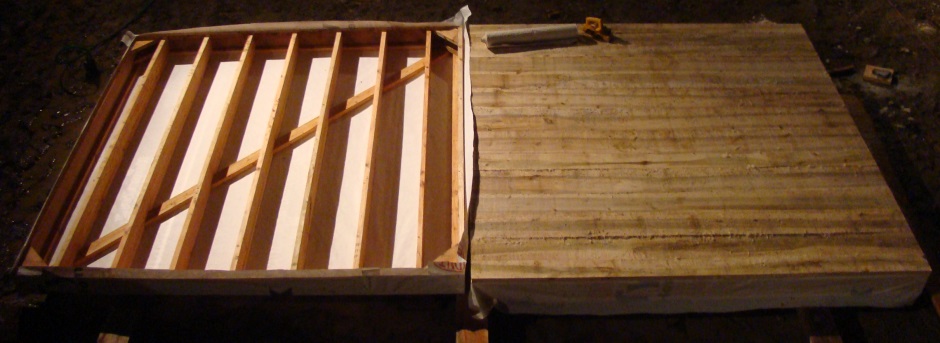
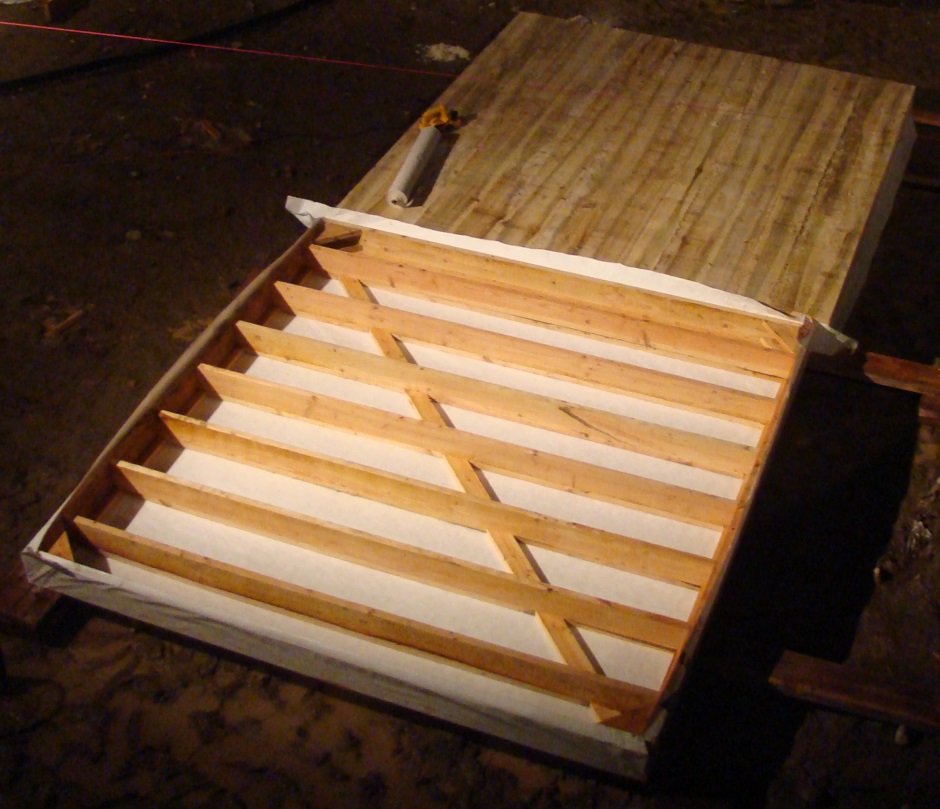
The floor panels have floor joist lumber 16" on center to make a well supported floor. The underside of the floor sections are wrapped with Tyvek house wrap . The top surface (the warm side, directly under the floor boards) is covered in 6 mil polyethylene sheet . It is important not to use polyethylene sheet on both sides because you need water vapor to escape as the wood dries. The assembly needs to be able to breath rather than being a vapor sandwich. Tyvek is designed with lots of microscopic pores so that it keeps liquid water out and yet allows water in vapor form to pass through.

The picture above (and the one directly below) shows the floor section up-side-down for the fitting of the Tyvek.
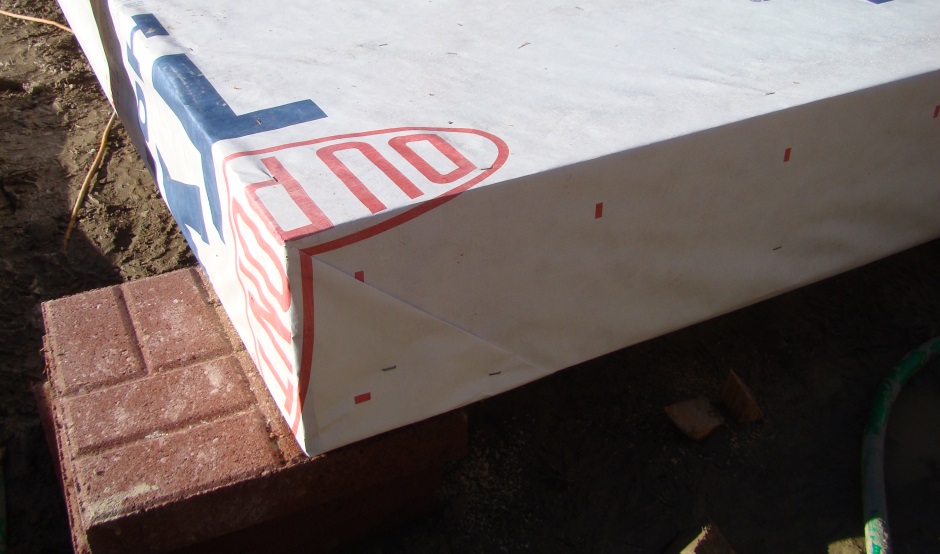
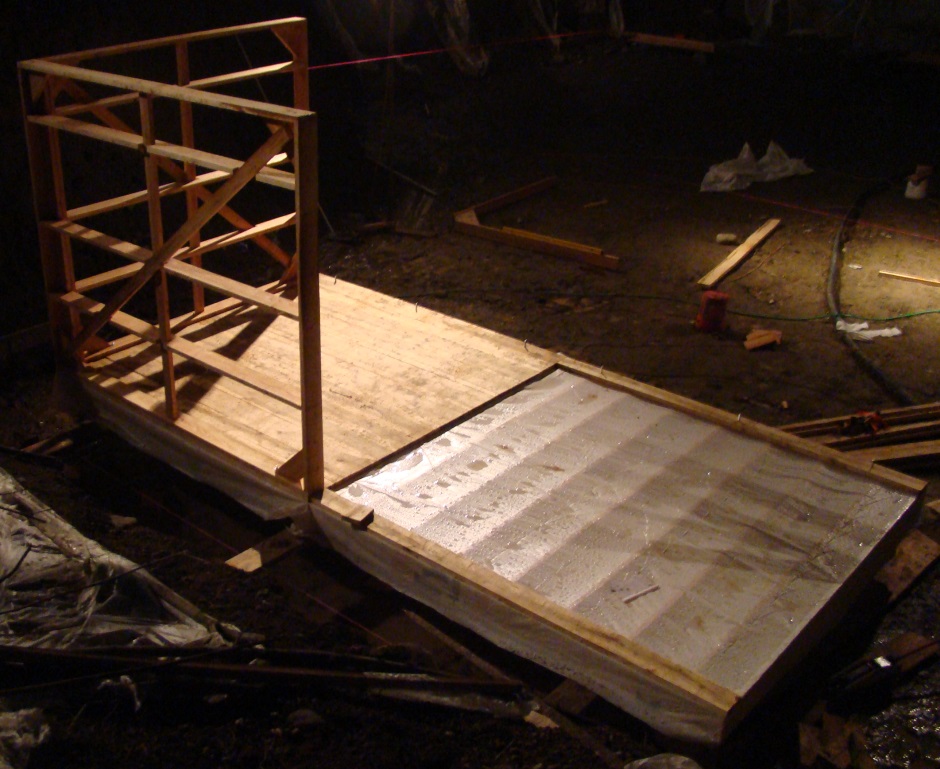
After the Tyvek has been added then the assembly is turned right-side-up and the polyethylene sheet is added. You can see the first couple of floor boards resting in place.
Ideally you would add insulation to the floor (eg polystyrene sheets) between the joists prior to covering with the polyethylene sheet, but insulation is expensive and may not be justified for just a shed. The trapped air between the Tyvek on the bottom and the polyethylene on the top will provide some insulation qualities but its effectiveness is not that great because the air is able to move about with convection (insulation such as polystyrene holds the air still because it is trapped in the polystyrene beads so heat is not transferred via convection).
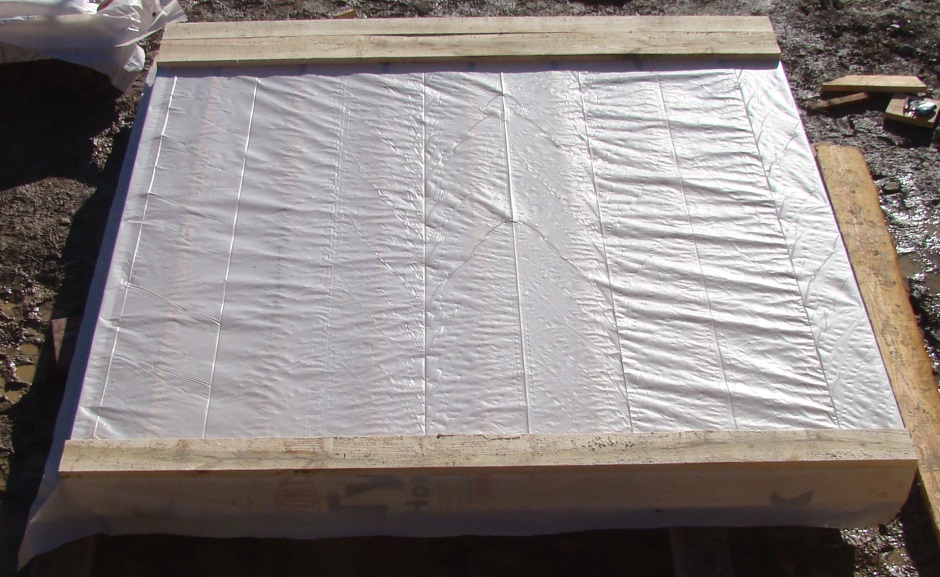
Two floor panels (each 9' 11" x 9' 11-1/2") are needed to form the shed floor. They are bolted together after one panel has had its polyethylene sheet added but with the joining edge not stapled. Initially bolt them together with a half inch gap between the panels so you can get the polyethylene sheet poked down between the panels. The polyethylene sheet for the second floor panel will be completely unstapled so it can be folded back to give access to the bolts. Tighten the bolts to grip the polyethylene sheet in place. Once the two panels are tightly bolted then the polyethylene sheet on the second panel can be stapled.
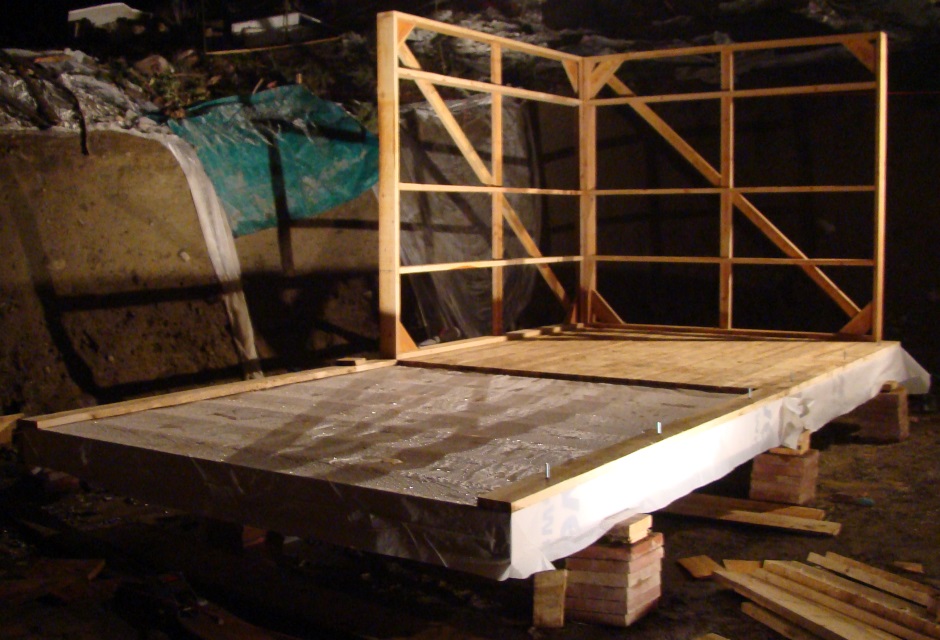
The following two pictures show a whole bunch of floor boards resting in place on one of the floor assemblies. The floor planks are 1.5" thick. The other floor assembly has not yet had the polyethylene sheet fitted. Note the half inch gap between the floor panels.
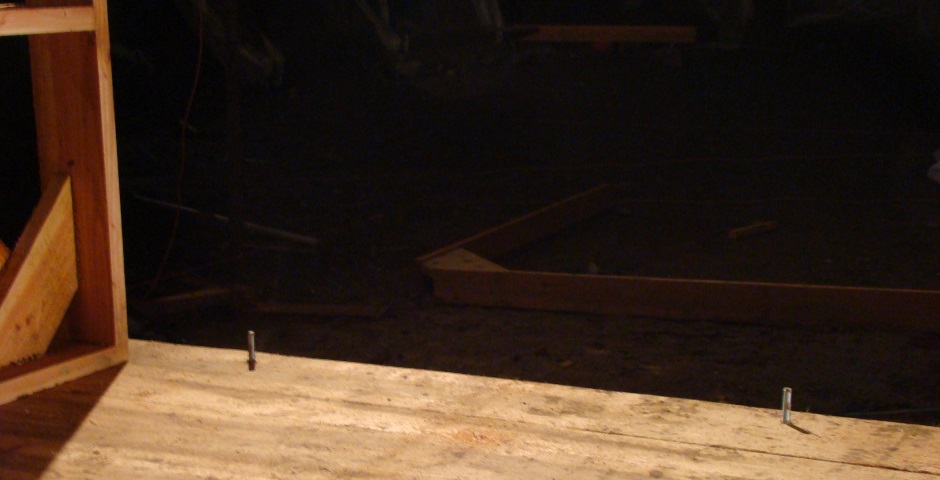
Bolts are fitted pointing upwards to connect the walls. The positions need to be accurate as per the drawings. The bolt holes drilled in the floor planks are a tight interference fit so they hold in place even without nuts.
The floor assembly (consisting of two floor panels bolted together need to be placed on site at the required place and supported by paving slabs to keep the wooden floor away from any wet ground. You will want to have 9 stacks of paving slabs to make a nice stable floor. Use a self leveling laser to get the floor level (adding paving slabs and wooden shims as needed to achieve this). A car jack is a good way to jack up the floor so you can add paving slabs and shims.
Build the wall sections
No sheets of OSB or plywood are used on the walls, which is typically what is used to hold wall panels square. Instead a piece of 2x4 lumber is used to provide the necessary triangulation to hold the panel square, ie to stop it skewing.
Some panels may have framing for window openings (see drawings).
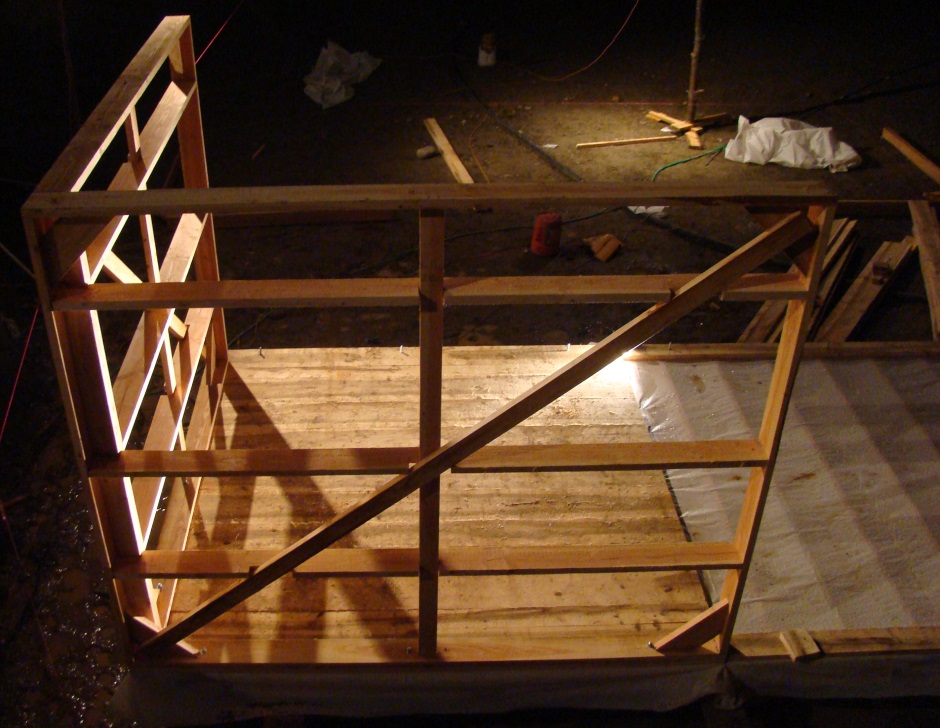
The wall panels are then initially fitted to ensure all the bolt holes line up. Note that additional horizontal pieces have been added to the panels to provide additional attachment for the siding and on the inside for eg drywall (if required).
Before the wall panels are finally fitted they need to be wrapped in Tyvek house wrap .
Then clad the walls on the outside using lumber cut to a thickness of half an inch. It is perfectly ok and the most efficient on wood usage) to make the panels a variable width, ie whatever the tree yields. These planks are 9' long to also cover the edge of the floor (shorter when there's a window). They attach using 1-1/4" galvanized screws.
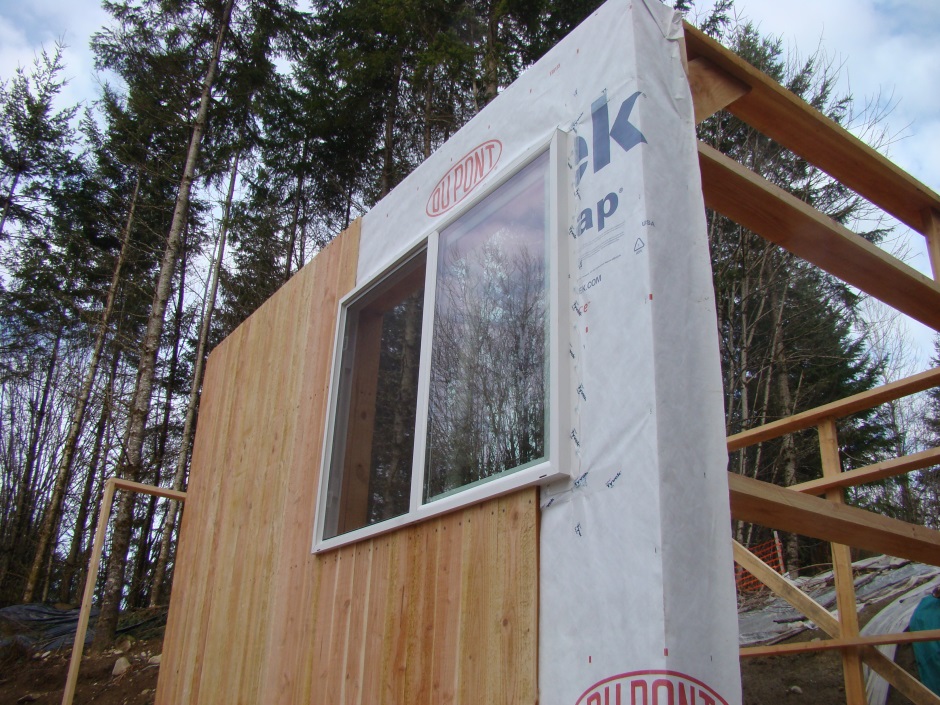
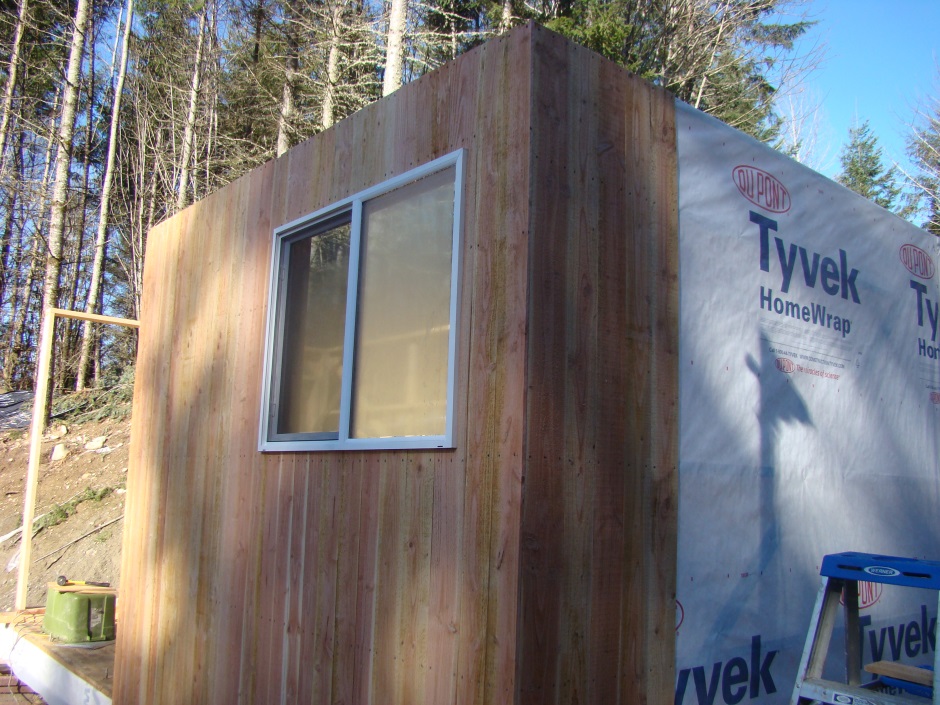
Roof trusses
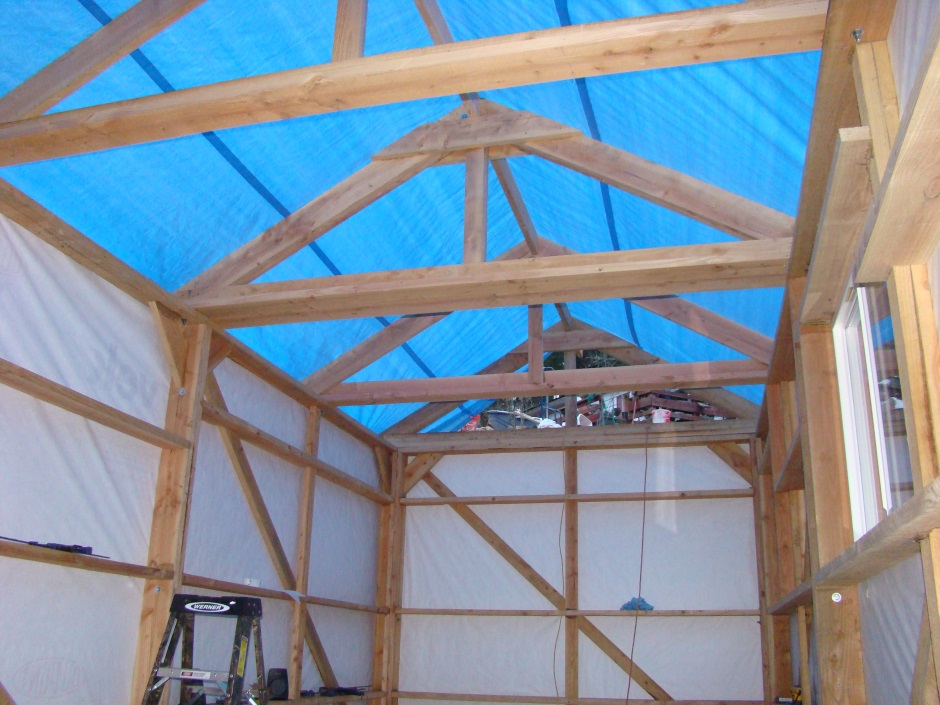
The six roof trusses are made individually and then bolt on to the walls to span between the side walls.
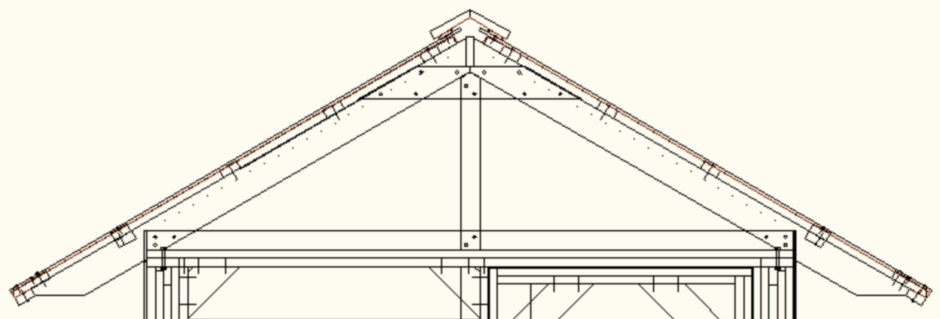

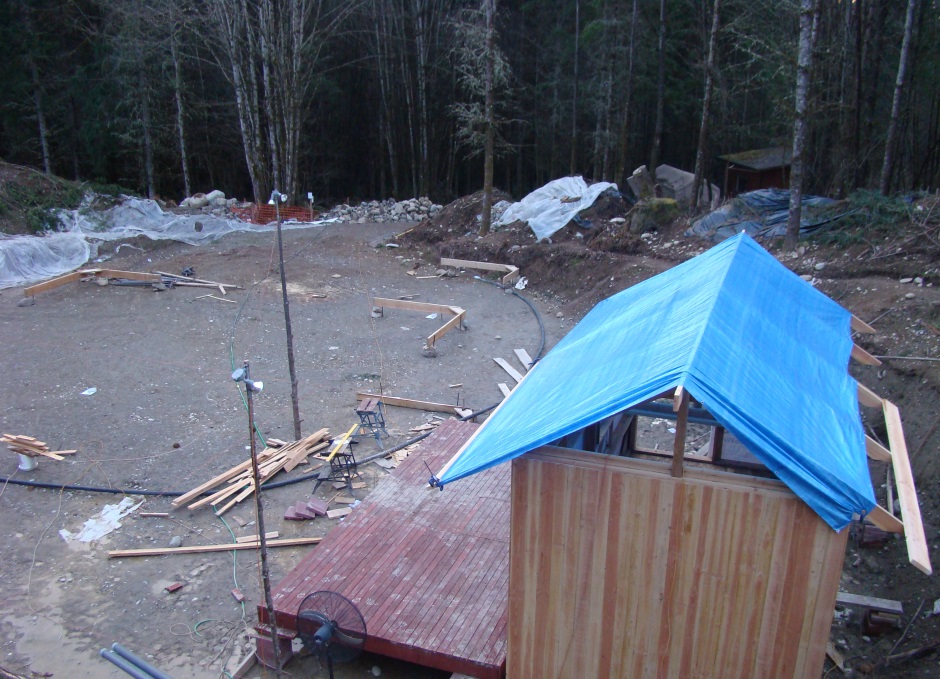
Once the trusses are all bolted on and the two lengths of ridge beam have been fitted, then additional 12 foot lengths of 2-by lumber can be used to fully clad the roof. If this has not yet been done then a tarpaulin can be stretched over the trusses to make the shed temporarily waterproof.
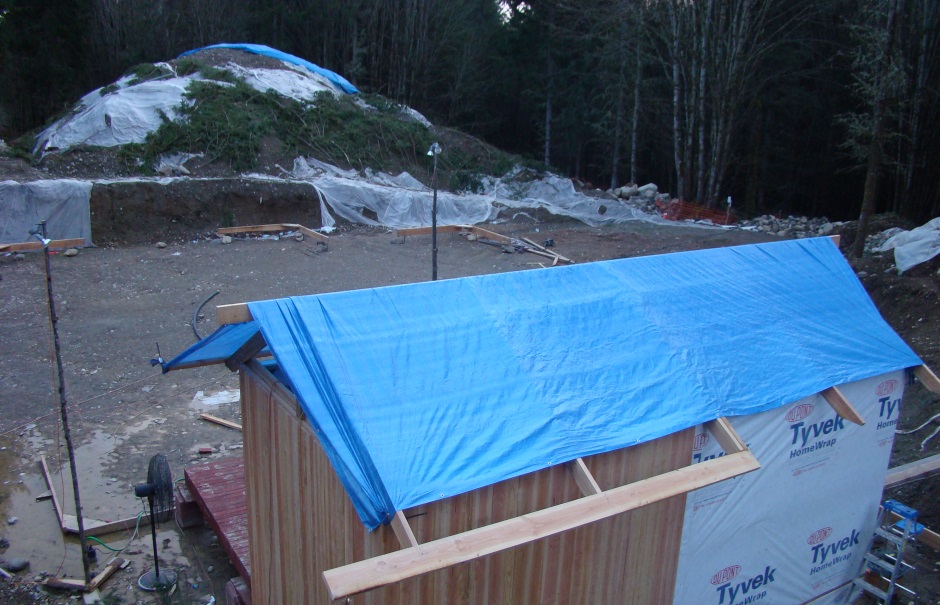
Door
The shed door is really just another wall panel, ie it is also 6 thick. Instead of being bolted in place it is fitted with good strong hinges. It can be clad using the 1/2" thick wooden cladding strips, but I chose to use 1-1/2" planks because I wanted to make it look strong. The reason for the doors having a 6" thick cavity is that they will have insulation fitted.
The wood used to make the door needs to ideally be kiln dried wood or you will get splitting as the wood dries.
With such a heavy door it is necessary to use good string hinges.
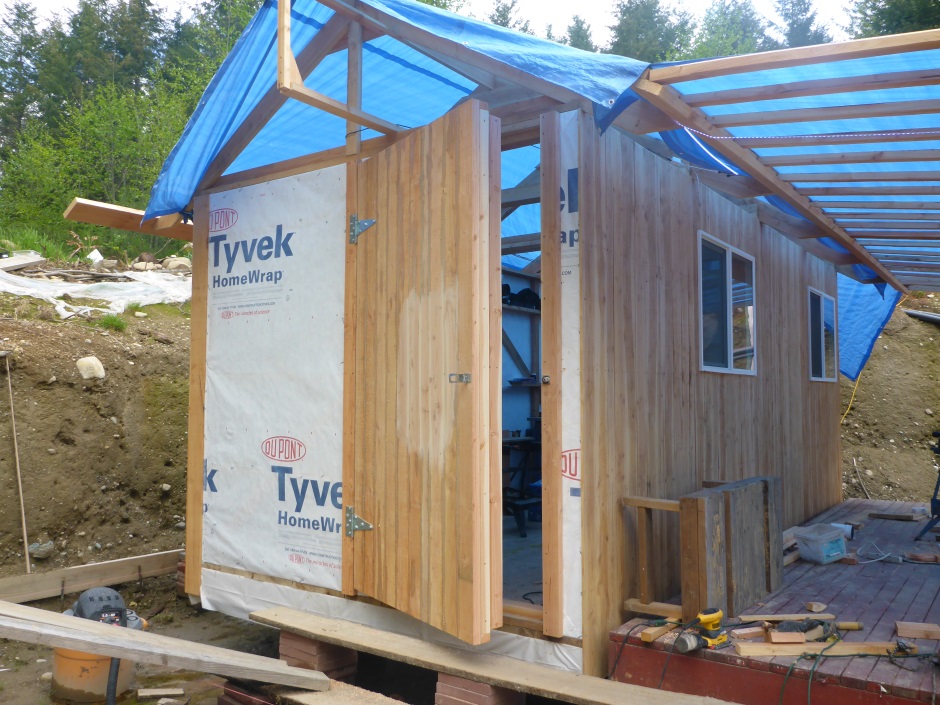
There is a 1-1/2" lip on the door edges that mates with an opposite lip on the door frame so that weatherstrip can be fitted to make it an air tight fit.
Porch
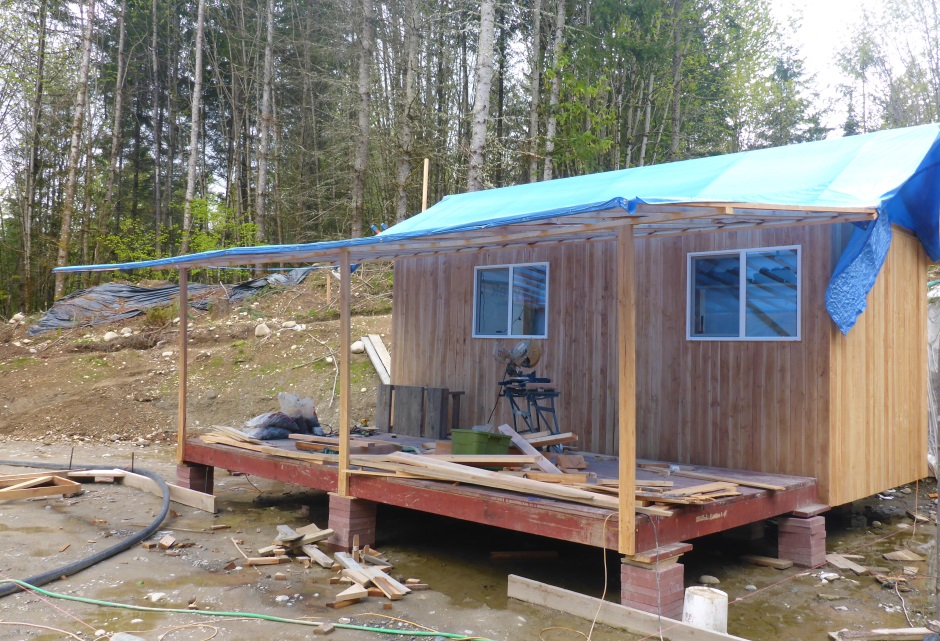
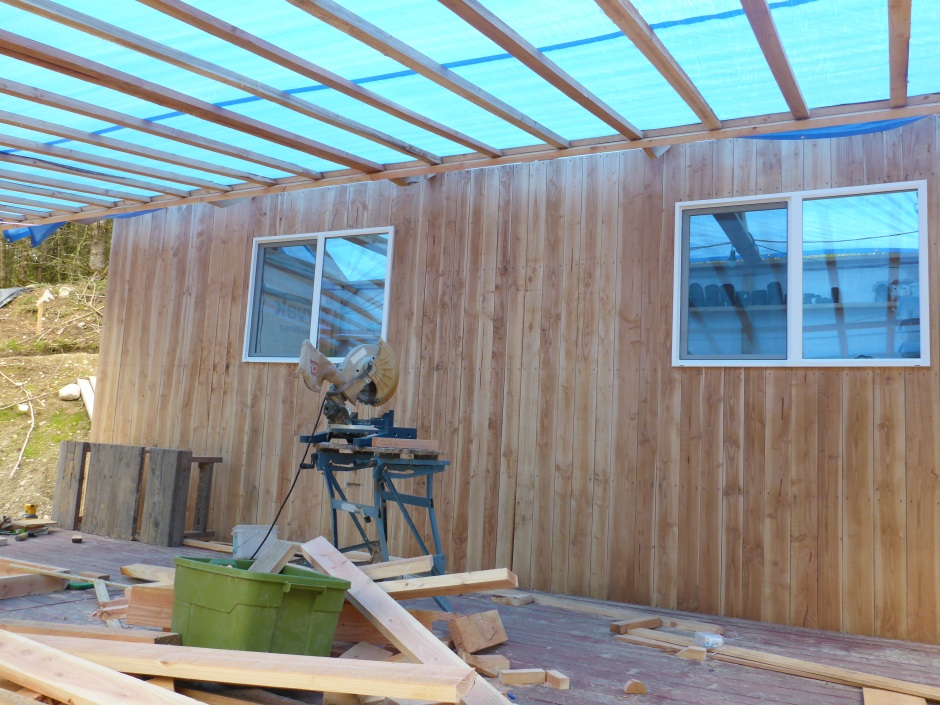
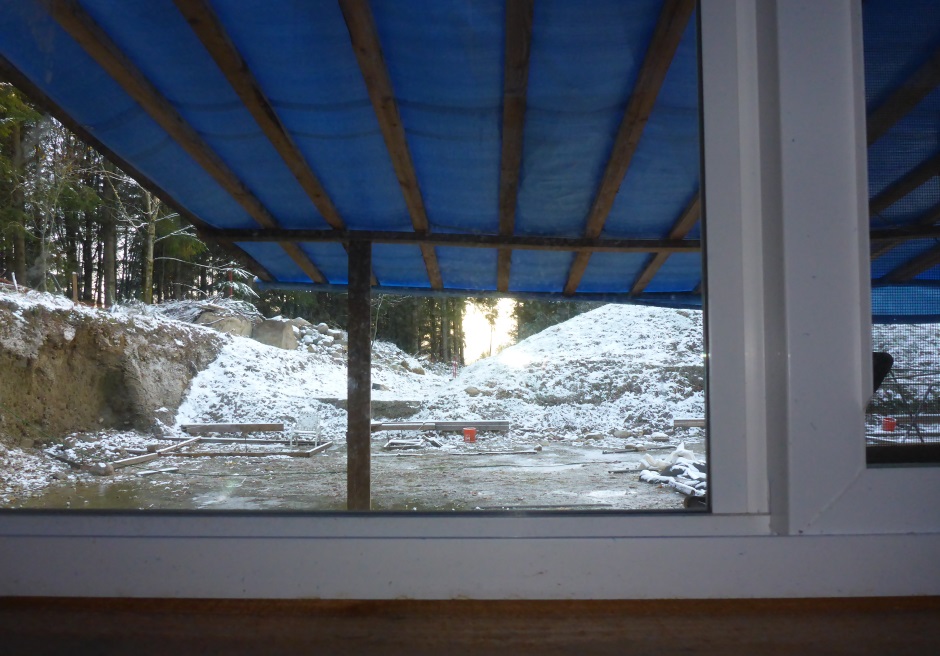
A shed on the build site is great for storing tools etc, but it is not the best place to do sawing of wood because of the dust that is created. It is good to implement an outside covered area to do this type of dust generating work. An additional wooden floor was built and then thin wooden strips were used to support another tarp to keep the rain off.
