Home Site Map - Techniques - Automation and Data -
Data Wiring
![]() Wiring details for installing Cat-5 and Cat-6 connectors.
Wiring details for installing Cat-5 and Cat-6 connectors.
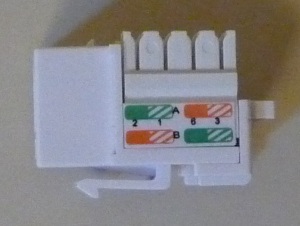
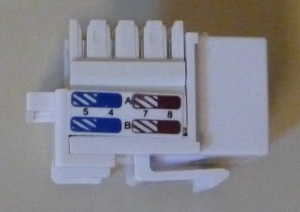
Connector diagram
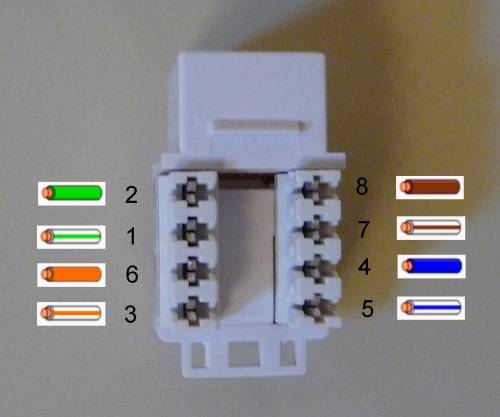
The most fundamental thing when doing data wiring is to get the 8 wires from the Cat-6 cable connected to the right pins on the Cat-6 socket at each end, so that's why this wiring diagram is shown right at the top of this page. You may want to print this picture on a color printer and paste it to the top of your tool box.
Note that the wiring shown is as per the "T568A" spec. This is the spec to use. It's best to just forget about the "B" version. You will however see the "B" version with it's different wiring also written on the side of sockets - just ignore the "B" version and stick with the "A" version.
Intro
With only a few exceptions these days, the majority of low voltage wiring in a house should be an IP network. This includes the following functionality:
Internet connectivity
Moving files between computers and computerized appliances
Routing audio around house
Internet radios
Security cameras around the property
Intercoms
Lighting control and other home automation
You need lots of Cat-6 wires that are wired in primarily a star configuration from a central point. The central point should be a data closet.
Note that I said Cat-6 wire rather than Cat-5 or Cat-5e. There is hardly any cost premium for Cat-6 so you may as well buy the best.
Cat-6 sockets with 110 punch downs are made for solid cable. Typically plugs are designed to work with the stranded. When installing long runs, use solid Cat-6 cable in the walls and terminate it with 110 punch down sockets at both ends and then use short patch cables from the wall plate to the switch box and the PC/appliance. It's best to buy ready made (ie already terminated) patch cables.
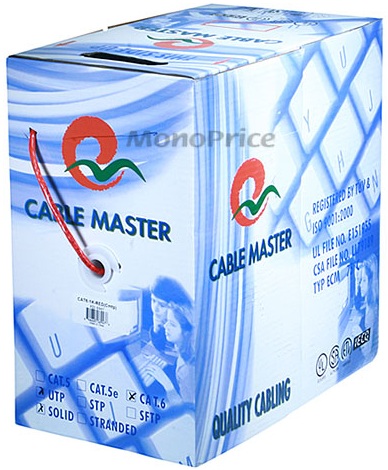
Cat-6 cable
You need to buy Cat-6 cable (not Cat-5 or Cat-5e). It is best brought in 1000 foot lengths. It can be brought in a wide range of colors. Every time you buy a box then pick a different color to make it a little easier to trace wires. The best place to buy it is given here.
You can buy Cat-6 with either solid or stranded conductors. Solid conductors have better electrical performance so should be used for longer runs and for all in-wall installations. Stranded wire is more flexible and is used for short patch cables.
Cat-6 cable is also available with different frequency specs. I recommend using 550MHz.
Get cable that's in wall rated. Usually the description will say something like CM/CMG rated or will say "In wall rated".
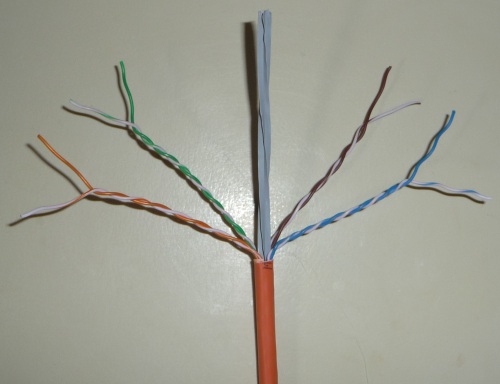
The following picture shows what the wire looks like inside. There are 4 twisted pairs and a plastic former/separator down the middle.
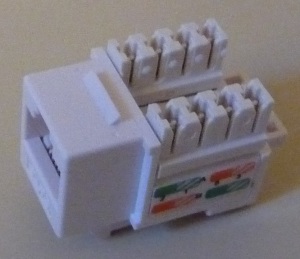
Cat-6 wall sockets
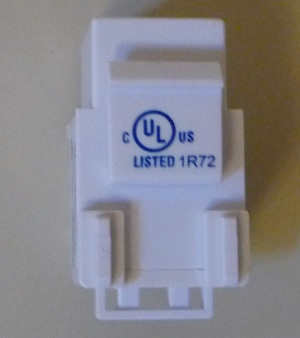
Cat-6 wall sockets are slightly different from Cat-5 wall sockets, so it is worth buying sockets that specifically say Cat-6. The recommended ones are detailed here .
Tools
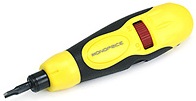
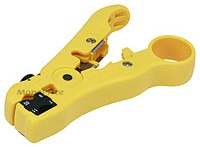
It is worth getting the correct tools. Click on the images for purchasing details.
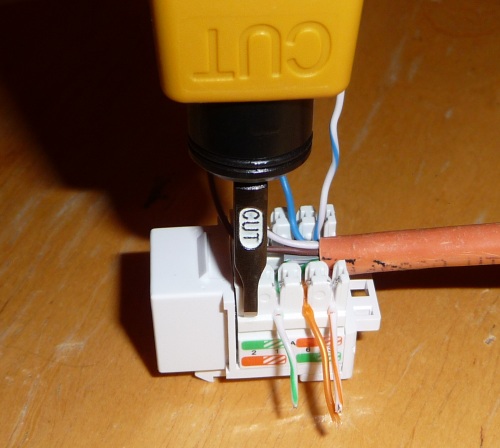
Punch-Down Impact Tool for 110/88 Type
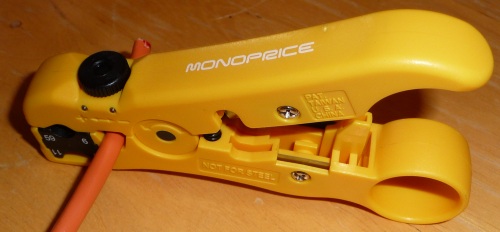
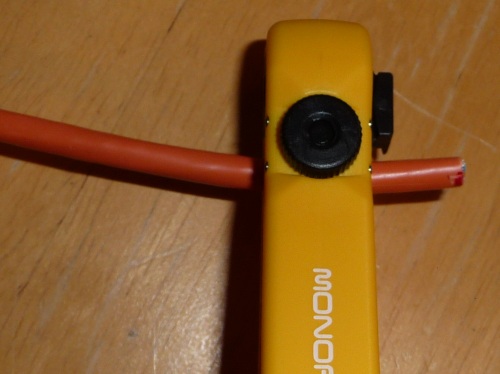
Universal Cable Jacket Stripper
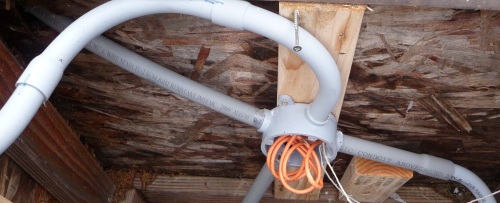
Cat-6 outside in conduit
Attaching the sockets
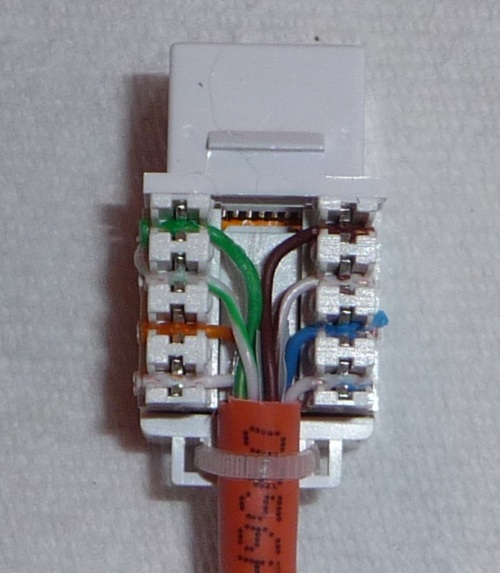
After the wire has been threaded through the walls and/or the conduit then it's time to terminate the ends with punch-down Cat-6 sockets.
Start by removing about an inch of outer jacket so you can see the 4 twisted pairs.
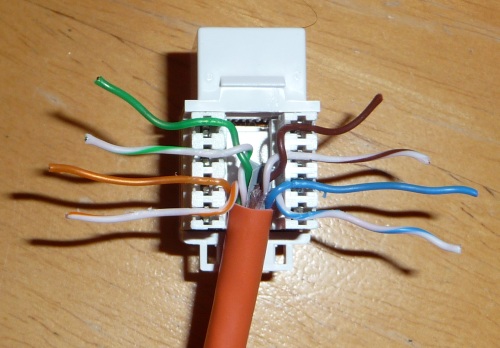
Splay the wires out in a semi-circle with the order corresponding to the order in the wiring diagram.



Patch Cables
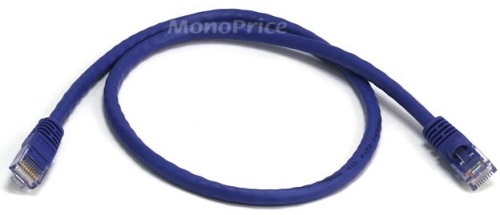
It's best to just buy these ready made, ie with plugs on each end. They come in lots of different lengths and colors. Choose lengths that are just long enough to make the required distance rather than any longer or else things will turn into a tangled mess. Details on where to buy are here .


