Home Site Map - Techniques - Structure -
Carnation Walling - EPS Flooring
![]() Fit the EPS flooring blocks that form the concrete flooring.
Fit the EPS flooring blocks that form the concrete flooring.
Install Carnation Flooring EPS blocks
Carnation Flooring
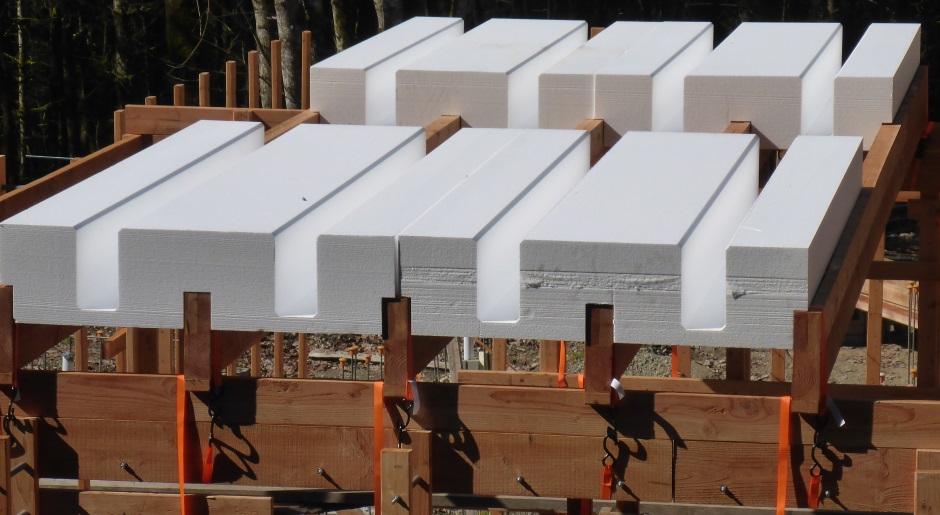
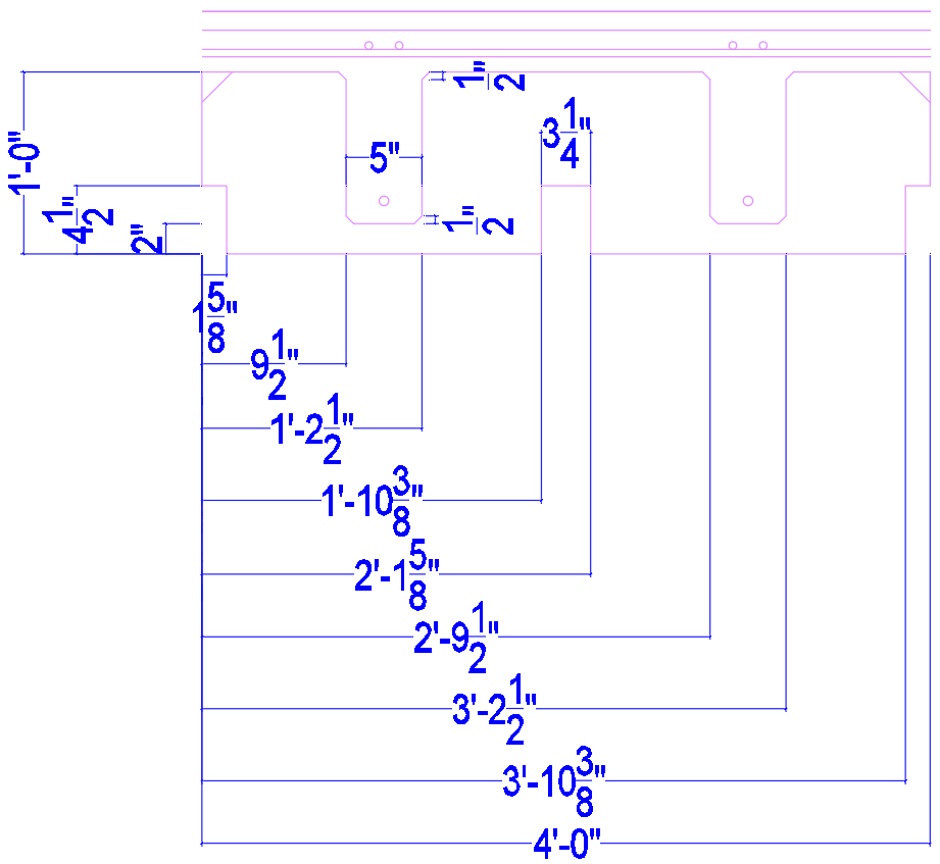
To form the floor (of the house level above) and the associated concrete beams, 8'x4'x1' blocks of EPS are CNC hotwire cut with my custom profile by the EPS manufacturer to make the pieces of Carnation Flooring .
Fit Carnation Flooring EPS blocks
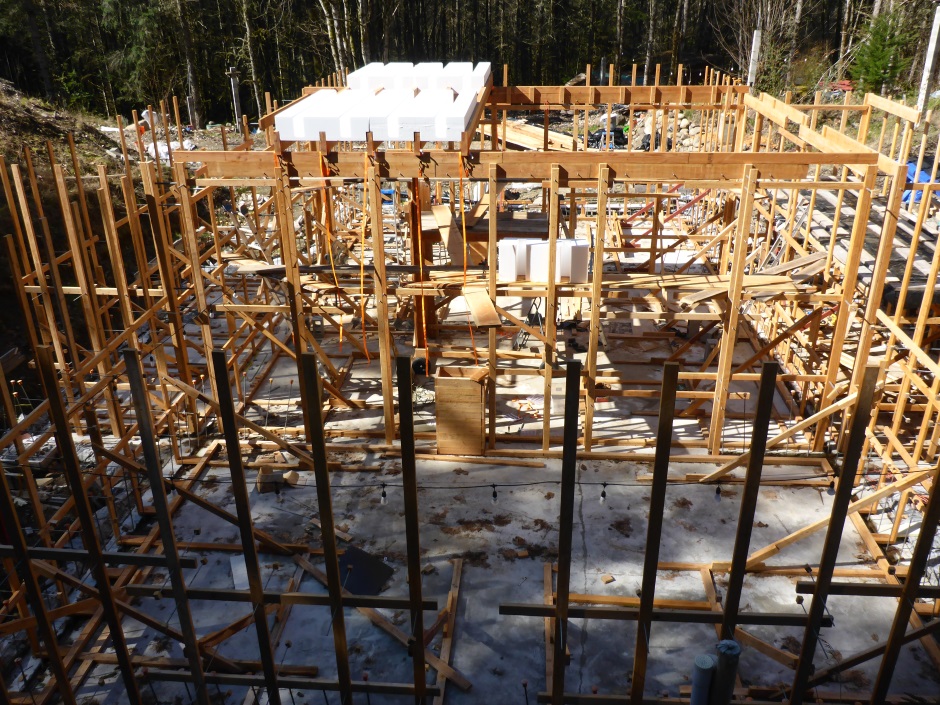
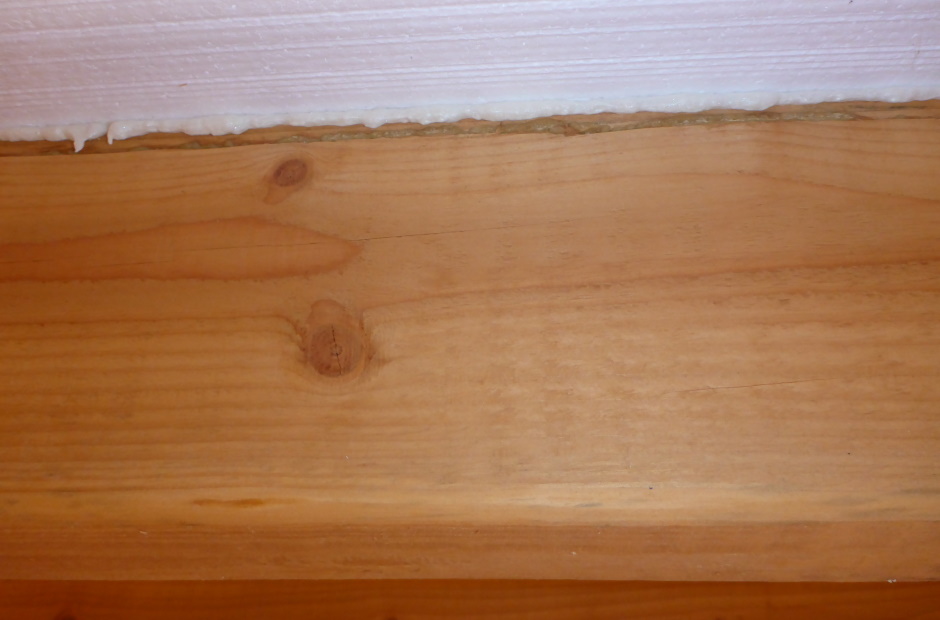
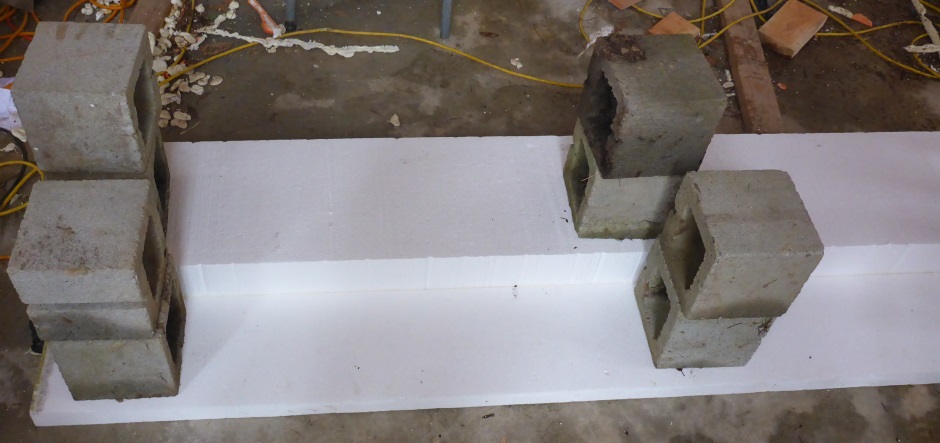
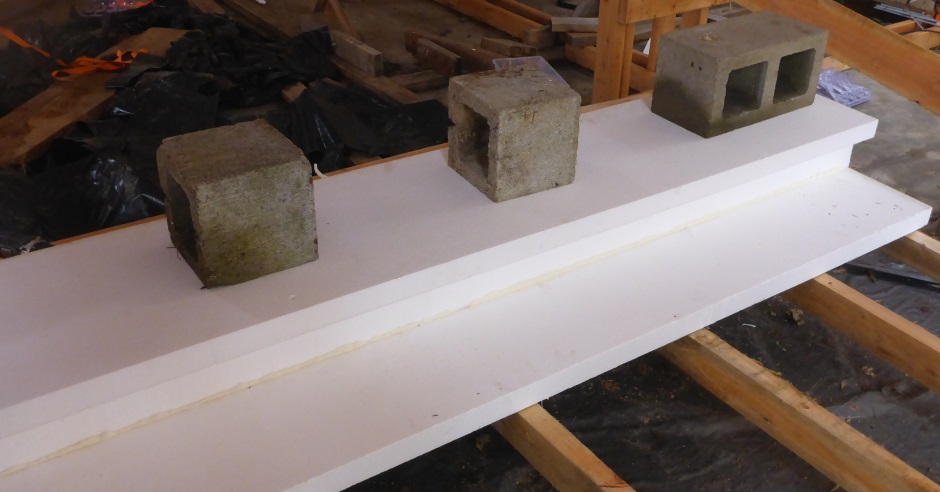
The EPS blocks cut to the Carnation Flooring profile slot in from above onto the 10.5" high floor beams. The beams run East West. For the moment, leave (or put back) the EPS offcuts in the cuts that will form the concrete beams. The edge of the EPS block is the inside edge of the wall concrete, ie either 8" or 12" from the house outline reference line. This means they overhang the end of the wood beams by 3/4". In the CAD drawings you will have started in the center of the building (as indicated by the blue cross) and worked outwards. You typically need to cut the EPS blocks at the outsides of the building.
If the wood beams are a little warped then you may need to use a push or pull clamp to adjust the position of the center of the beam to get the flooring block to drop on. Once on, the EPS blocks will hold the beam straight.
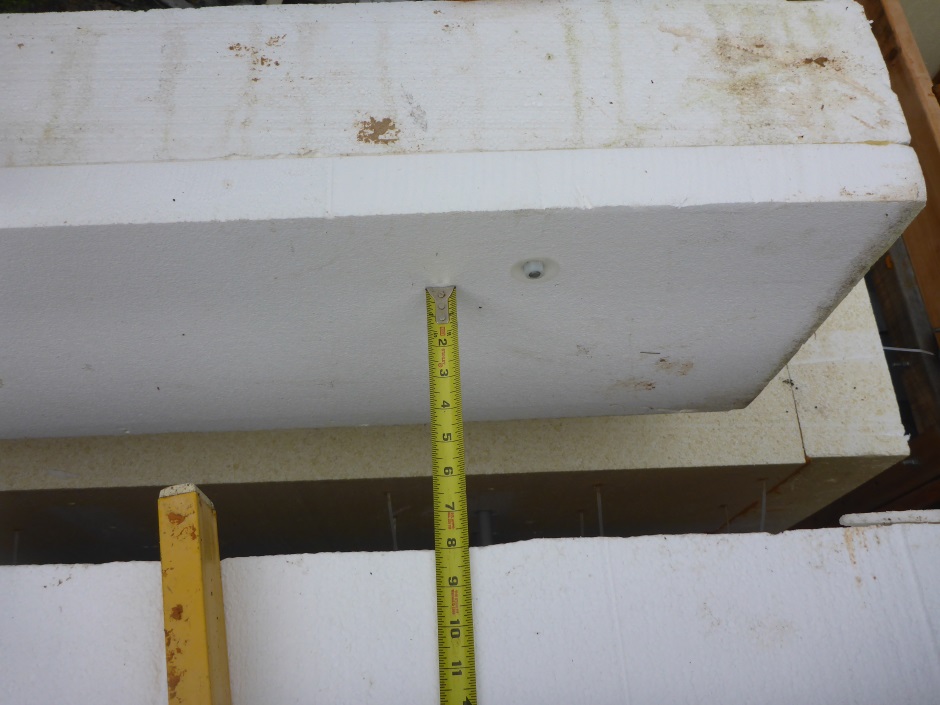
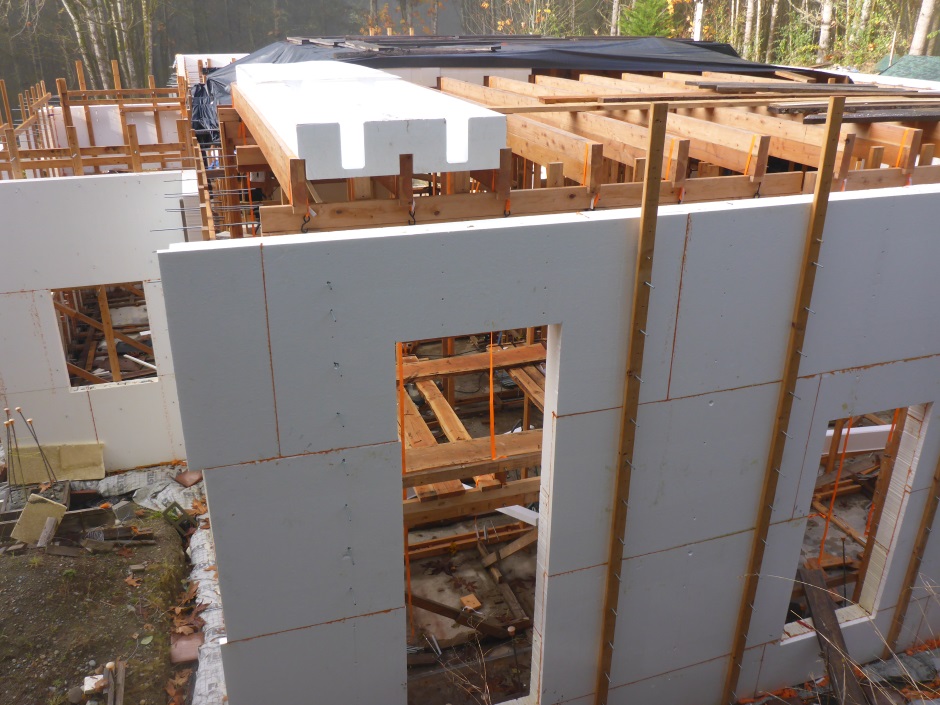
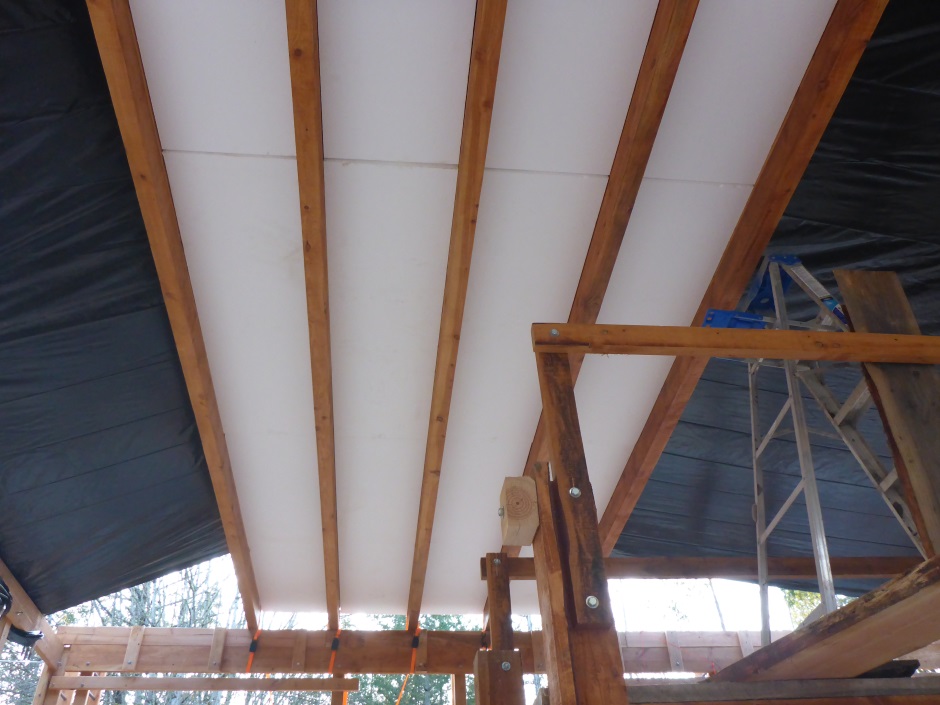
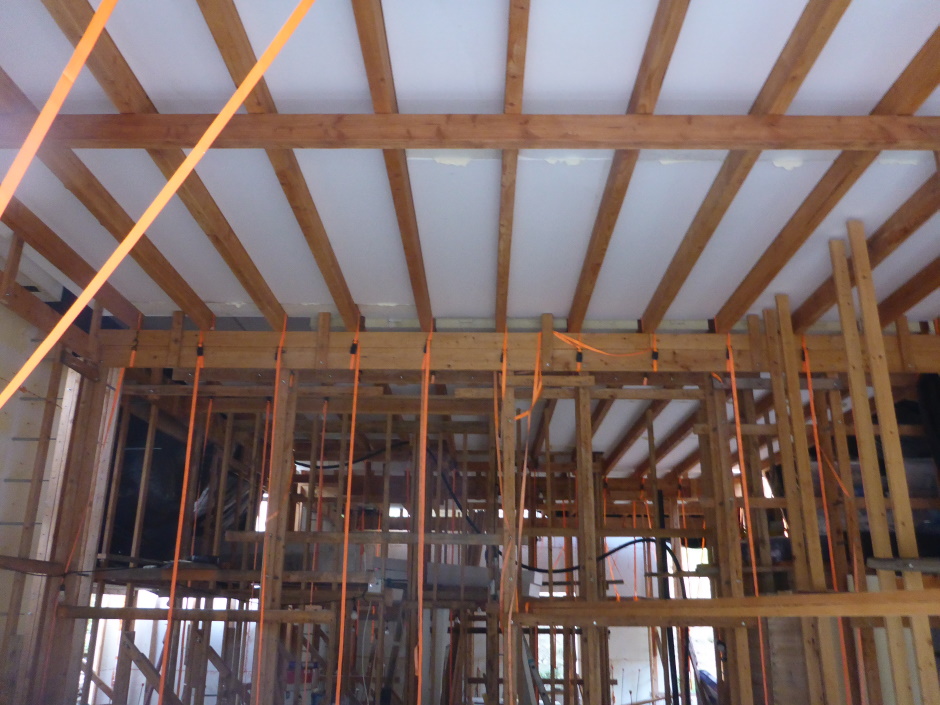
Cut the Carnation Flooring blocks to form the openings for stairs (and view hole between floors, and the elevator shaft).
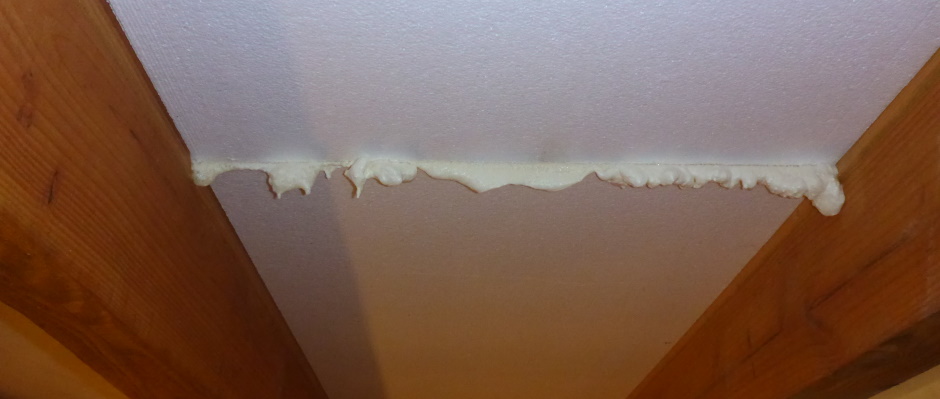
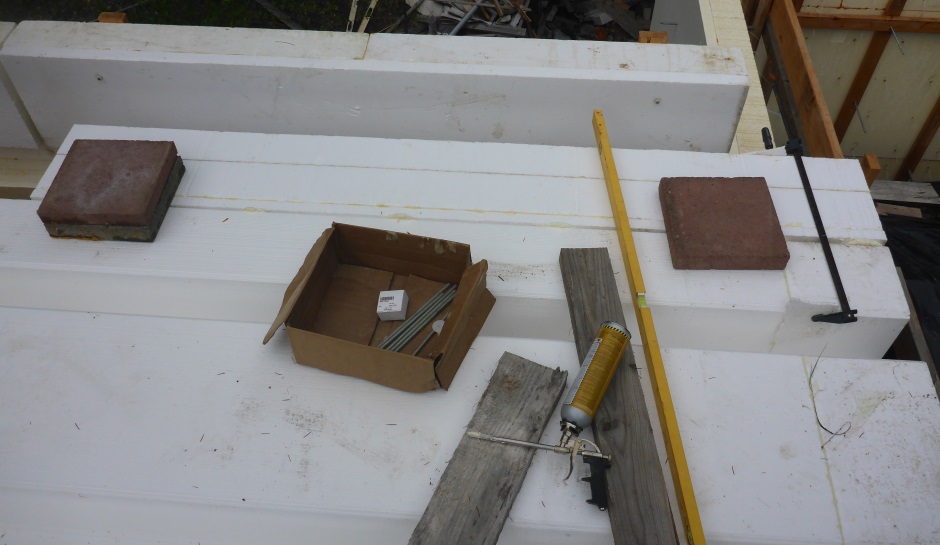
Glue the blocks together on their edges using foam gap filler.
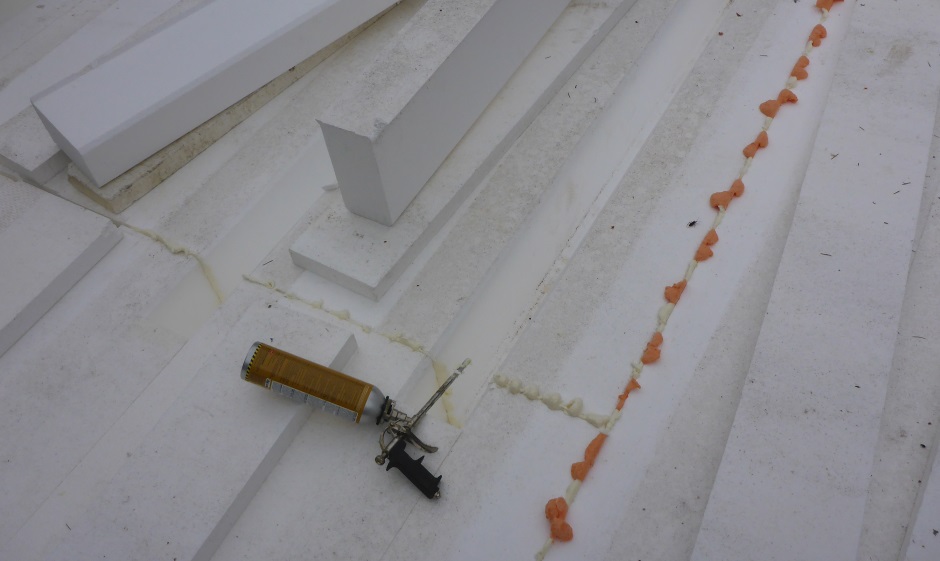
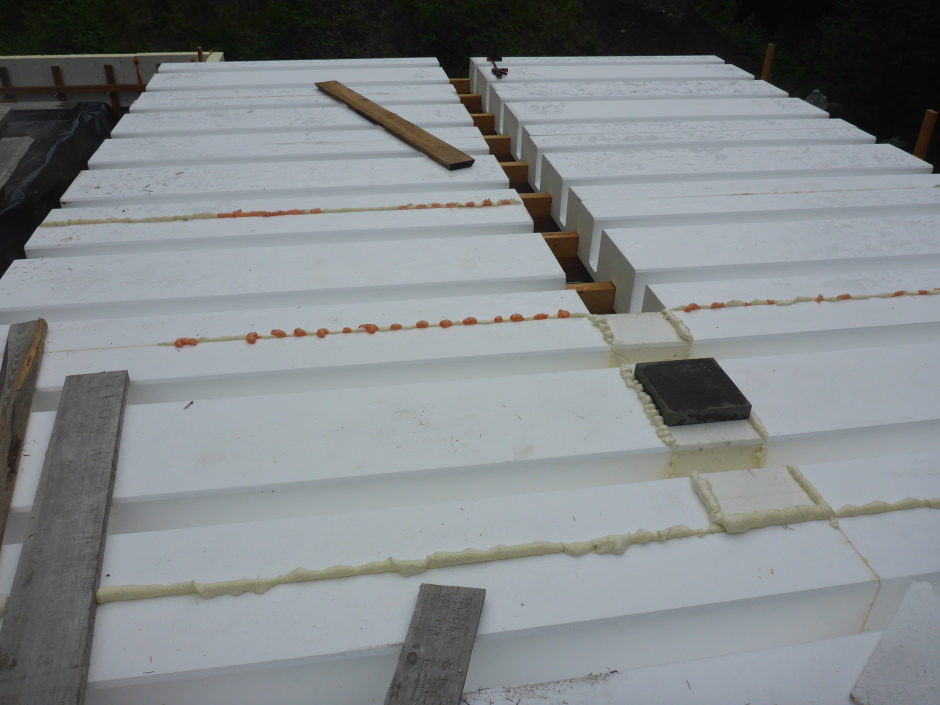
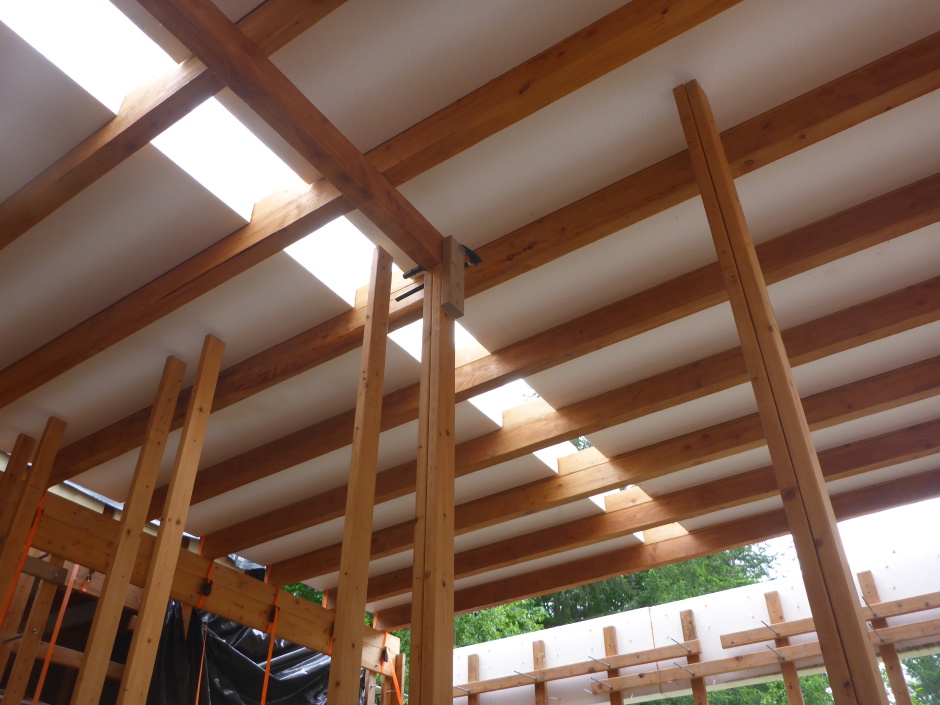
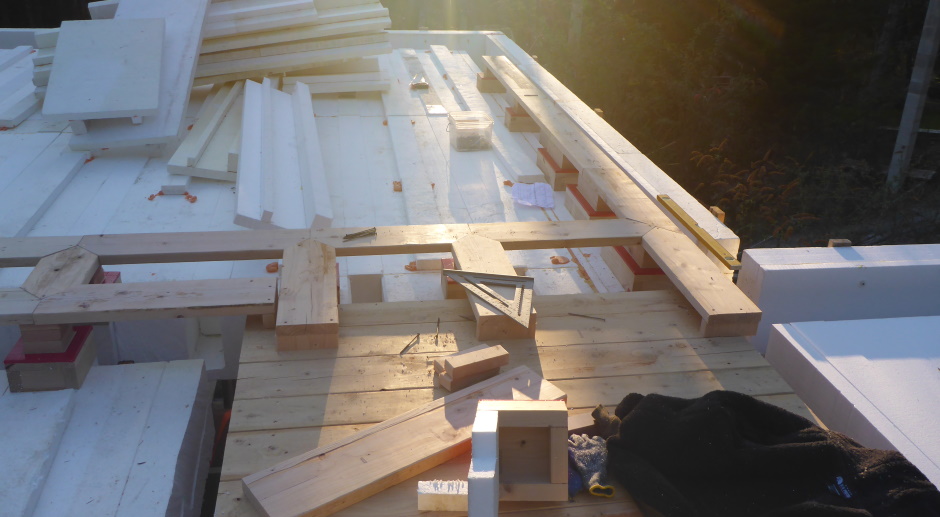
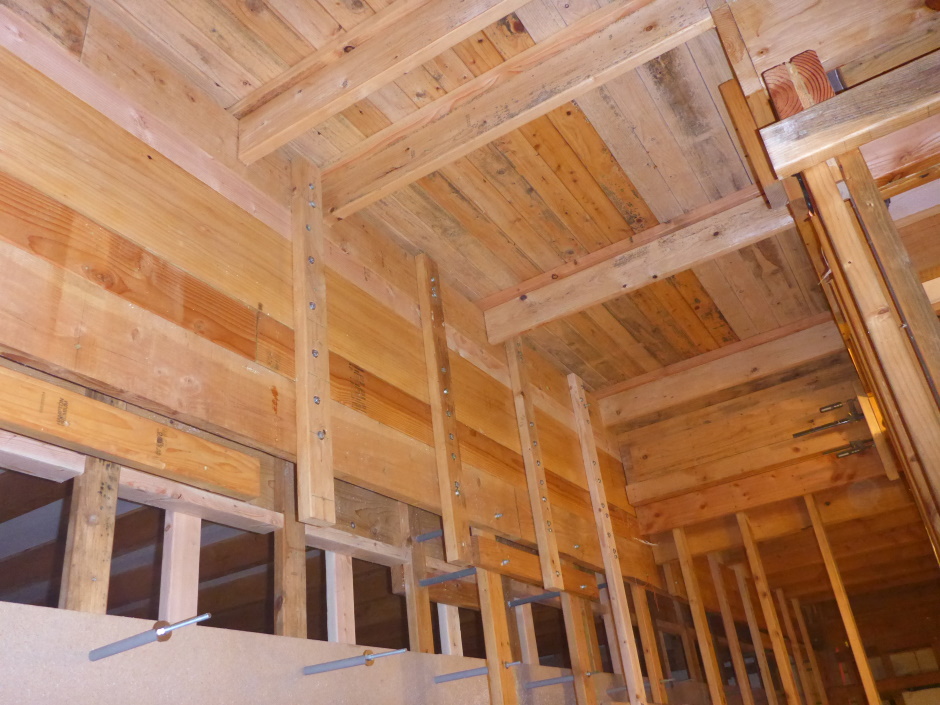
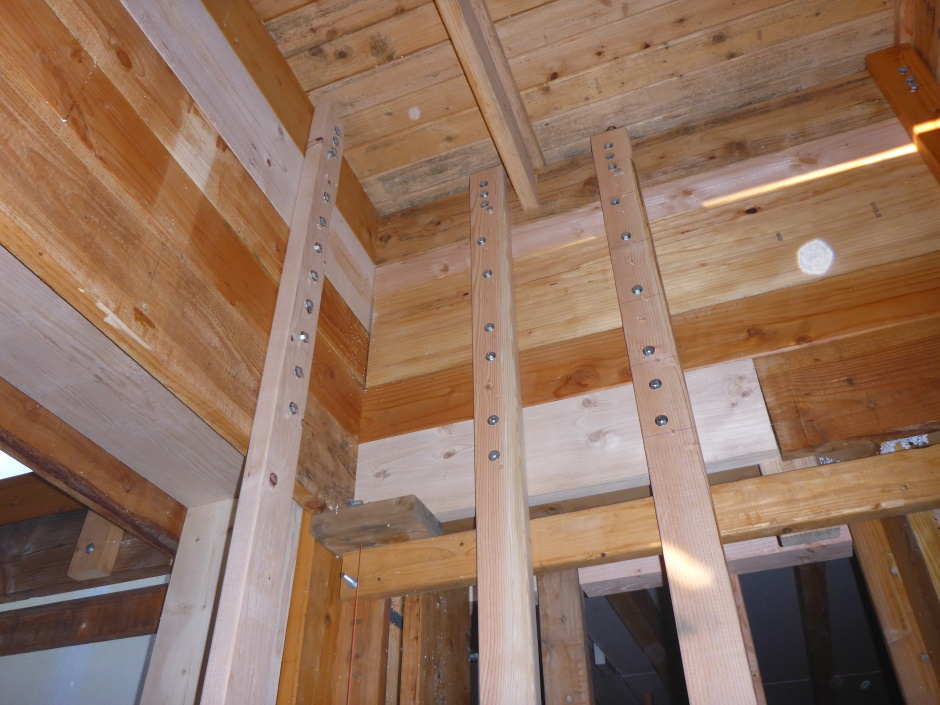
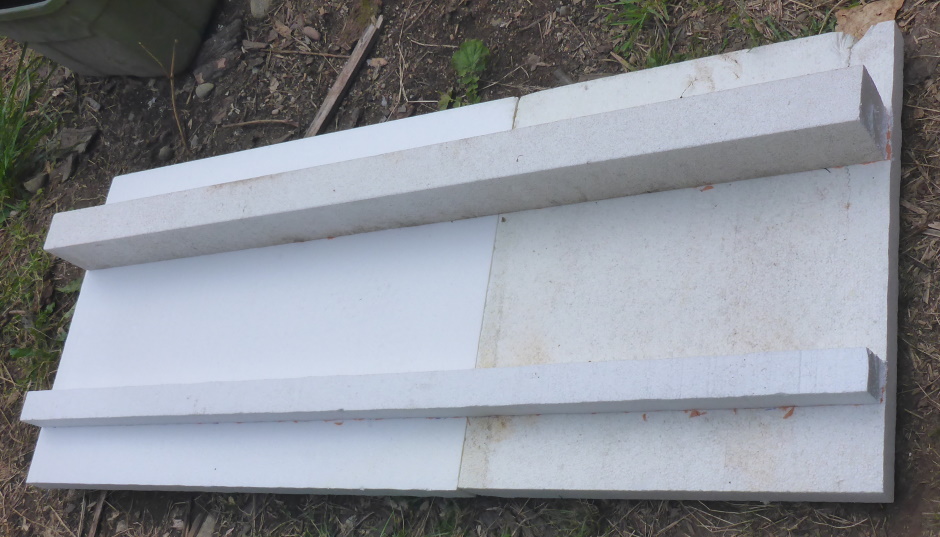
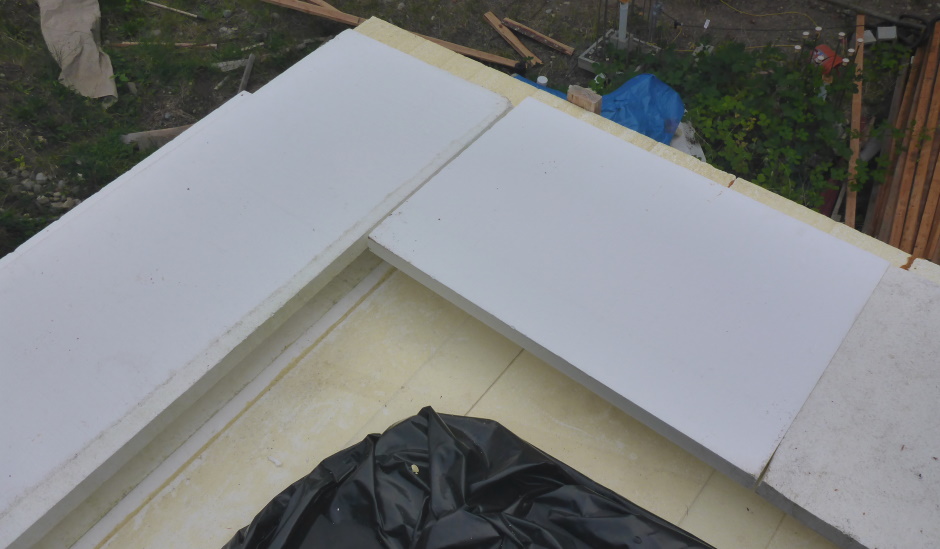
Temporary EPS over cavities
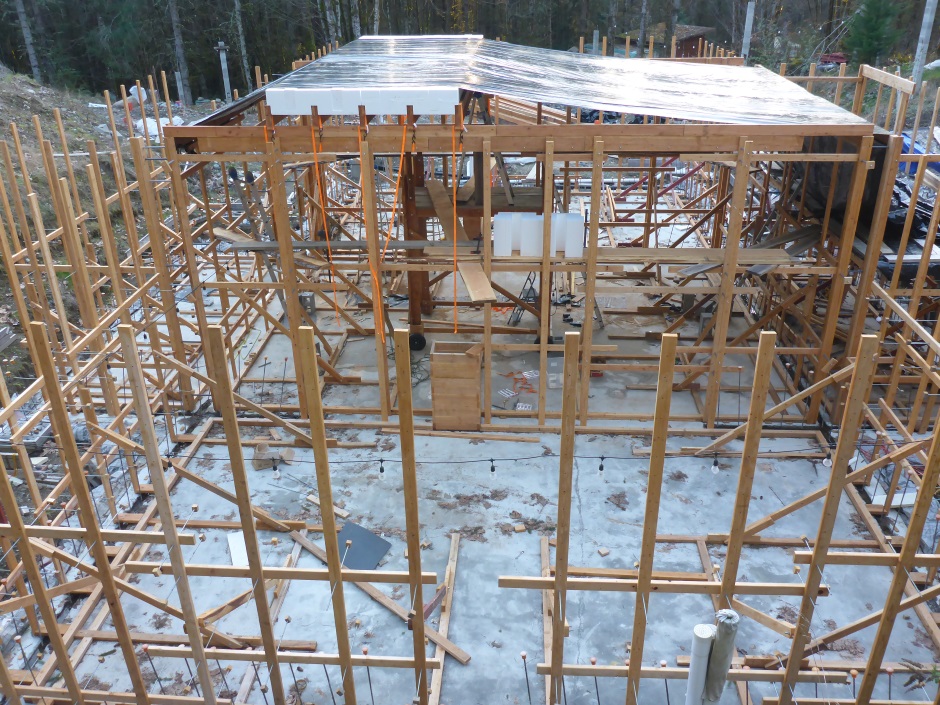
Temporary polyethylene
Temporary strips of 2" EPS are placed over where the wood beams are sited so that the weight from the walking planks do not press on the weaker concrete beam positions.
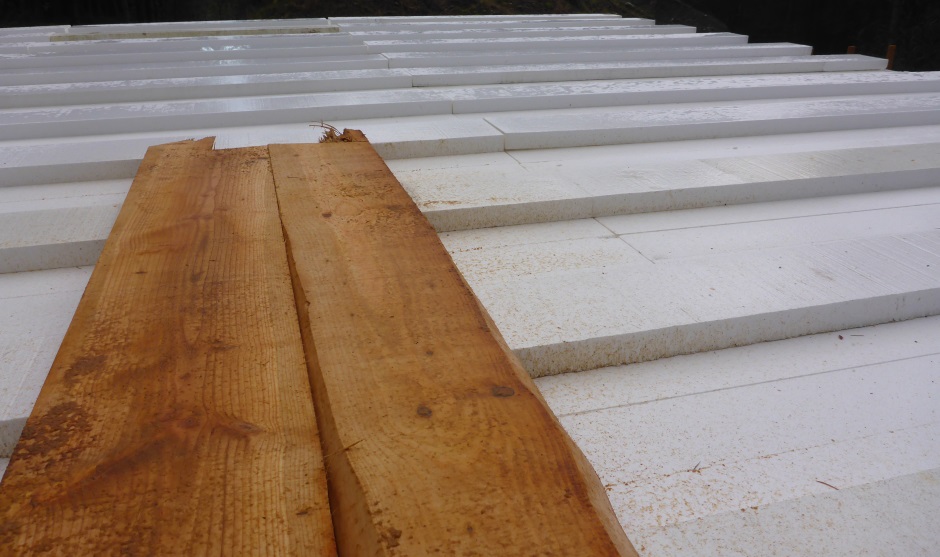
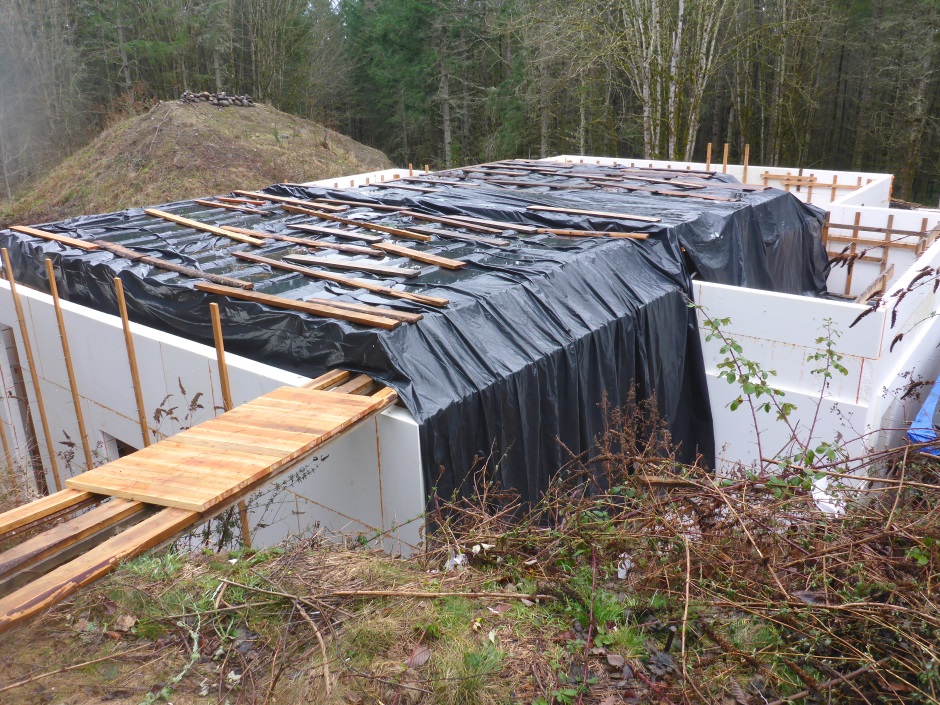
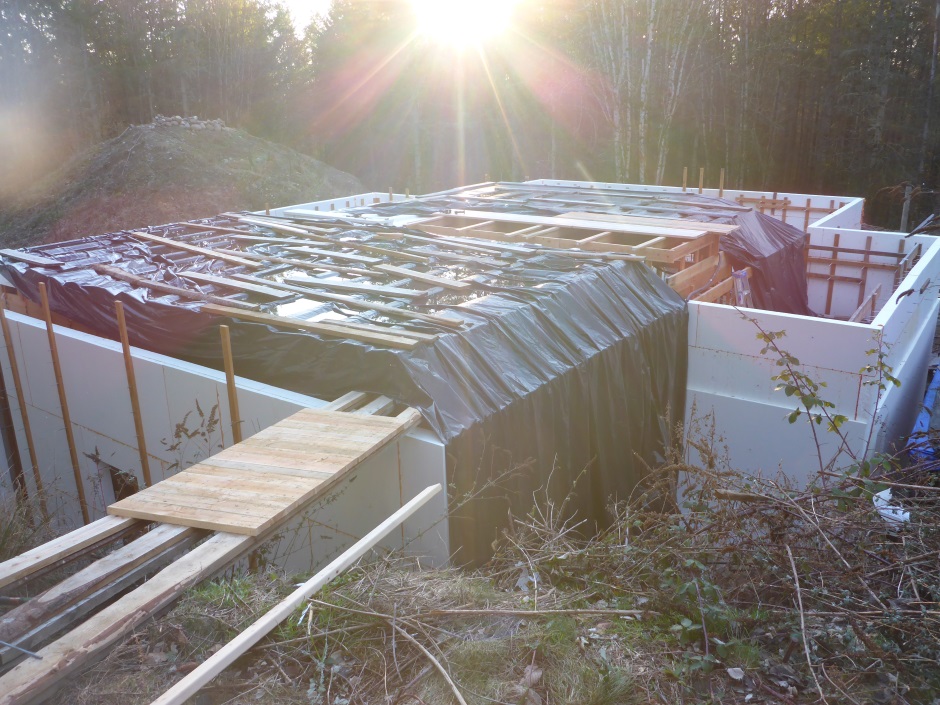
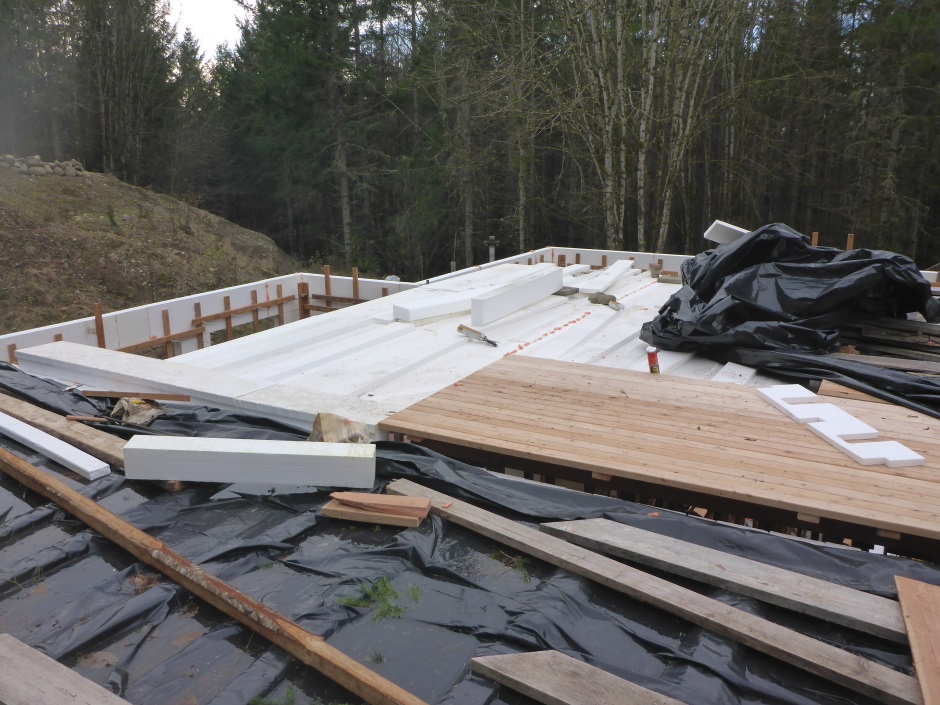
To keep the rain out of the building inside you can temporarily cover the flooring EPS with a sheet of black 6 mil polyethylene. Weigh it down with planks of wood so it does not blow away. When using multiple sheets then tape the joins with 2" 3M flashing tape.
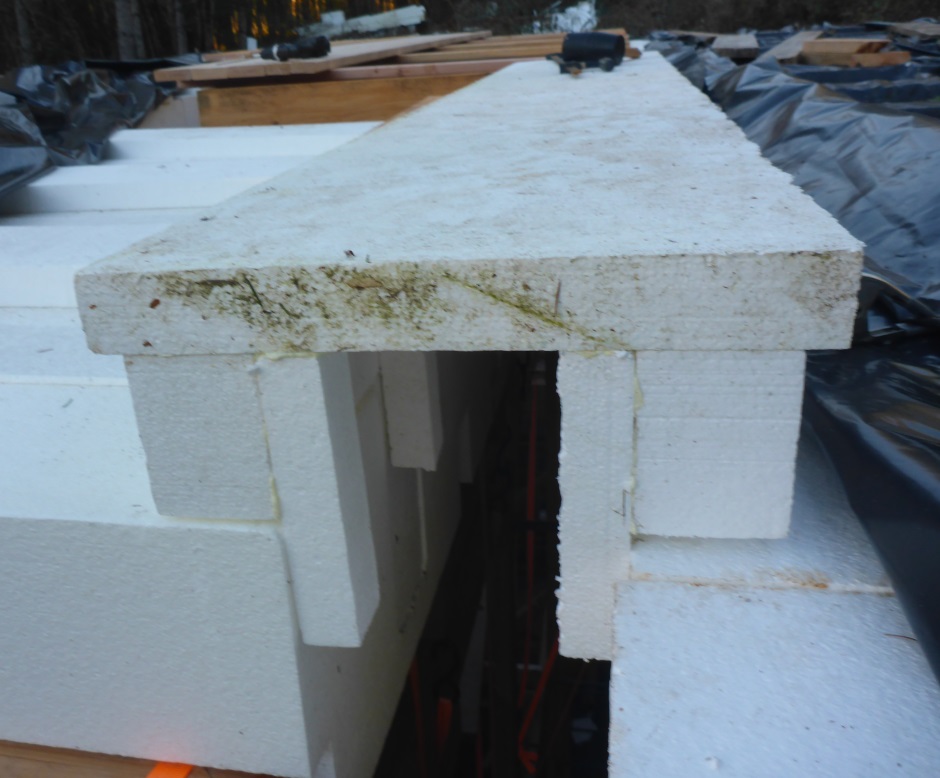
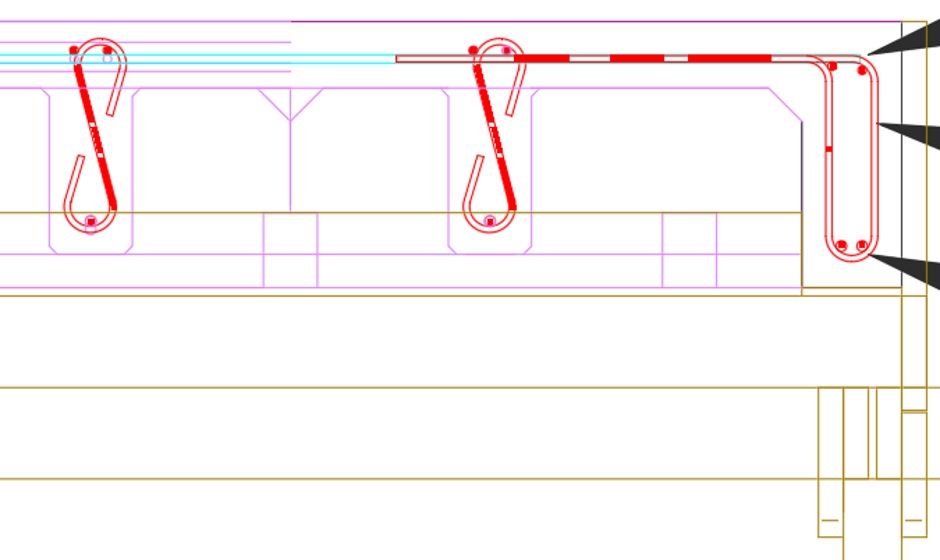
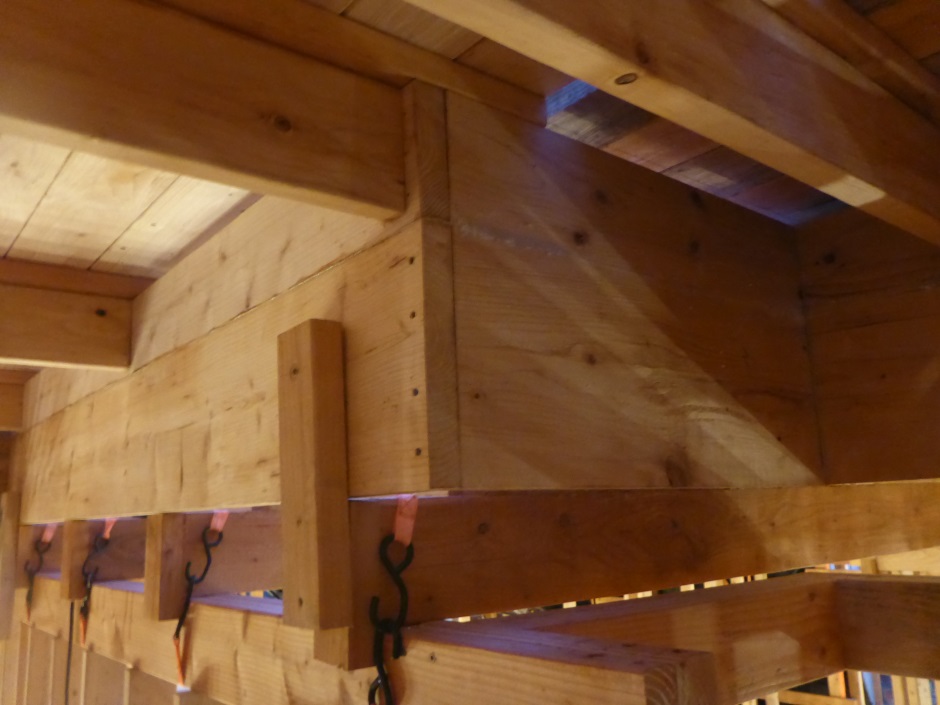
Form concrete lip round stair openings
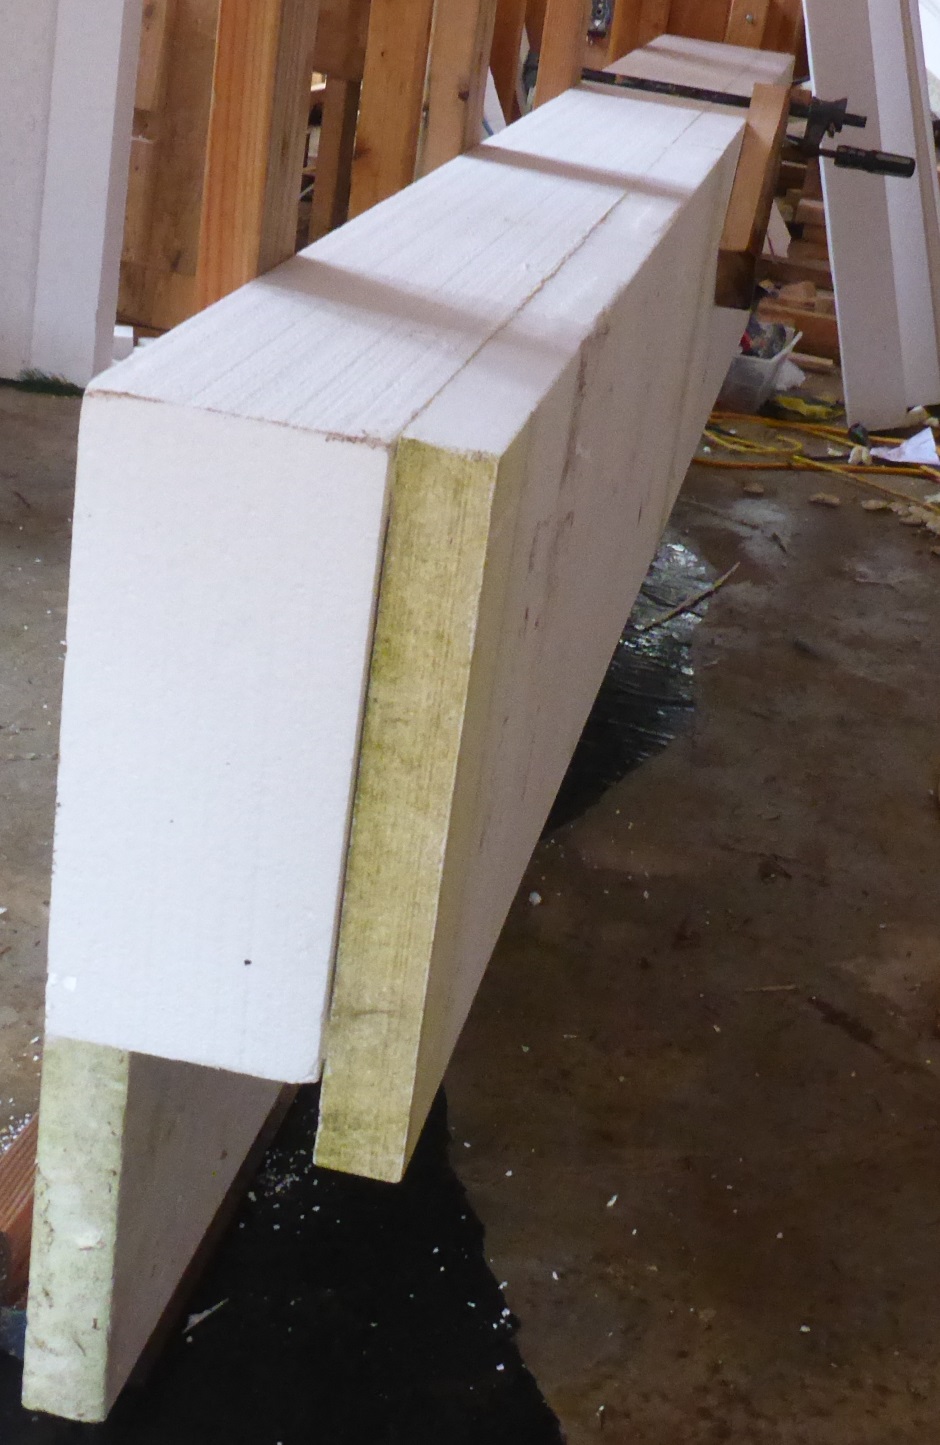
This is done with 2-by lumber. The lip width is specified in the structural engineering CAD drawings. Forming the lip involves a modified version of the 10.5" tall beams. Extra props and 2x6s are required round the edges of the hole. The lip forming lumber is supported by the internal wood walls. It is likely to be necessary to add additional 2x6 beams in the area of the floor cutouts.
Outer wall deck lip
Implement temporary roof over stair openings
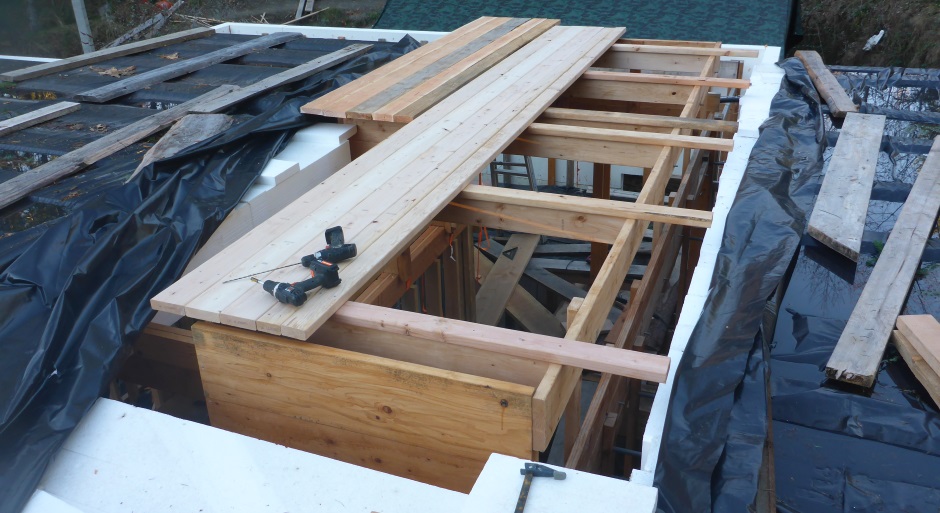
There will be 2x6 wood beams across the opening but there will not be any 10.5" beams and no Carnation Flooring EPS blocks. You need to implement a temporary roof over the opening so that the tarp does not sag with the rain. Make the temporary roof using a 2x6 lumber frame and variable width 2-by planks. It needs to sit on the wood forming that will constrain the floor slab concrete at the edge of the floor opening. It needs to be just strong enough to walk on. It is useful to provide a hatch to get through for roof access.

Fit in-slot 6mil polyethylene sheet
The benefits of having a 6mil polyethylene sheet are...
Keeps rain out while building.
Stops bleed water escaping from concrete and making a mess in the
floor below.
Keeps ceiling beams nice .
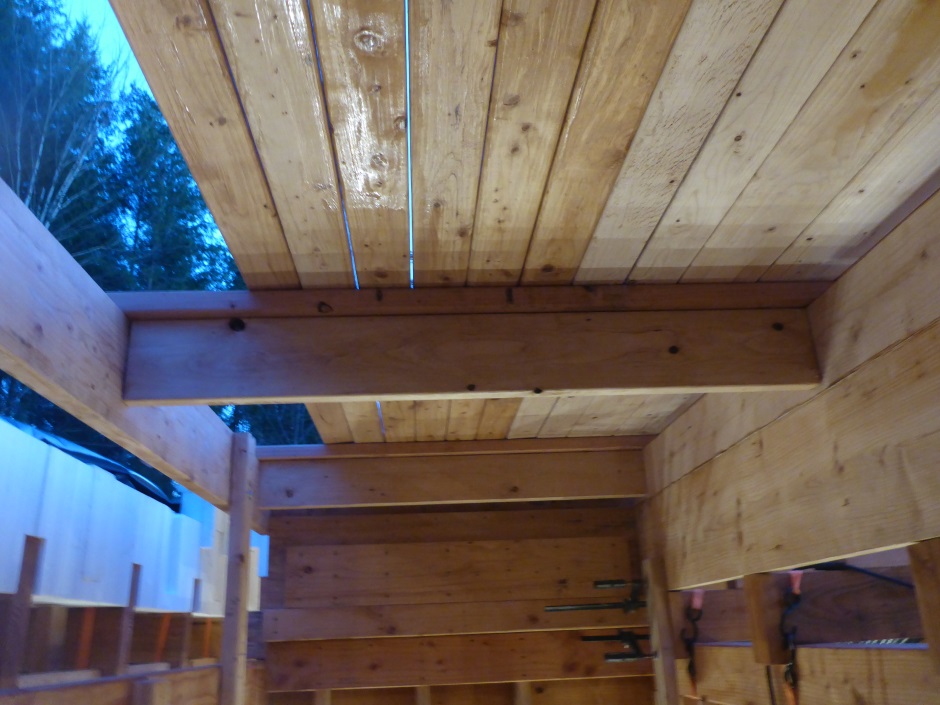
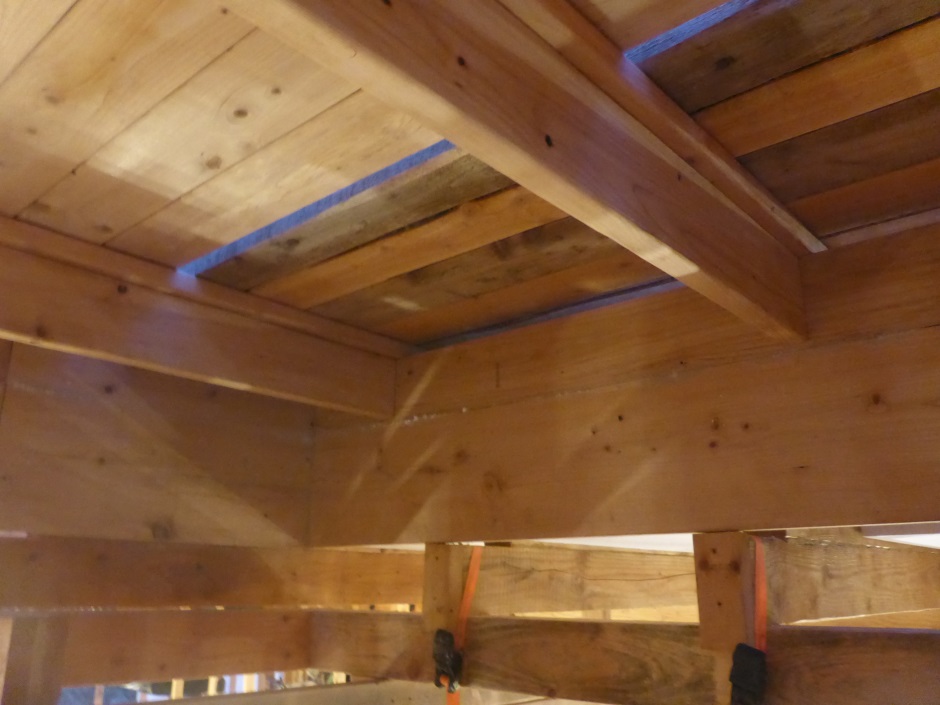
This continuous (no joins) sheet fits down into the concrete bean grooves across the whole house area. In my case, including the porticos, the sheet needs to be 100' (north south) by 70' (east west). Across each 4' wide block (north south) needs 7'2" of sheeting to allow for going into the grooves. In the east west dimension each 8' just needs 8' of sheeting.
Don't leave any slack in the sheet, just concentrate on getting it to tightly follow the cut profile of the flooring blocks. Fit the offcut EPS into the beam slots to hold the sheet in place. If necessary, use wood planks and concrete paving slabs to hold the offcuts in the slots.
Initially at the external walls the sheet goes outside the 8" wall EPS. You can attach wood weights to the edges to hold it, or you can fix the edge to the horizontal wall bracing. Longer term, just before the concrete pour, the edge will get moved to the inside of the wall plywood, but for the moment it needs to be outside the EPS to stop rain getting through and to keep leaves and pine needles from falling into the wall cavity.
The 6mil polyethylene sheet forms a waterproof roof, but it is not UV resistant.
Add a tarp for UV protection
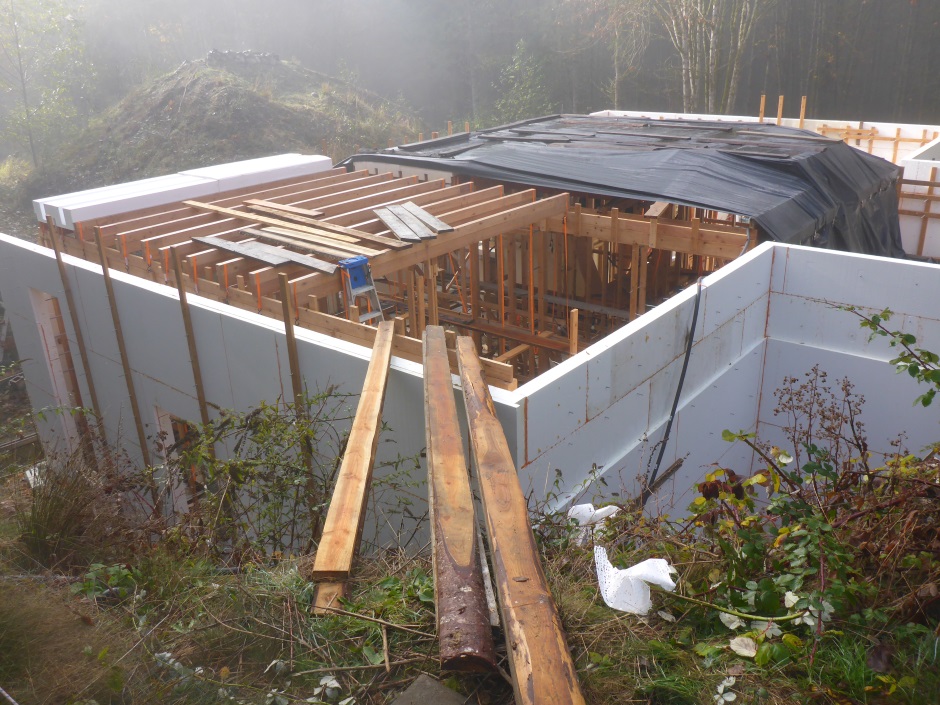
A tarp is used over the top to protect the 6mil polyethylene sheet from UV.
The Carnation Flooring EPS blocks form a flat surface that can support a big tarp being spread over the entire building. It only needs to come down the walls by a foot or so because the wall EPS is waterproof. Making a flat surface is helped by leaving the EPS offcuts in the cuts that will form the concrete beams. The use of decking concrete lips means it rounds off nicely at the floor edges rather than being a water trap.
For my house I need a tarp that is at least 62' x 50', but I actually chose to use one that is 120x60'.
Large tarpThe tarp must be well weighed down by eg planks of scrap wood. If you badly install the tarp and it isn't fully supported and weighed down then the tarp will be wrecked.
The story so far
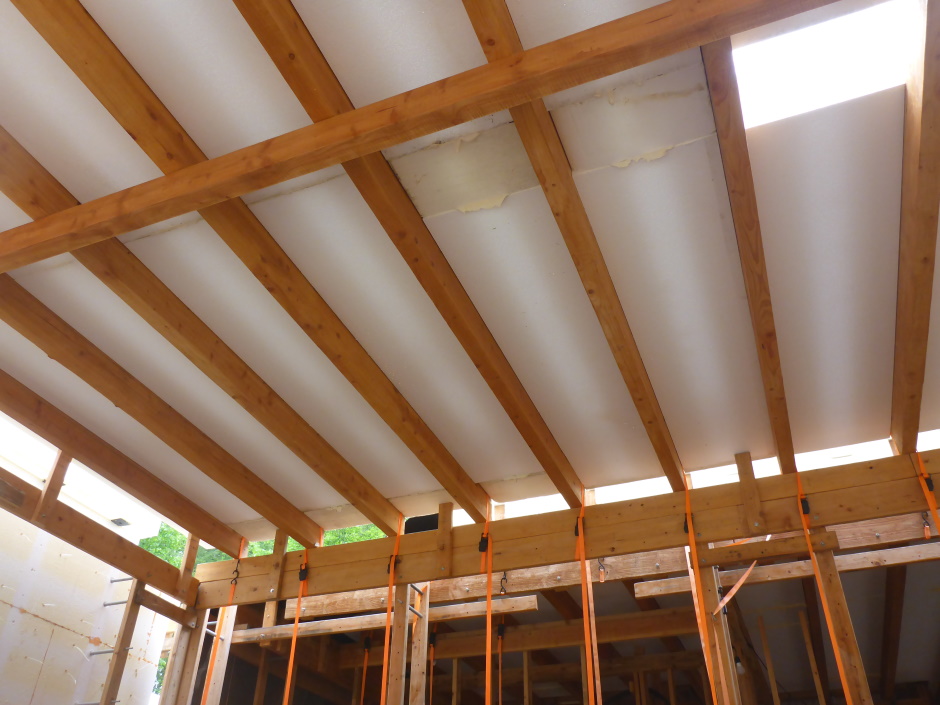
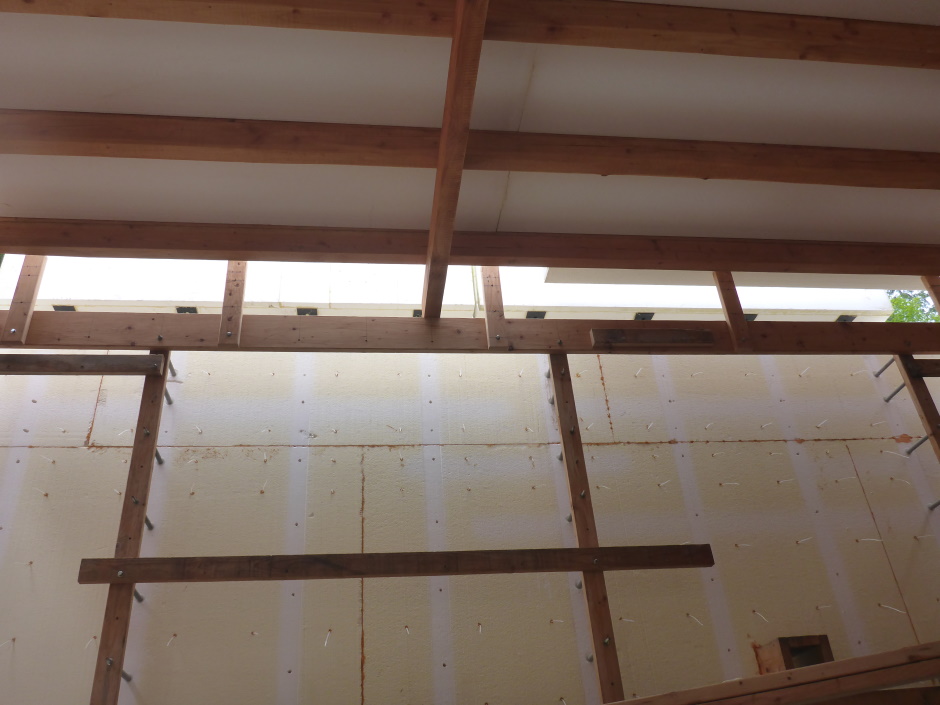
The ceiling is now in place, and with the polyethylene and the tarp, provides a roof to keep you dry while working. The Carnation Flooring will move around a bit and is not yet fully capable of taking weight because only some of the vertical 2x4 batons are in the final positions so cannot fully support the ceiling. You can walk on it if you are careful. There are temporary wooden covers over the floor openings.
Forming the concrete lip
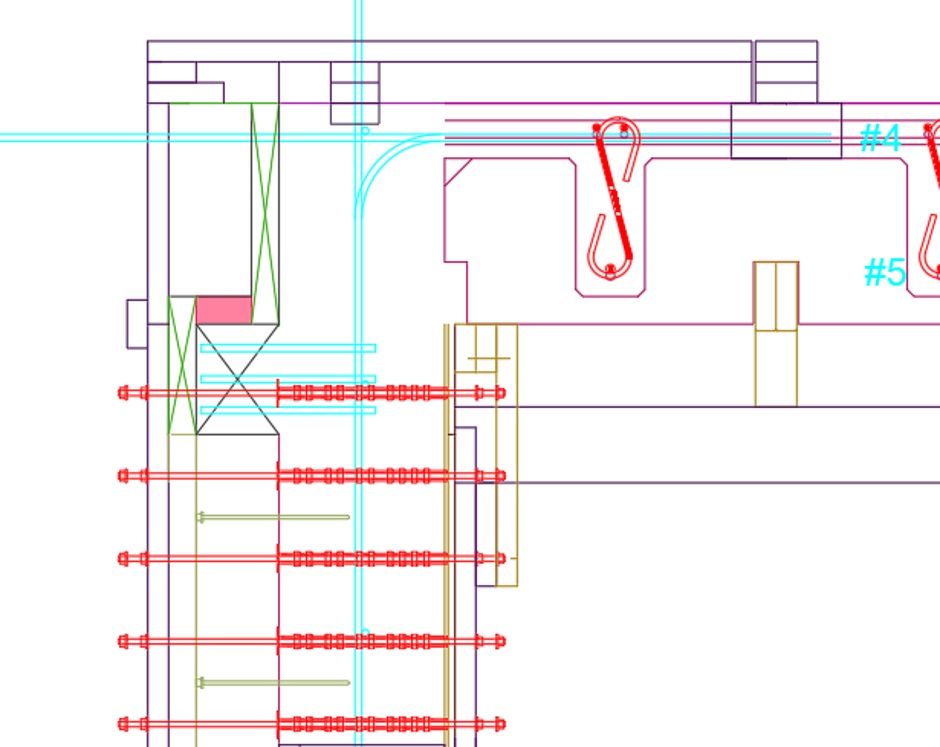
For my basement, rather than the top layer of wall 6" EPS being 4' high it is 2' high instead. This 2' extends up to the bottom of the concrete lip and conveniently provides the forming for the bottom of the 6" concrete lip. The last layer of 2" EPS on the wall is 4' high, but an additional 10" high piece is glued on top to extend up to provide the side forming for the concrete lip and to locate the load block that takes the weight of the concrete decking edge. This additional EPS and the bit above between the decking and the wall is for clarity shown with green crosses in the diagram.
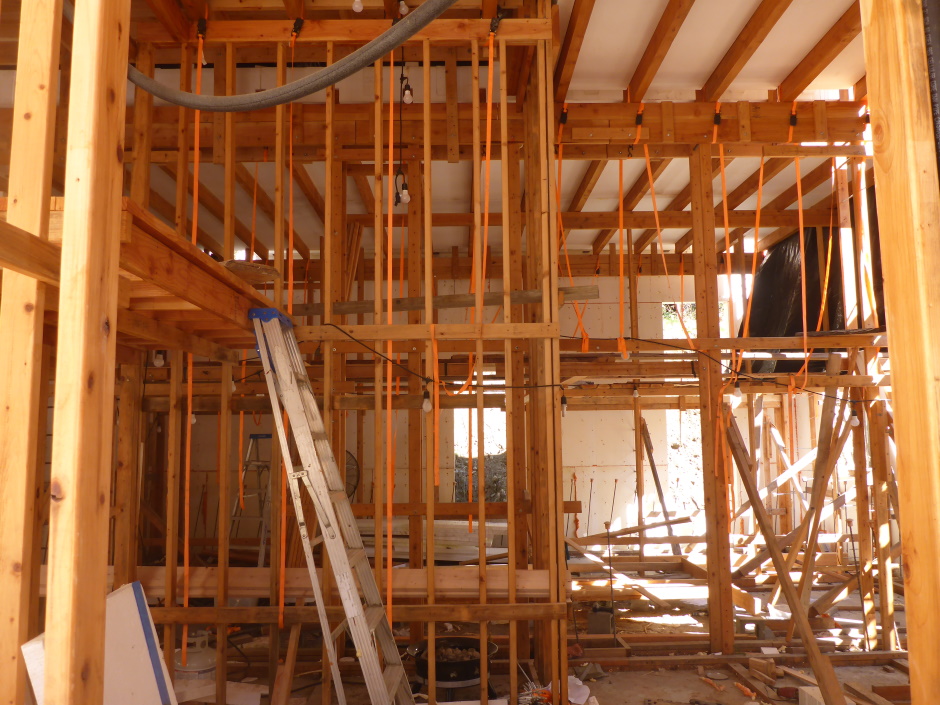
The 2x4 rig above that will be used to fold the key notch forming will in the future make everything more solid.
Implement rain water pipes for column bases
The 4" PVC pipes route water from the center of each column to pipes that after the concrete pour will be embedded in the wall EPS.
Implement external ply on internal walls
The term "external" just means the side of the internal wall furthest from the building center. The internal concrete walls do not have any EPS. The external plywood is not implemented until the enclosure is rain-proof.
Cut and drill thin plywood
You need a different jig compared with the 6" EPS jigs because the distance from the edge is different.
Cut and drill thick plywood
You need a different jig compared with the 2" EPS jigs because the distance from the edge is different.
Fit thick plywood on wall outside
This plywood takes the place of the 2" EPS. It sits on shims.
Even though the outer and inner plywood is not glued together, it can be temporarily bolted together using the secondary location holes. Use short 3/8" bolts or spare short lengths of 3/8" threaded rod.
Fit thin plywood on wall outside
This thin plywood takes the place of the 6" EPS.
There is no need for shims under the plywood because there is a kicker board (that will have 2-by strips between the batons) to prevent concrete leaking out.


