Home Site Map - Steps - Foundations -
Foundation Rebar - Deck Columns
![]() Concrete deck columns have foundations too and need rebar.
Concrete deck columns have foundations too and need rebar.
Deck column rebar
Vacuum out footings
Realistically water and some soil will have fallen into the footings. Use a powerful wet/dry vac to suck out all the loose soil and water.
Tie first stirrup at column base
All the way up the deck column are stirrups with 12" on center.
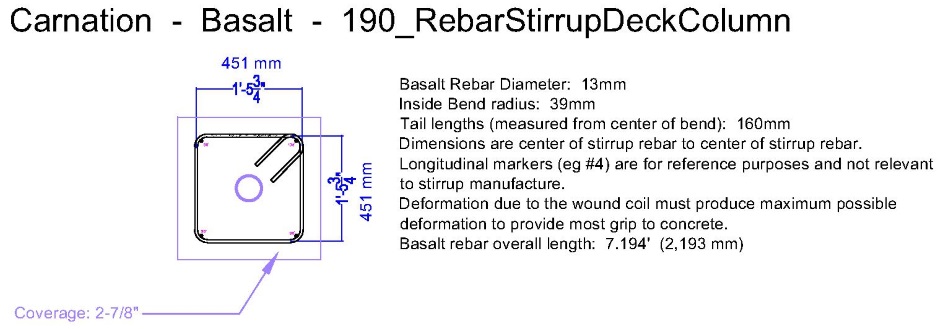
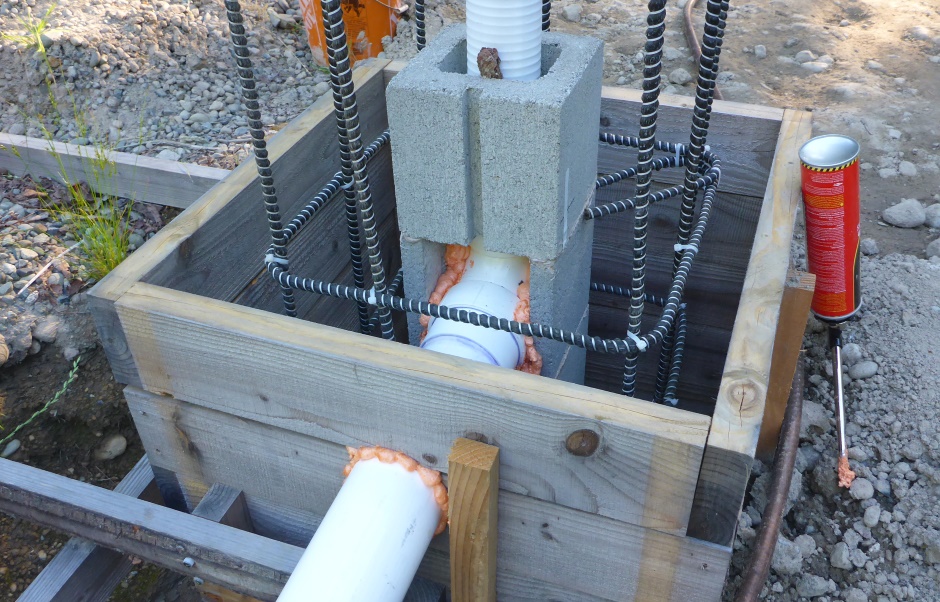
The first stirrup sits flat on the rebar set into the wood forming at the base of the column. Use about 4 cable ties to tie it to the support rebar that was previously set into the wood forming.
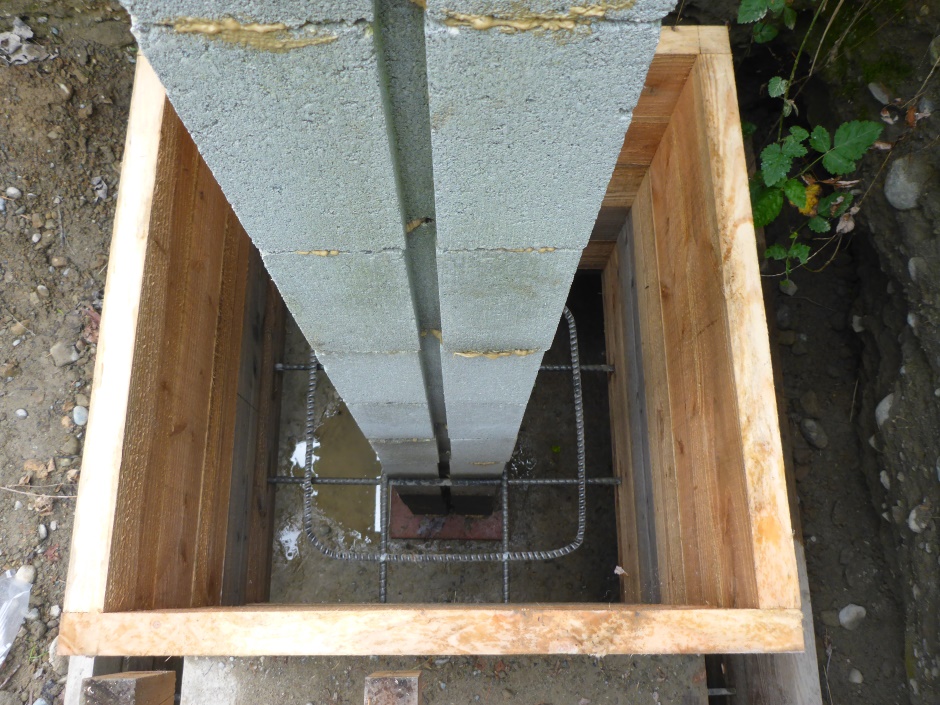
Cut vertical bent end L rebar
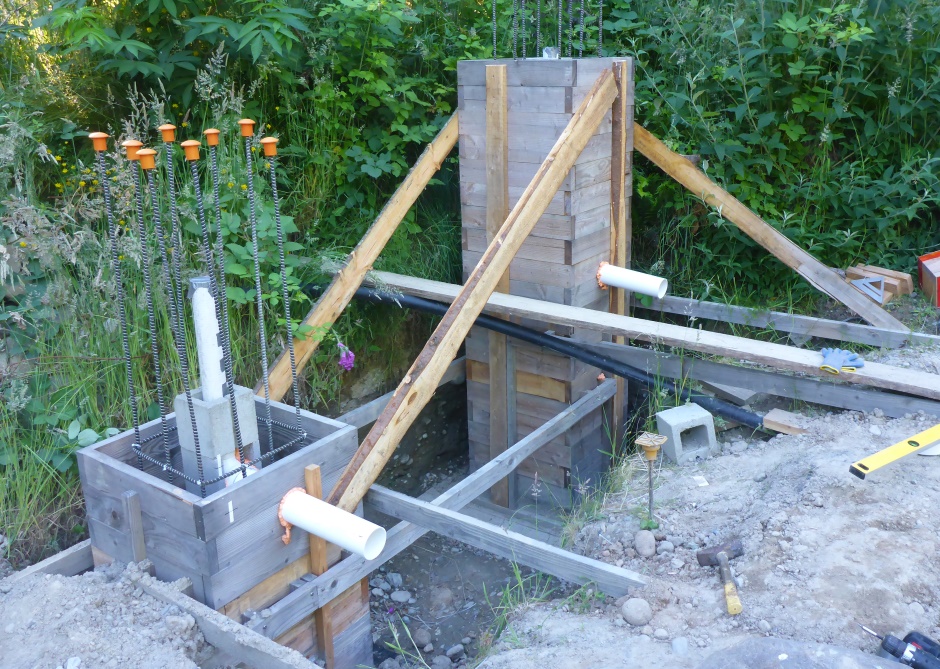
Columns are poured in two stages - the bottom foundation part and the top part that goes up to the concrete deck. There will be a cold joint between the two, which is fine, but it is best to put the cold joint where it will not be visible. A good place for the cold joint is an inch or so below what will be the final grade in that area.
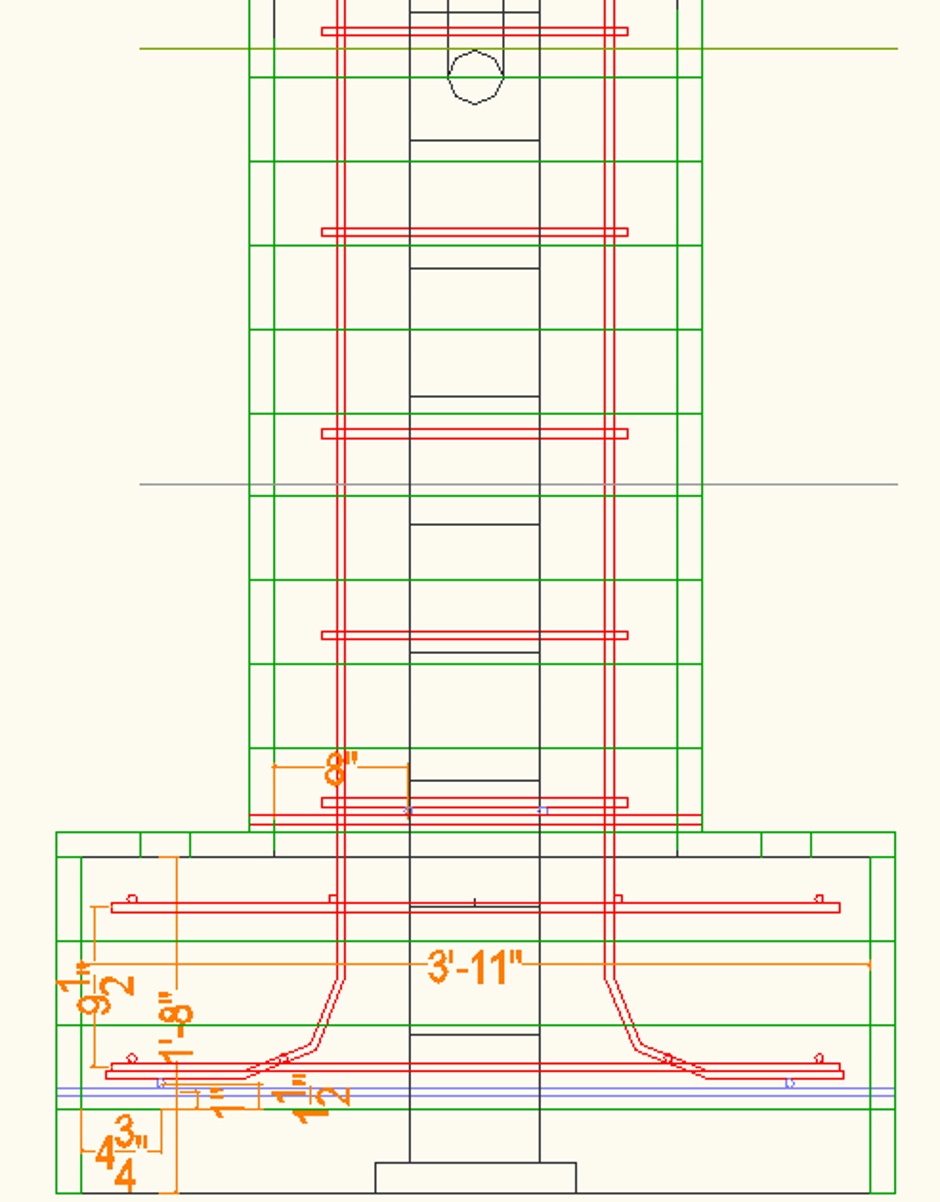
The vertical rebar is provided by straights that have a bend in the bottom end.

The length of the long leg (measured from the outside of the curve) needs to be 3'6" longer than the length necessary to reach the height of the first concrete pour.
Add and tie vertical L rebar
Feed the bent rebar pieces in from the top. The pieces in the corners of the stirrup are offset outwards with the rotation in a clockwise direction. The pieces that are half way along the sides of the stirrup are offset inwards and in an anti-clockwise rotation direction.
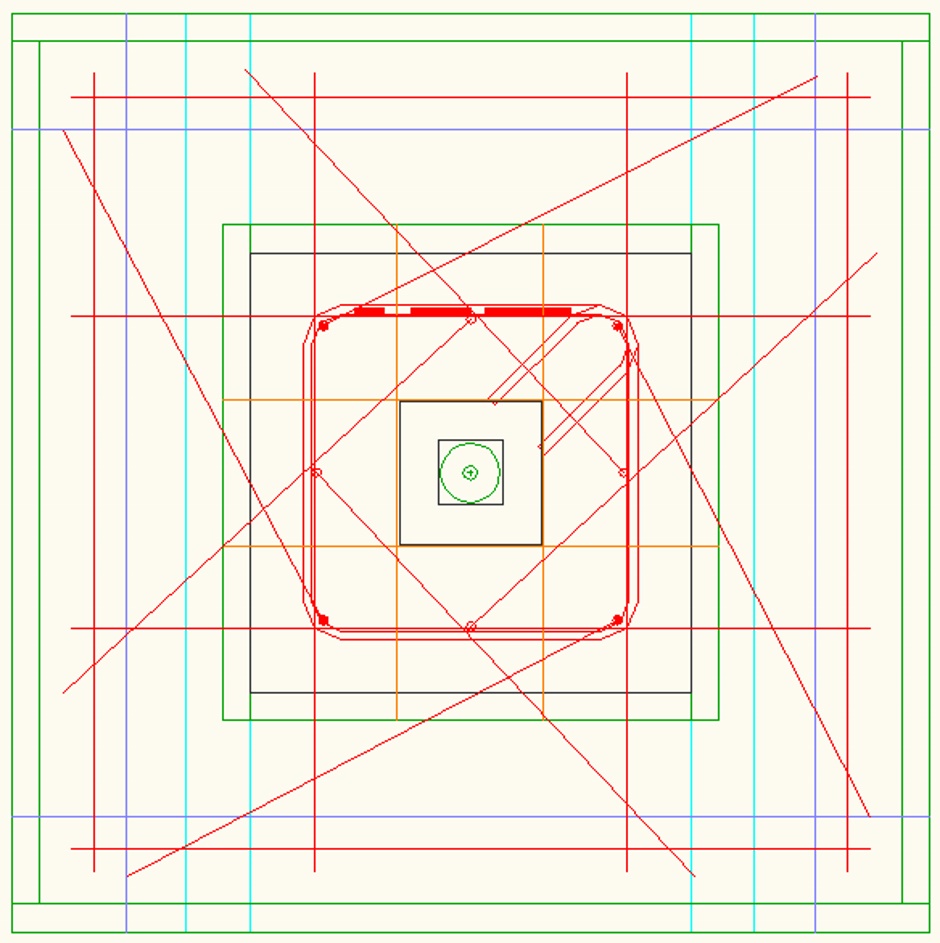
Tie the vertical rebar to the stirrup and also tie the bent legs to the rebar in the footing that is located into the wood forming.
Fit and tie other column stirrups
Feed the stirrups down over the vertical rebar. Use a wooden jig to hold them with the right spacing while tying them to the vertical rebar. Alternate which corner of the concrete blocks the tails of the stirrups rest against as this is what keeps the rebar assembly properly positioned within the column.
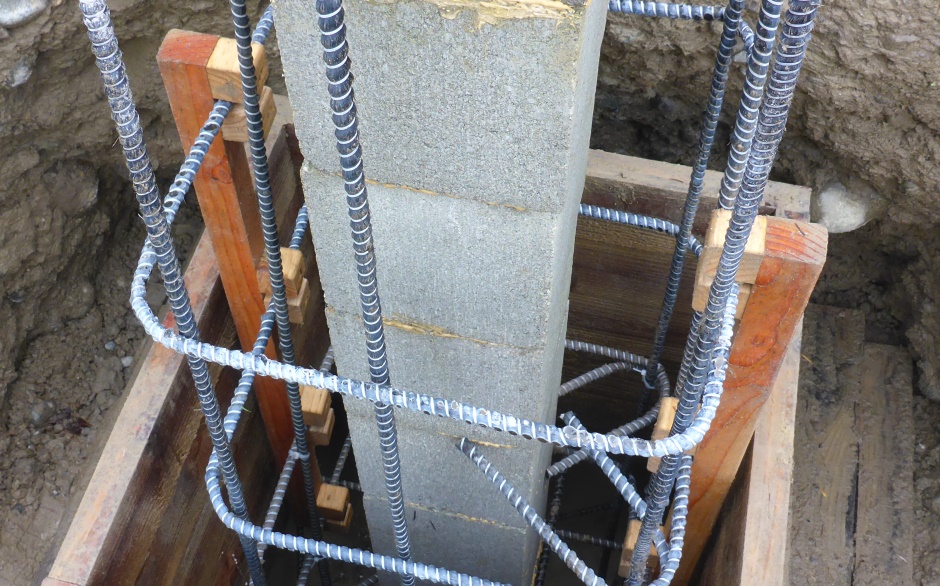
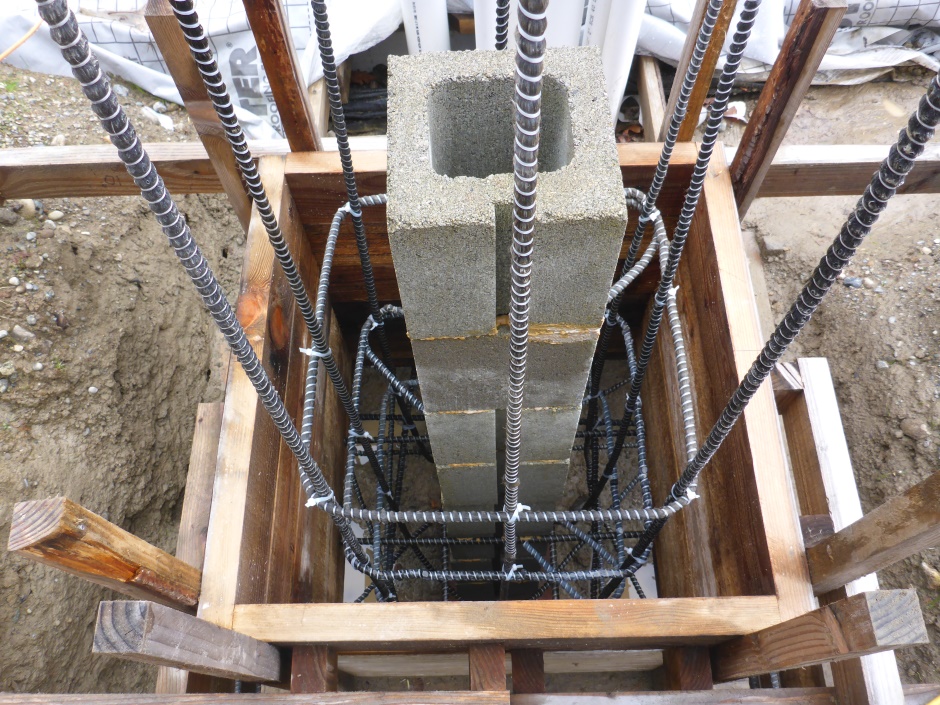
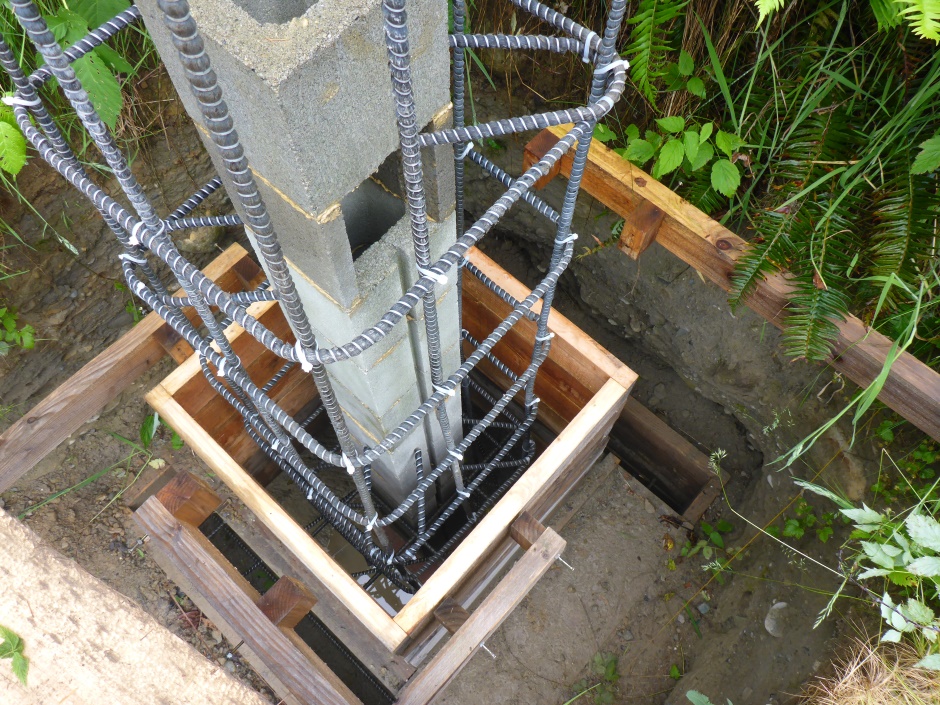
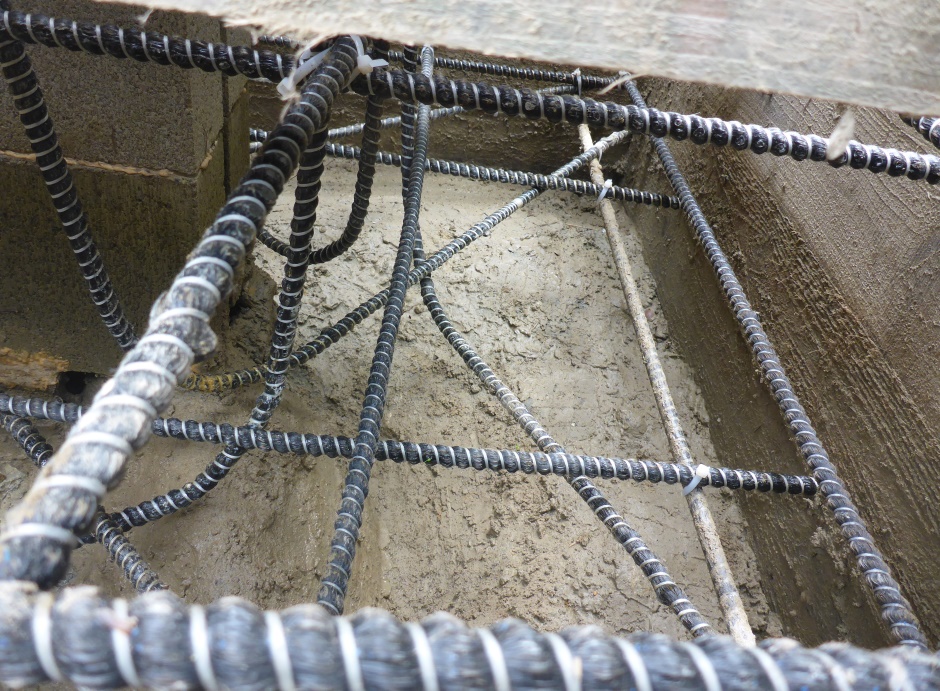
Fit and tie lower footing rebar straights
A total of 16 #4 rebar straights are used in the footing. They are all 3'10" long. The first eight (inner and outer) are easy to tie because they rest on the rebar that is already set into the wood framing.
Fit and tie upper footing rebar straights
The four inner upper rebar straights tie to the vertical rebar so that they are about 3" from the top of the footing. After the inners have been tied they provide a platform to tie the four outer upper straights.
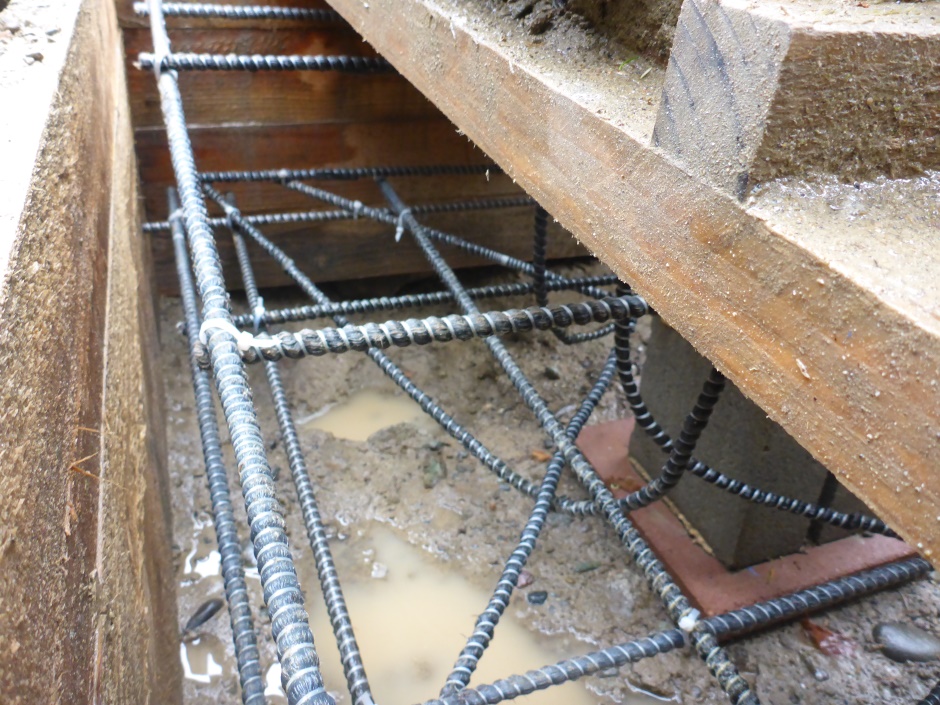
Replace wood top slats
After the rebar has been added you need to be careful to ensure no soil falls into the column footings. Use wood slats to completely cover the top of the outside of the footing. If there are any gaps the cover with either polyethylene or filter fabric. It is ok at this stage to do some backfilling with soil around the column forming if you want.
Ensure groove planks are right height and right place
Go round using a self-leveling laser and a marked piece of white pipe to ensure the top of the groove planks are all at the right height. If necessary add extra bracing/straightening pieces of 2x4 on the cross trench jigs or along the groove planks to get everything correct.


