Home Site Map - Steps - Foundations -
Foundation Rebar - Slab Rebar
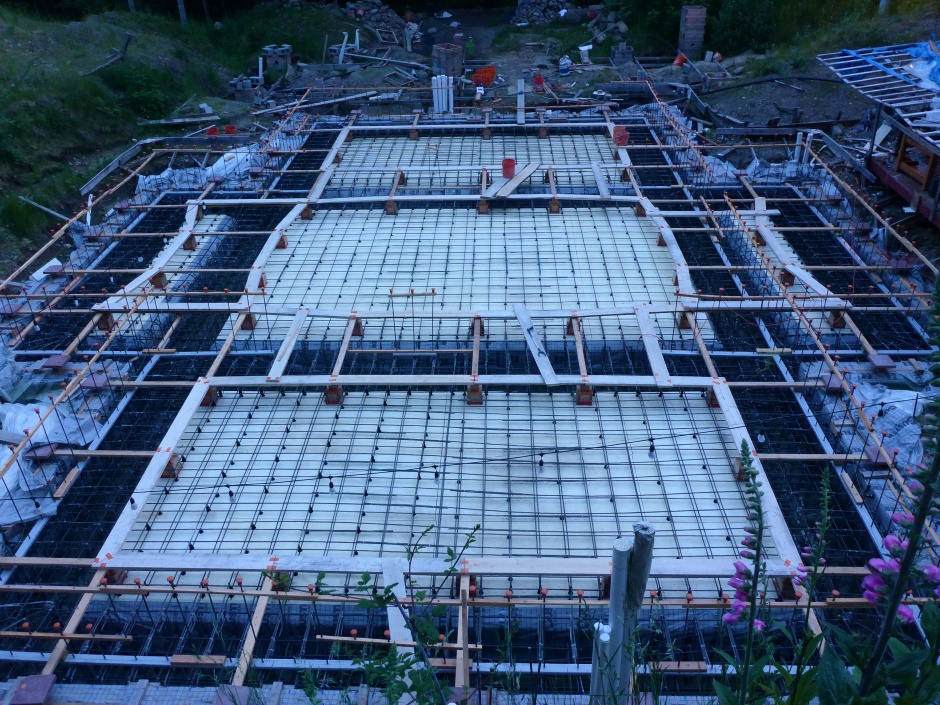
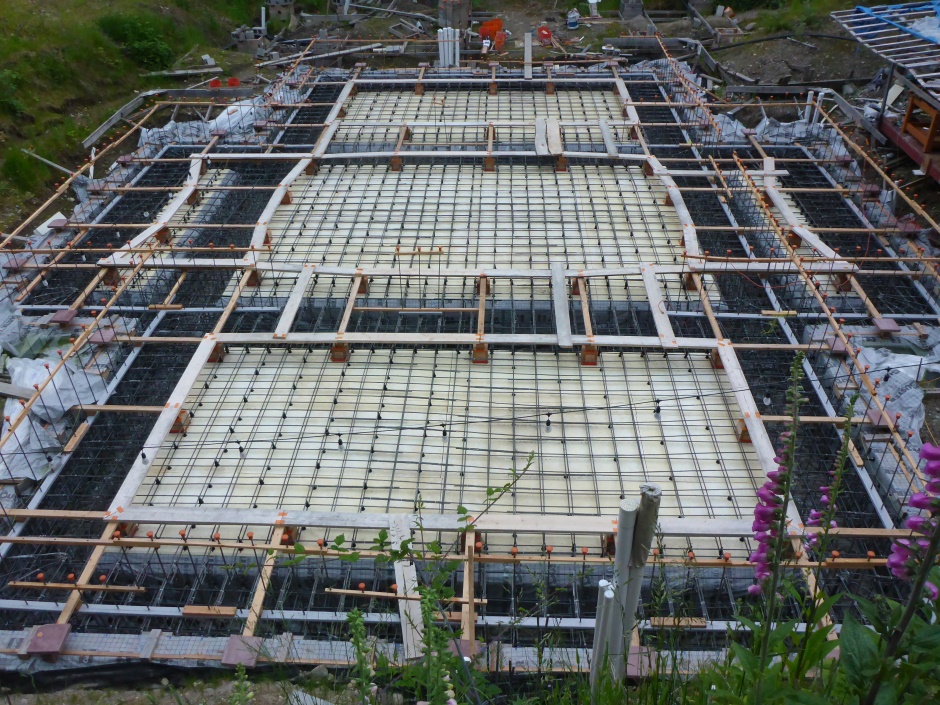
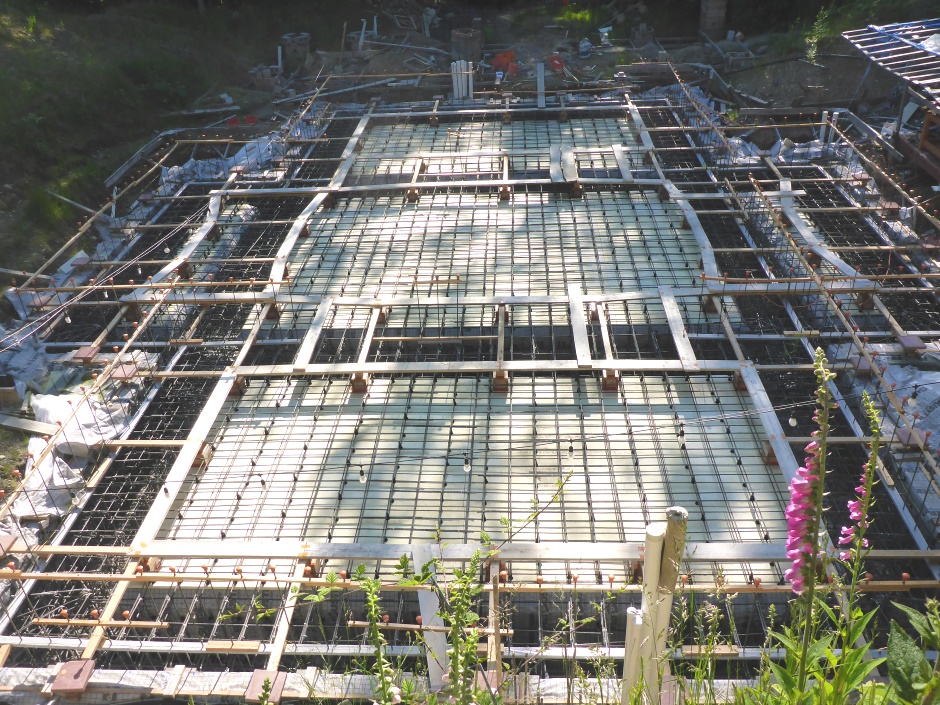
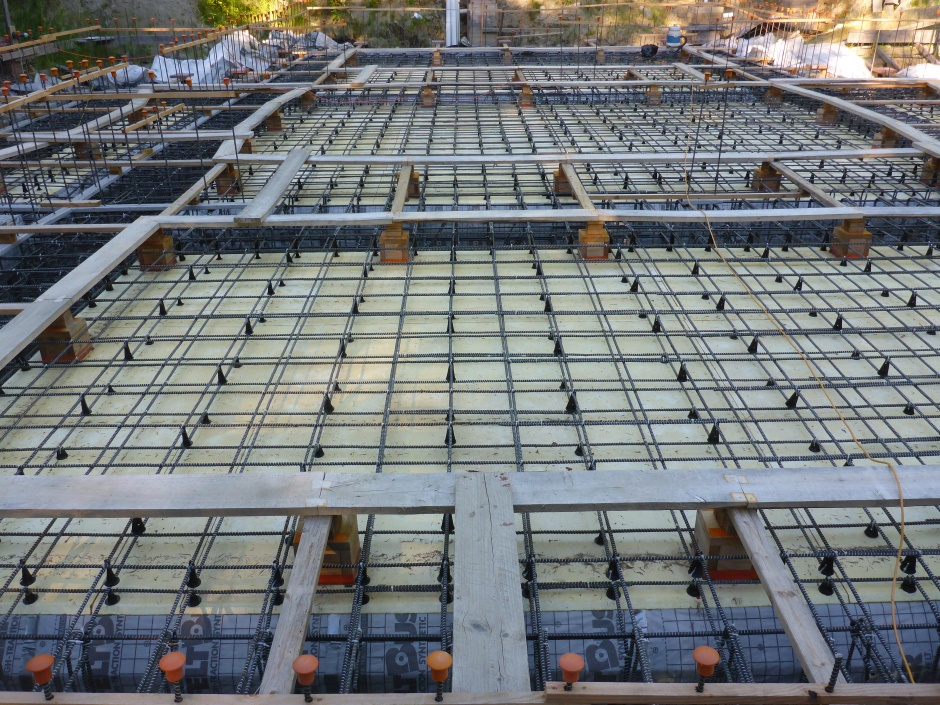
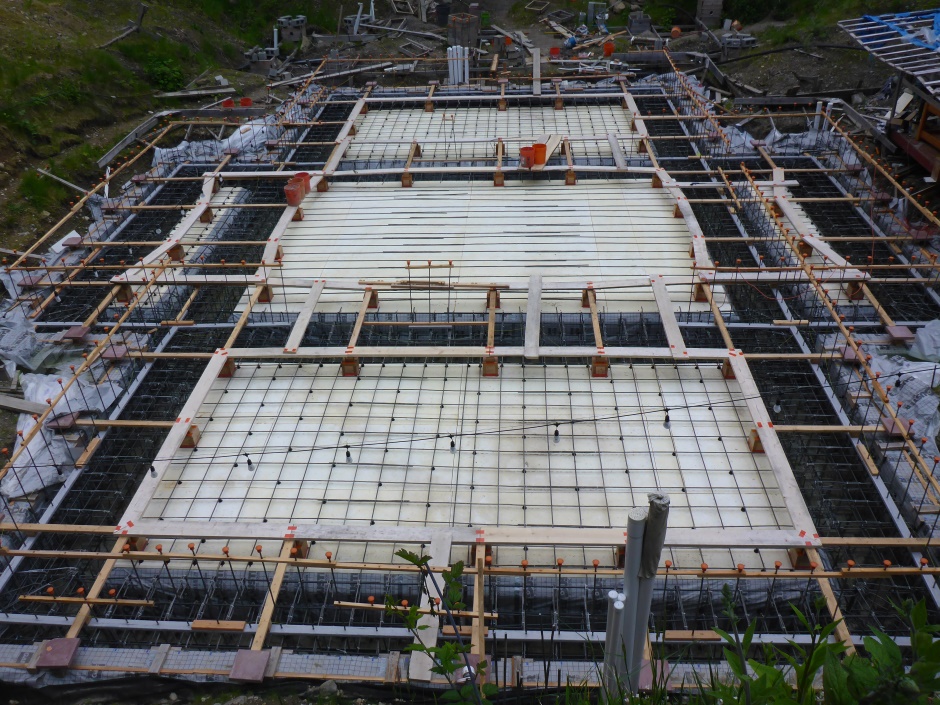
![]() Over the slab area go two separate layers of rebar supported at the
right heights.
Over the slab area go two separate layers of rebar supported at the
right heights.
Rebar over slab area
Chairs and spacing
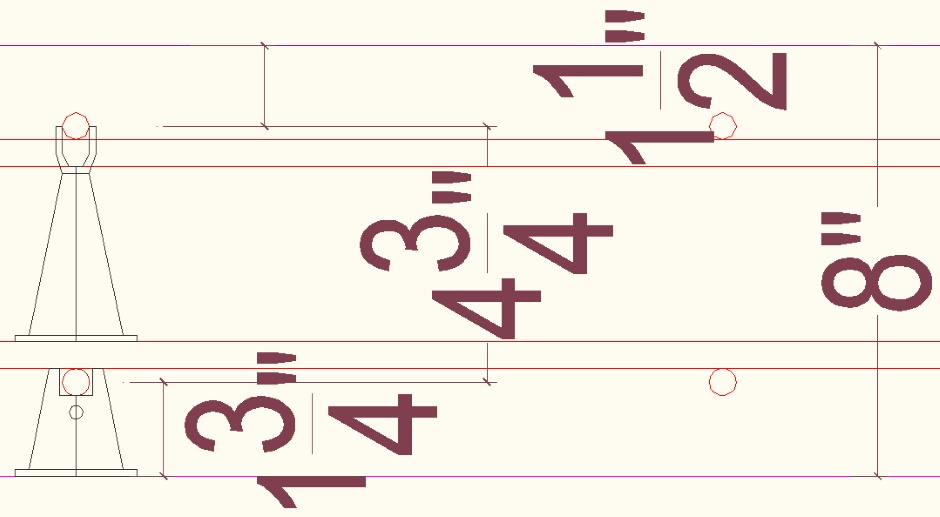
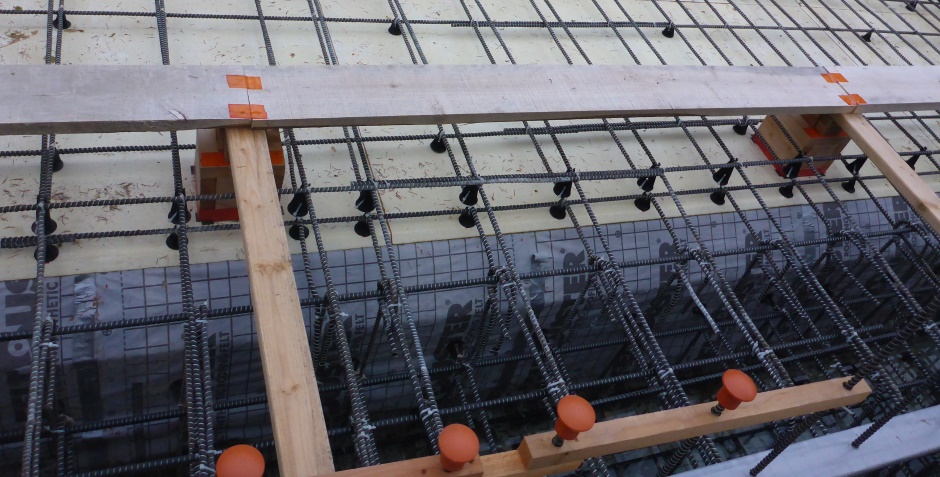
The north-south rebar for the first layer is supported by chairs cut to give a 1.5" distance to the outside of the half inch rebar. That means the center of the north-south rebar for the first layer is 1.75" above the polystyrene surface.
Next the east-west rebar for the first layer is added and that will have its center 2.25" above the polystyrene.
Then the east-west rebar for the second layer is added using 3.25" chairs. That makes its center 6" above the polystyrene.
Lastly the north-south rebar for the second layer is added. Its center is 6.5" above the polystyrene.
The concrete coverage over the north-south rebar for the second layer is 1.25". Having only a 1.25" coverage is fine because this is the warm dry inside of the house envelope and of course the rebar is non-rusting basalt rebar. Within reason, the nearer the rebar is to the edge the more upward force the slab can take.
Lower layer on slab area
The over slab lower layer rebar alternates between straights with a bend and pure straights that go across the footing to a rebar chair on the outside (or right across in the case of an internal wall footing).
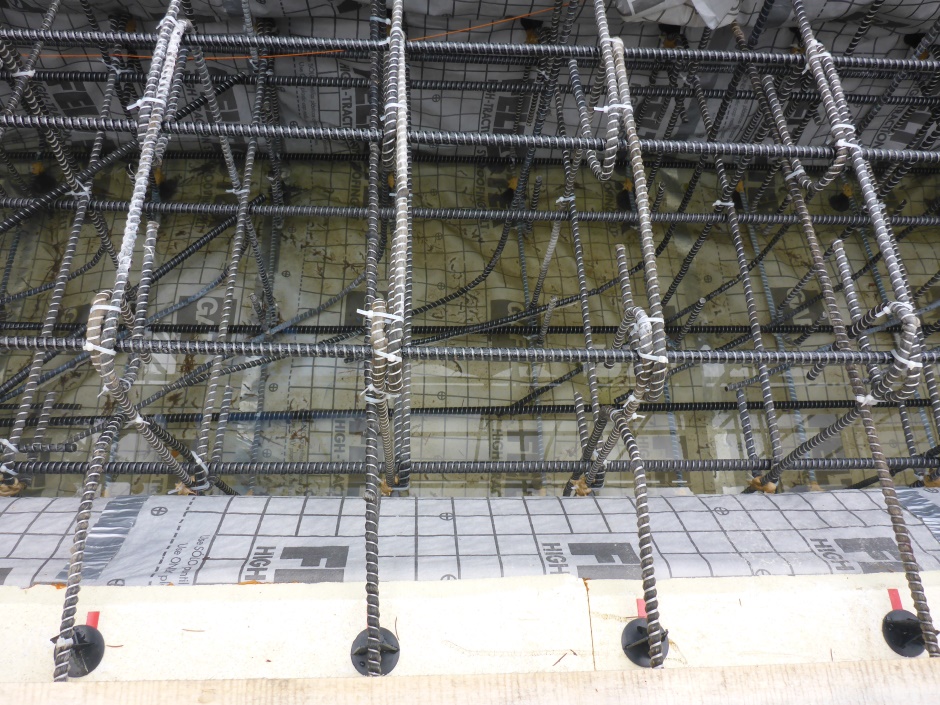
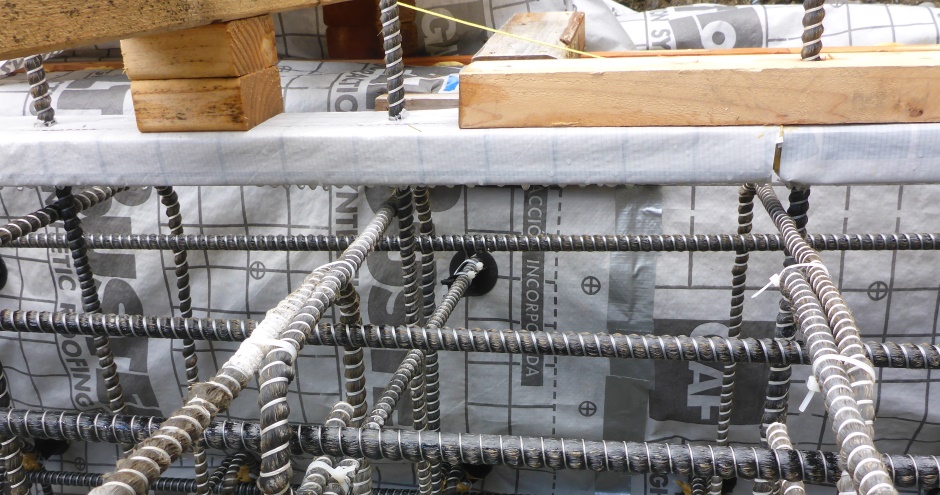
In the case of internal footings, for the lower layer, bent ends are also alternated into the footing.
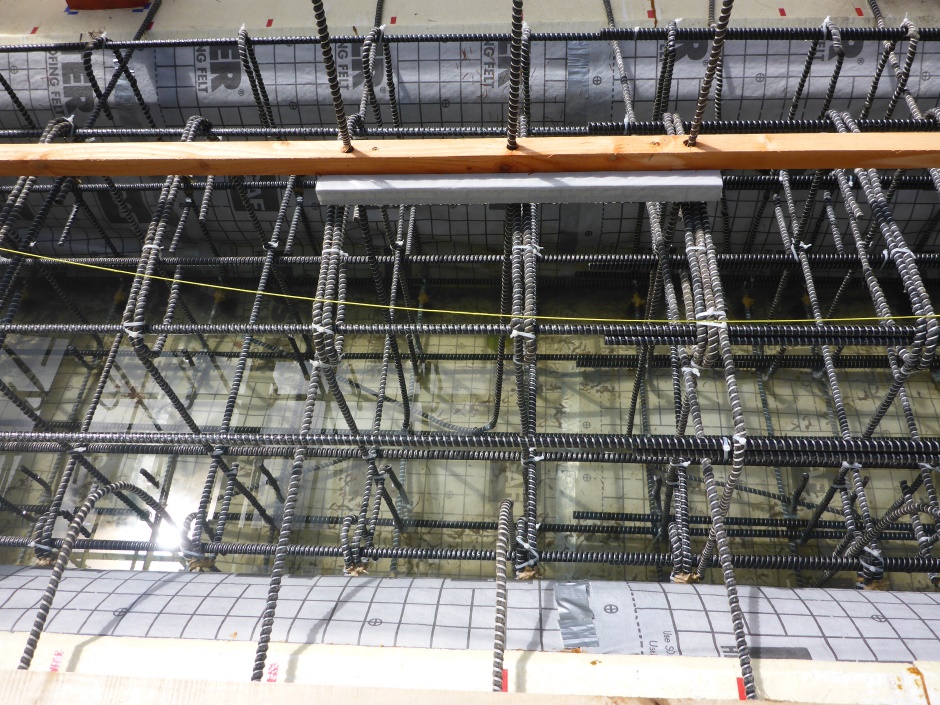
In practice you will mainly find you are using bend end rebar, sometimes with the bent leg into the external footing and sometimes with the bent leg into the internal footing.

Where joins in the #4 rebar are required, make the overlap 3'6" or more if cutting would result in unusable offcuts. Alternate where the joins are. When straights are needed, the slab area is a good place to use up the #4 rebar that had previously had the bend ends cut off.

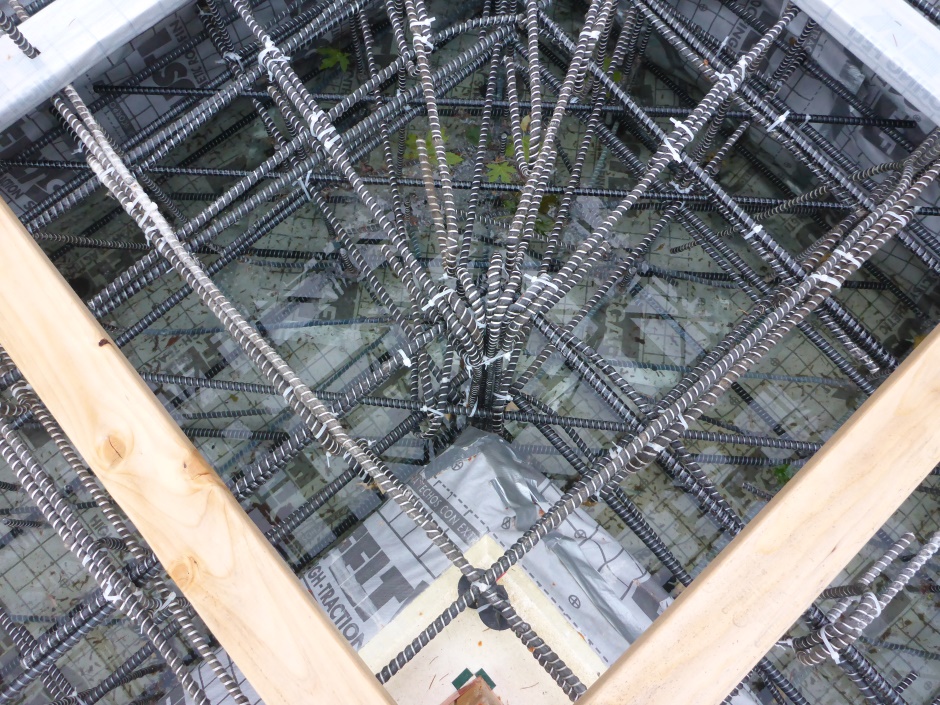
The angled rebar has a bend radius of 6". The bent leg does not need to be cut as a 2'6" bent leg is fine. The bent vertical leg goes down the inner edge of the footing trench. The vertical leg must be tied in two places with cable ties to ensure it cannot slip down and puncture the waterproof membrane.
On the slab area the angle pieces rest on cut short rebar chairs. Regular 2-1/4" chairs are modified on a band saw to support the bottom edge of the rebar 1.5" from the deck. The concrete chairs can go directly onto the 1" EPS that covers the slab area. Use cable ties to attach the rebar to the chair.
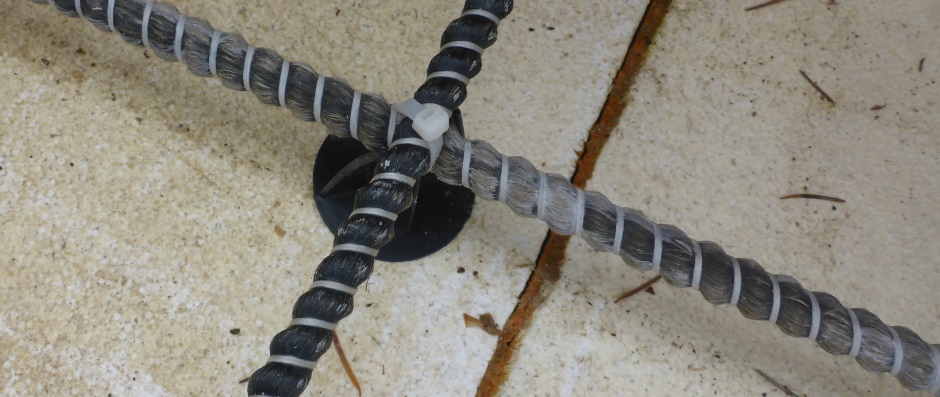
Use wood jigs to help you quickly and consistently cut the rebar chairs.
Bottom layer, North south
Add the north south bottom layer rebar first. Fit 1.5" cut rebar chairs at the north and south edges. Tie the rebar to the stirrup assemblies in the footings. The bent legs are at the position of the vertical rebar. The straight pieces have a rebar chair tied horizontally on the end and the chairs are positioned tightly against the outer footing wall. Do not at this stage tie the 1.5" chairs to the north south rebar because the cable tie to the chairs will also later tie to the east west rebar.
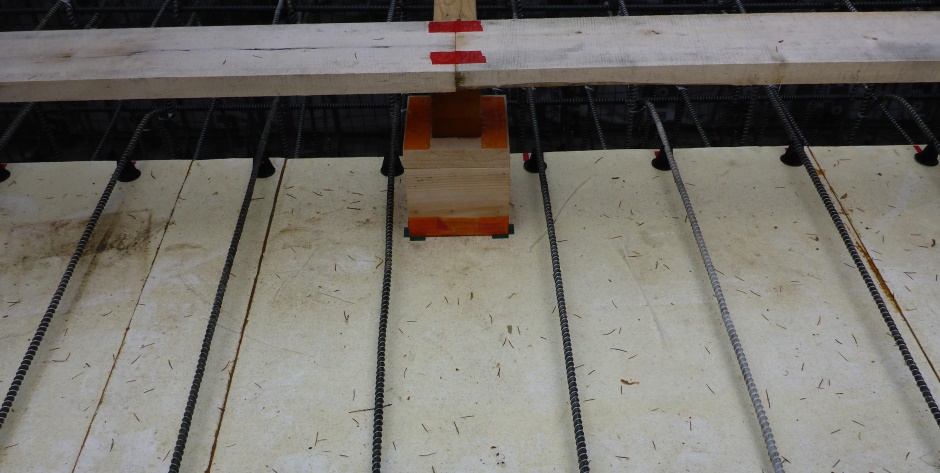
Only tie the tail ends together after the north and south edges have been tied.
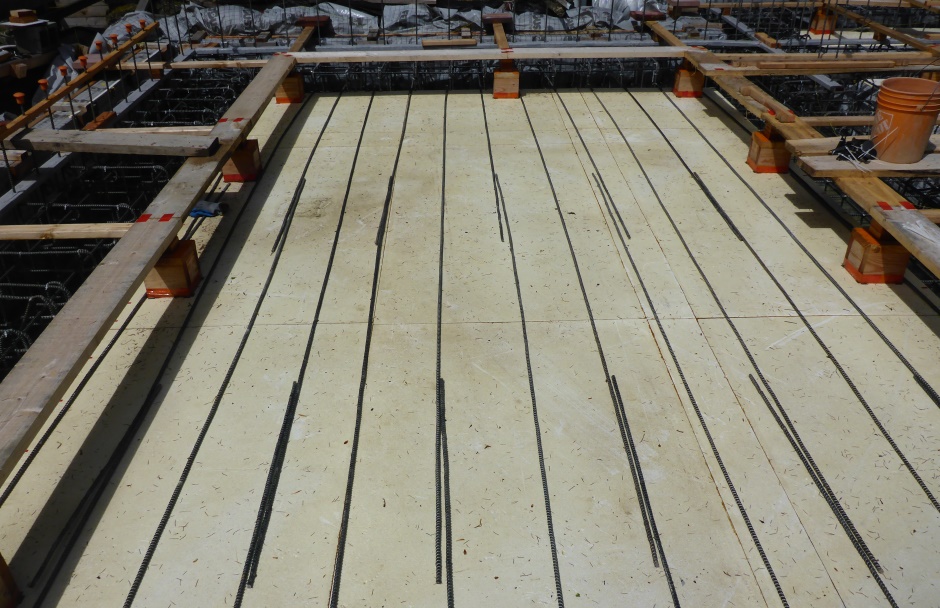
Only use one cable tie at the joins between straight rebar and the long legs of the bent rebar or else it will be later hard to add support chairs over the slab area.
Bottom layer, East west
Next add the east west bottom layer rebar.
In my case, when the bent leg is in the internal footing and the long leg goes out to the edge of the foundation, it is necessary to cut the long leg to a length of 17'3" (from the outside of the curve).
Fit and tie 1.5" cut rebar chairs at the east and west edges. The cable tie through each chair ties to both the east west and the north south rebar. Once the east west rebar has been added then you can also ties the north and south edges to the previously added chairs.
Add first layer support chairs over slab area
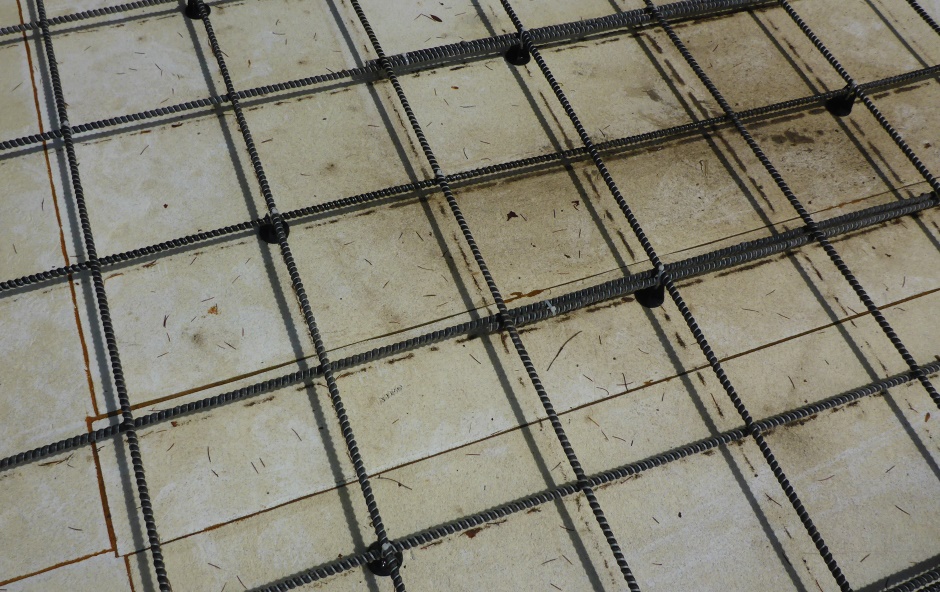
The next step is to add 1.5" cut rebar chairs over the body of the slab area. This also ties the north south rebar to the east west rebar to form the one foot squares. Use wood jigs to set the spacing to achieve a nice regular 1 foot grid.
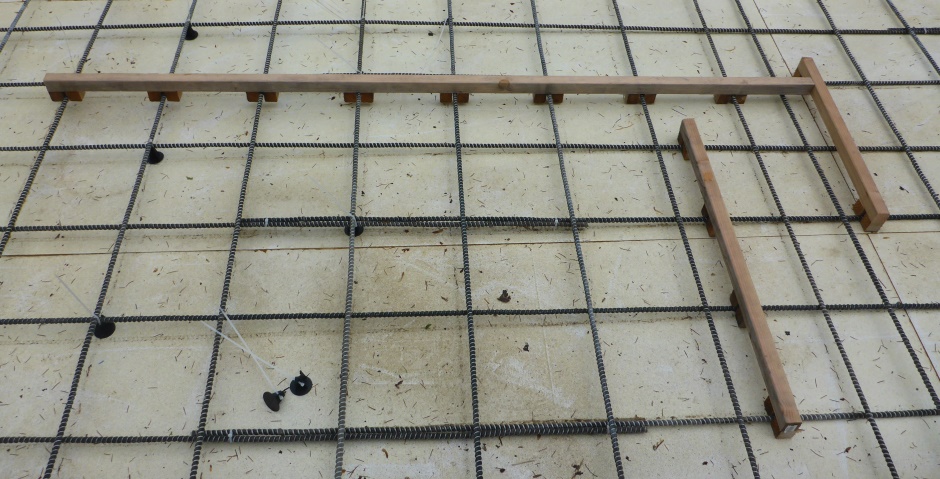
Use a 2 foot offset pattern for the placing of the chairs. Where there is not a chair (with its associated cable tie) then add cable ties as needed (ie where the two are not fully touching at the cross-over).
Upper layer on slab area
As with the lower layer, the upper layer alternates between a rebar piece with a bend in the end and a purely straight piece. The ends of the straight rebar droop down a bit in order to avoid the groove plank for the wall.
The leg of the bent piece goes vertically down near the vertical rebar. In the case of the purely straight rebar, it goes over the footing trench and terminates with a horizontal rebar chair tied on the end that is positioned against the external wall of the footing trench.
The east-west rebar needs to be placed before the north-south rebar in order to achieve the correct rebar chair spacing as described above.
The first task is to secure both the east west and the north south rebar around the edge of the slab area. All the other top layer rebar is tied to this and thus is well held in place.
Where needed, the bottom end of the rebar chair is attached to the lower rebar using a cable tie through a hole drilled near the bottom of the chair. A cable tie can also used at the top if required using another hole (with the rebar sitting in the U).
