


Home Site Map - Steps - Foundations -
Foundation Lining - Under Footing EPS
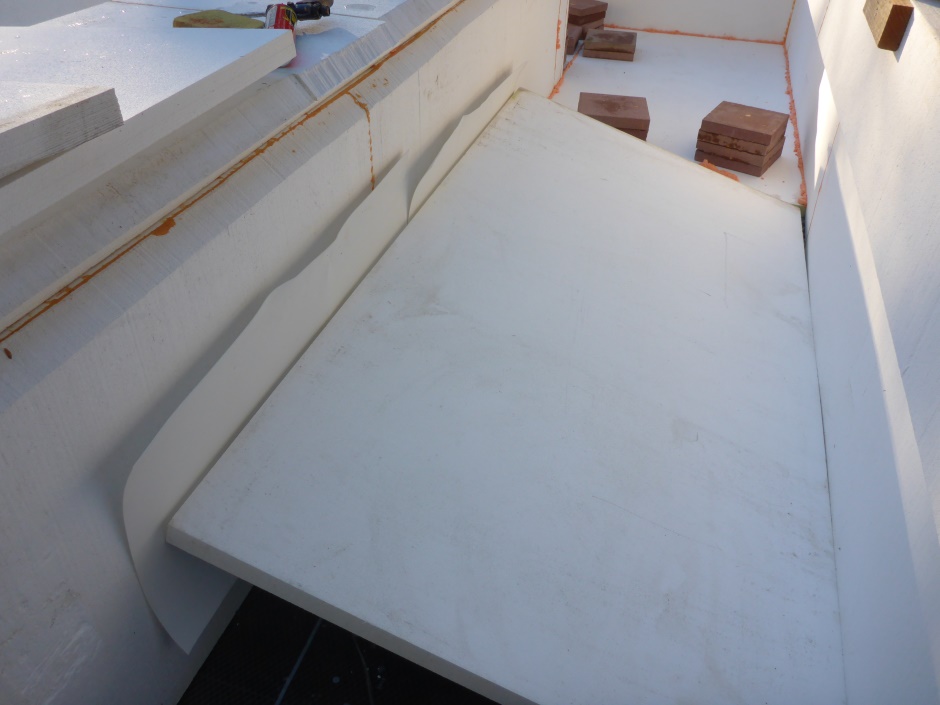
![]() Add the high density polystyrene at the bottom of the footing trench
and then add the final side polystyrene.
Add the high density polystyrene at the bottom of the footing trench
and then add the final side polystyrene.
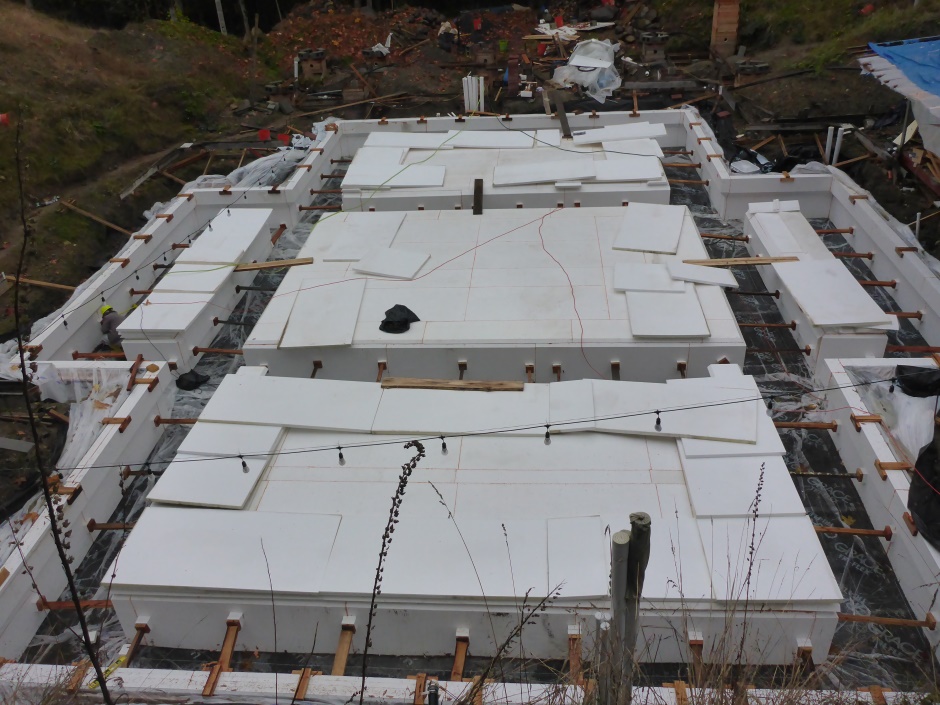
Prepare for under footing EPS and extra inner EPS
Minimize trapped rain water
You want to avoid trapping much rain water between the two polyethylene sheets so particularly in the rainy season it is good to minimize the time between pumping out the water and the second polyethylene sheet being fitted. Having the EPS stacked ready for fitting helps minimize the time.
Suck out all water and debris
Realistically rain water will have landed in the footing and there will likely be leaves and other debris. Use a submersible pump and then a wet/dry vacuum cleaner.

Any water left will be trapped forever. If you do have some water trapped between the sheets it is not actually too much of a problem because it will get pushed up the sides of the footing when you add the concrete. The trapped water will have EPS insulation completely surrounding it. It will not cause any thermal or structural problems.
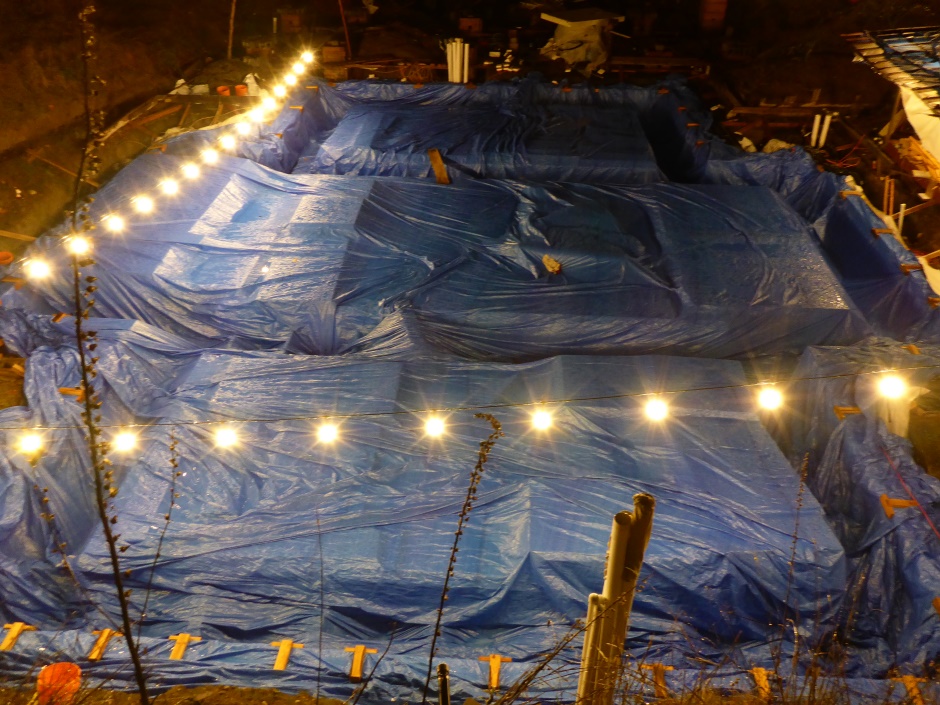
Tarp site if it rains
You could decide to put a big tarp over the whole site in the event of rain, but in practice you will likely find that rain water still gets through. It does however stop leaves from being blown in.
Fit footing EPS and extra inner EPS
Line bottom of footing trench
Under the footing there will be only one layer of 2" thick EPS (40psi). This contrasts with the slab area that has two layers (some of which is only 15psi EPS).
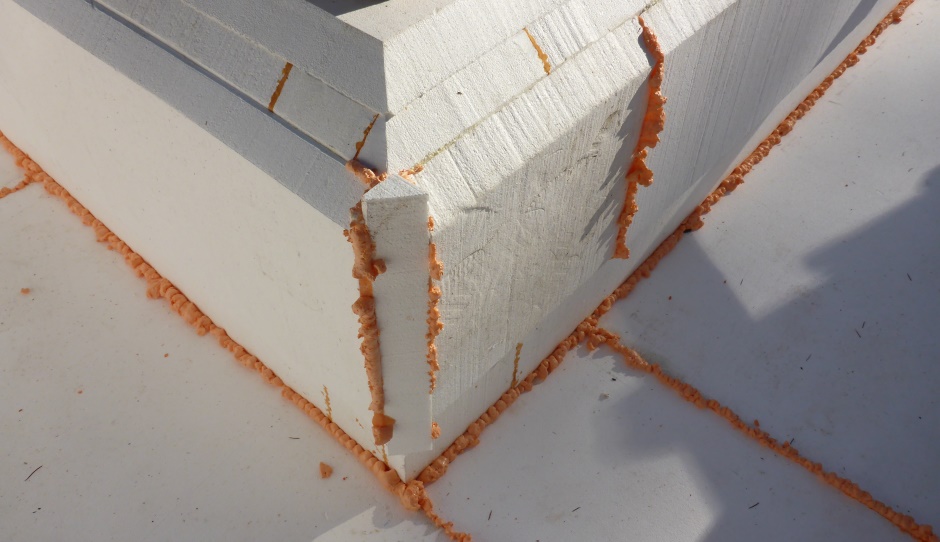
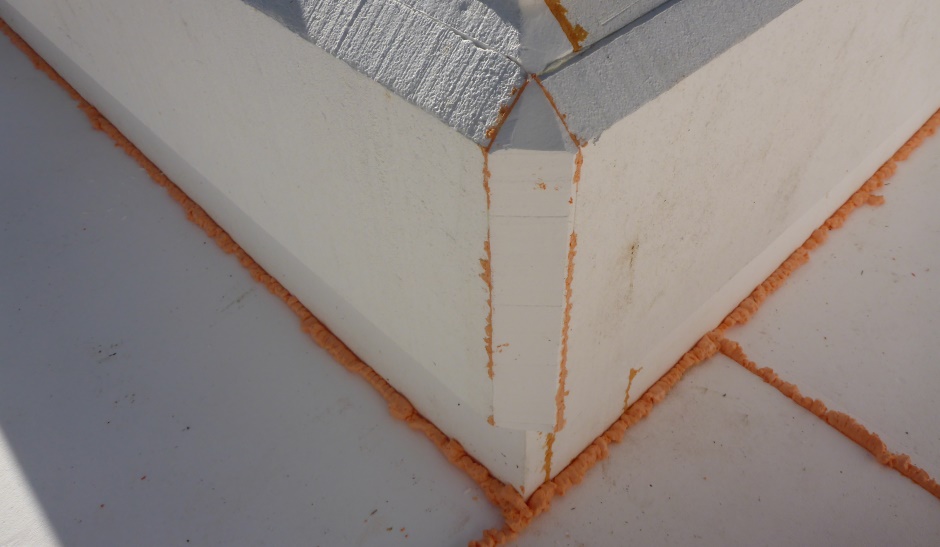
Use 2" EPS (40psi) with a width of 4'. Each sheet will do 8' of footing trench. Fit it between the vertical side polystyrene at the bottom of the footing trench. Position the 4' wide sheet on the outside of the footing trench. Depending on how much space is left given that the footings have probably bulged inwards slightly, on the inside edge add a strip of 1" wide 2" 40psi EPS and force it into place. You may have to do some trimming to get it to fit. The EPS at the bottom of the footing trench will nicely hold the vertical pieces of EPS at the bottom. It should by design need plenty of force to work the EPS into position at the bottom of the footing. Having this tight is part of the strategy for holding back the force of the crushed rock. Using a couple of pieces of thin slippery plastic sheet can be useful to get the EPS into place at the bottom of the trench.
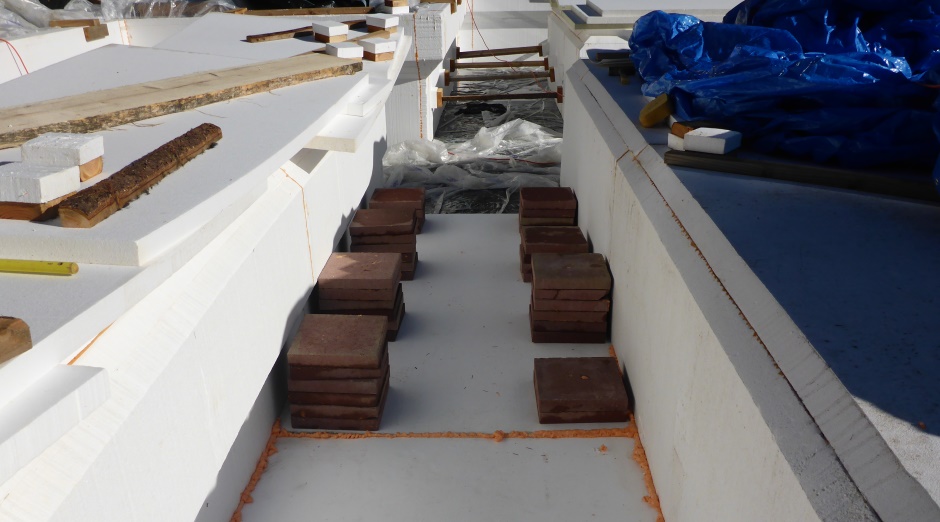
Particularly at the edges you want the EPS to be tightly in contact with the ground at the bottom of the trench. Use as many paving slabs as necessary to hold the edges tight down. Squirt foam gap filler into all the EPS edges to securely glue down the EPS.
You should aim to get the Foam gap filler to make a seal between the EPS sheet edges and to the EPS at the sides.
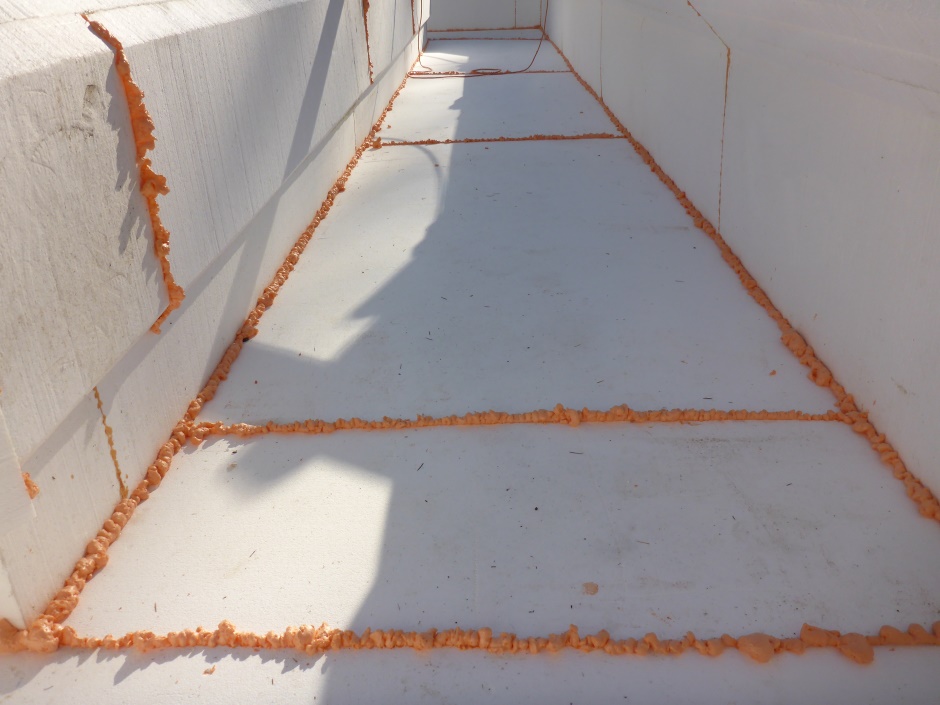
After putting the EPS at the bottom of the footing trench you will need to be careful walking on it with big boots. Ideally wear smooth flat soled shoes. Use a 9mm long blade craft knife to trim off the excess foam to make a clean flat surface.
Add extra inside polystyrene
Note that once the extra inside polystyrene has been added it will not be possible to add or remove the polystyrene at the bottom of the footing trench.
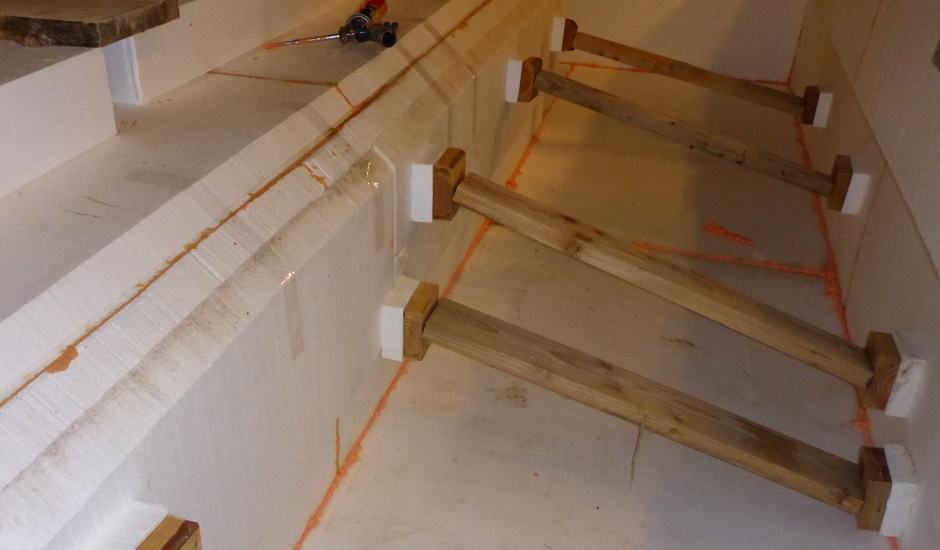
Add the pre-cut EPS pieces that have a 45 degree angle on both edges (1'7" from point to point). Use the spacer bracing and packing tape to hold it in place while the foam adhesive is drying.
Finish the corners with a strip of 45 degree EPS to round off the corner. Foam glue it on and then trim it with a 9mm long blade craft knife .