


Home Site Map - Steps - Foundations -
Form Footing - Outer Top Form-A-Drain
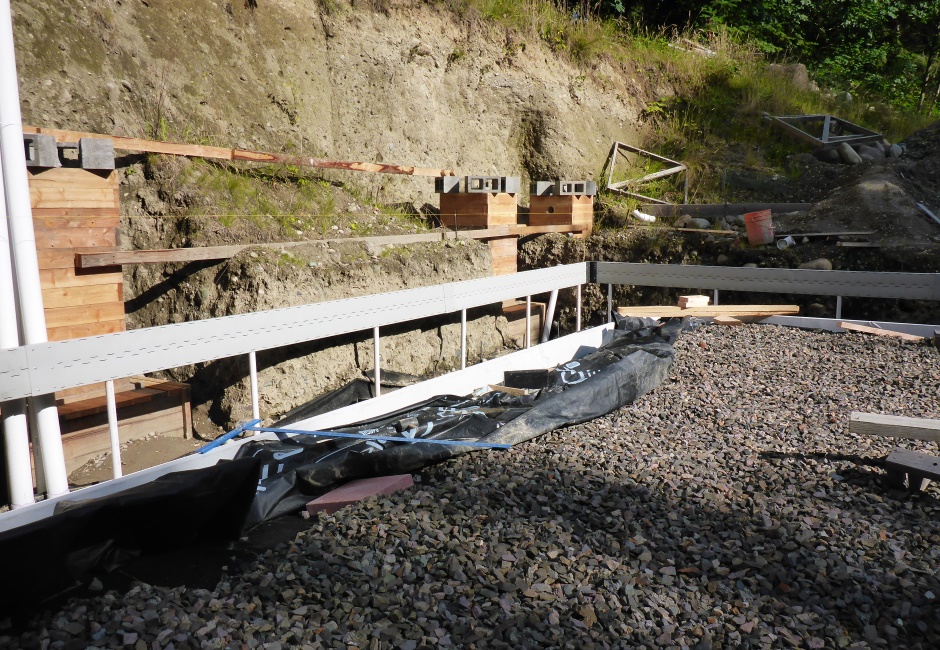
![]() Install the outer upper Form-A-Drain round the outside.
Install the outer upper Form-A-Drain round the outside.
Outer top Form-a-drain
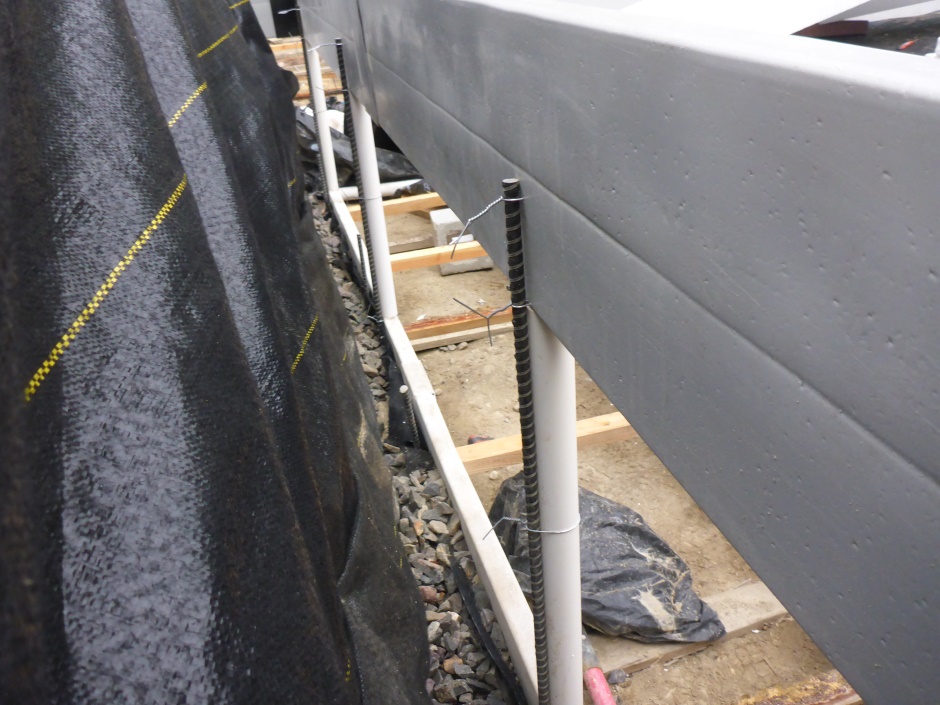
The reference
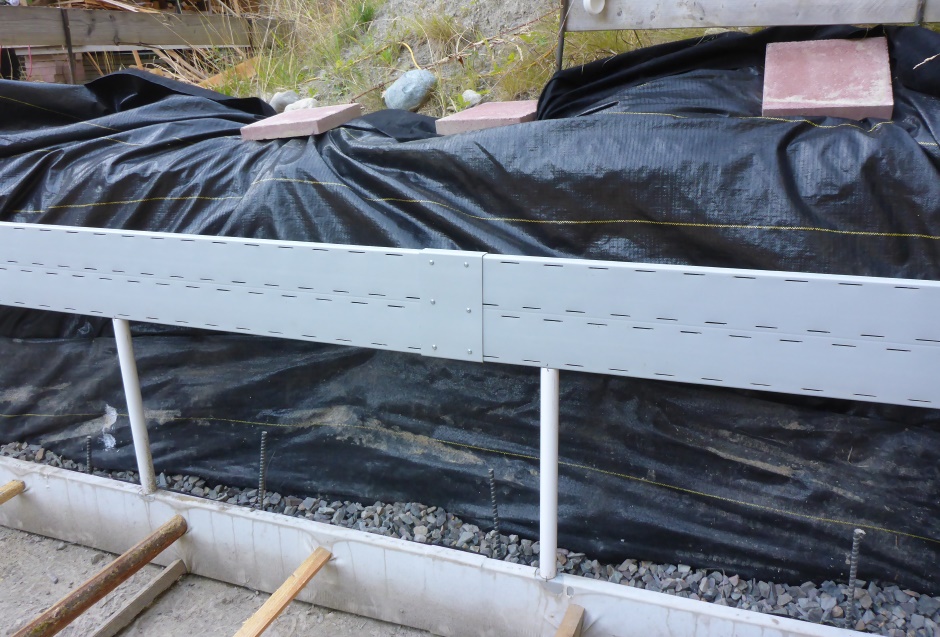
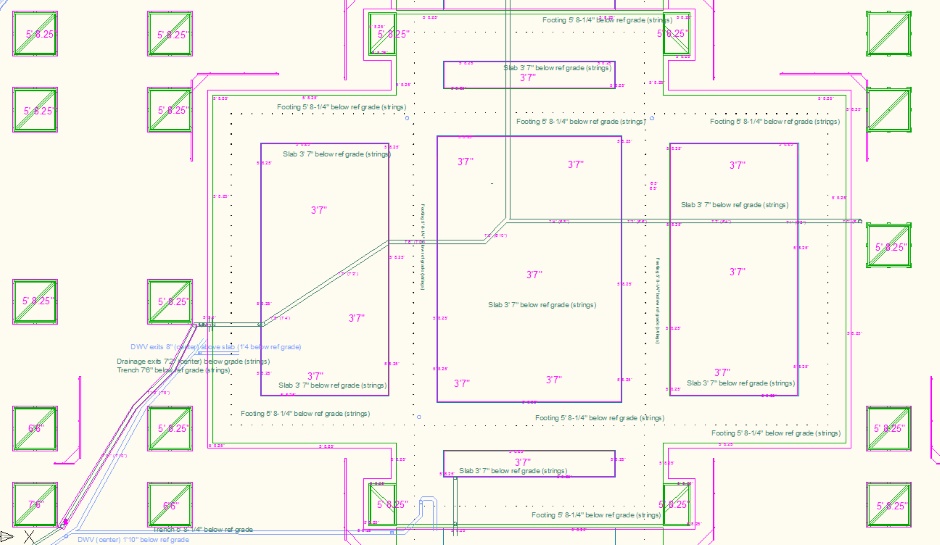
This is the forth and last perimeter of Form-a-drain. Its outer top edge is used as the reference for the foundation. The top edge is the height of the top of the concrete floor slab. Its outer face corresponds exactly to the green line on the foundation drawing that was used to layout the position of the building.
This reference piece of Form-a-drain is not used to collect water so does not need or want to have filter cloth. It is installed with the slots facing inwards into the footing trench.
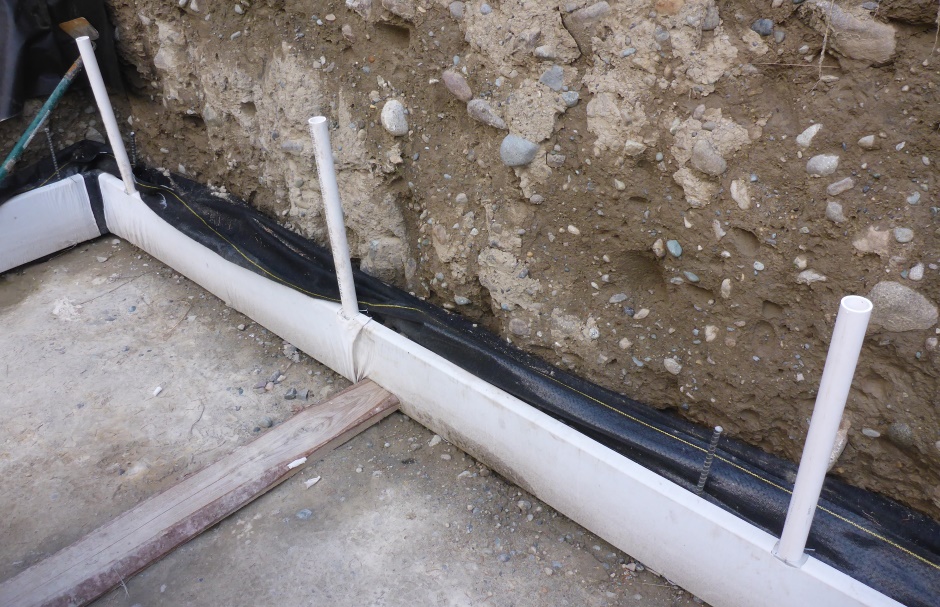
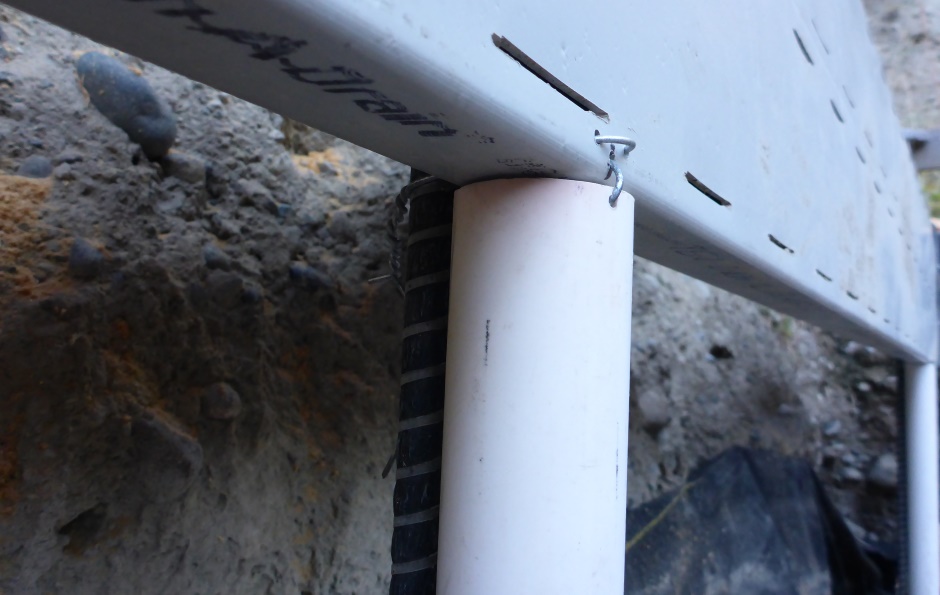
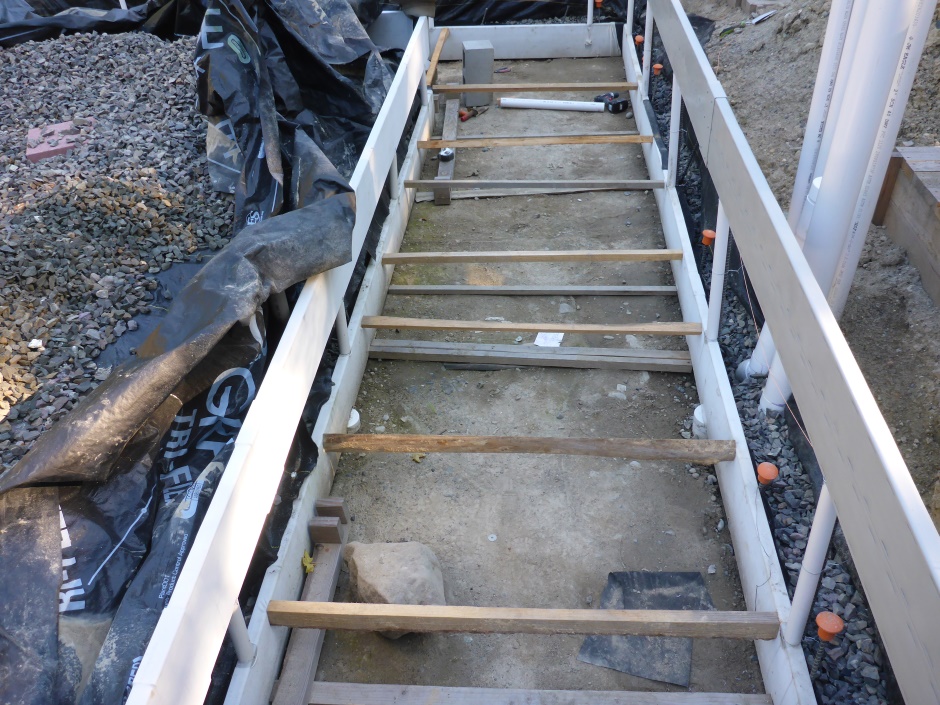
Pipe spacers
Even though there are no water drainage pipes needed from the outer top Form-a-drain, it is still necessary to implement dummy pipes as spacers. In the case of the outer Form-a-drain the spacer pipes need to be 1' 10-1/4" long. You need to cut 1.25" PVC water pipe to lengths of 1' 10-1/4". You need enough to be able to have spacers about every 4 feet and on either side of corners. Drill hole pairs at each end for the wire.

Fit it
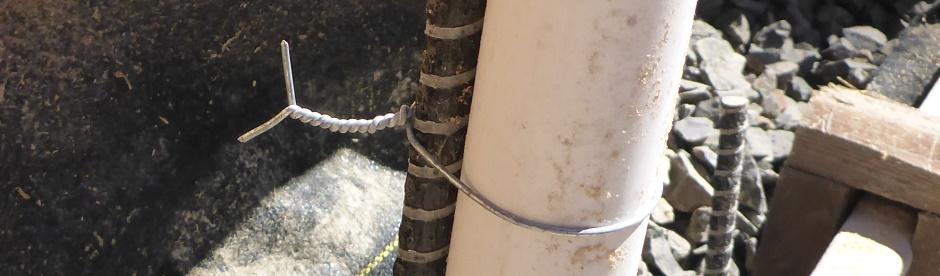
The gap space between outer top Form-a-drain and the bottom outer Form-a-drain is 1' 10-1/4". Start by attaching spacer pipes of length 1' 10-1/4" to the top of the lower outer Form-A-Drain. Use 16 gauge galvanized wire through holes to hold the Form-a-drain to the spacer pipes. Use a scrap piece of 4' wide EPS to set the distance between the spacer pipes so that the amount of cutting of the EPS you will later have to do is less.
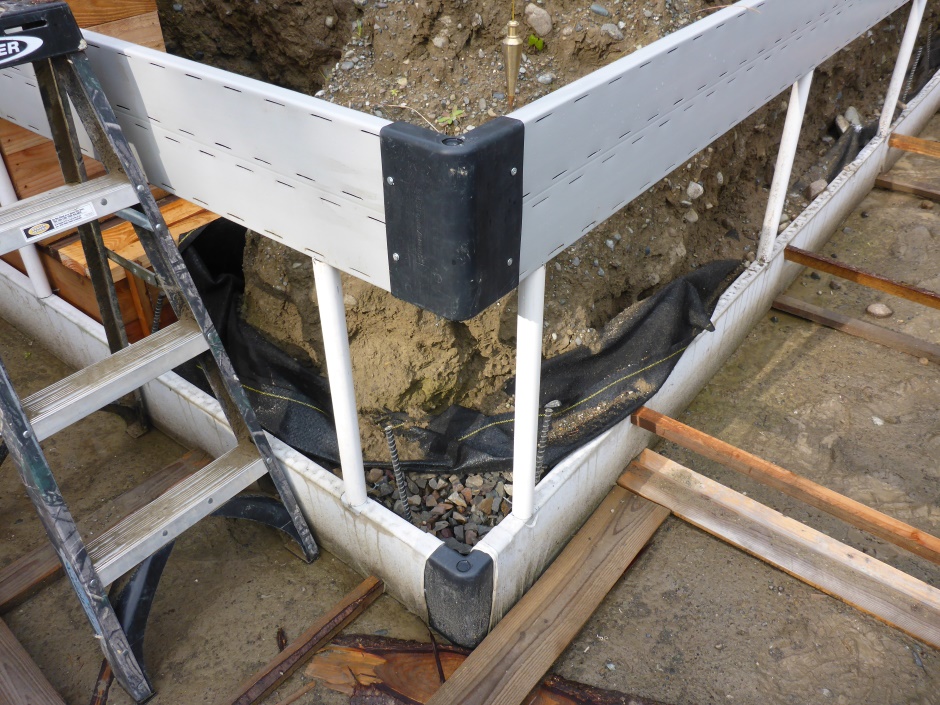
Join and cut Form-a-drain to the required lengths as shown on your AutoCAD drawing. Wire it to the top of the spacer pipe. Fit Form-a-drain corners.
Outer Form-a-drain strengthening rebar
The main aim is to reduce the amount that the top of the outer lower Form-A-Drain is bent inwards due to the force of crushed rock behind it. The rebar length is 3' 1" for the outer Form-A-Drain. Use 16awg galvanized wire through extra drilled holes in the Form-A-Drain. Also wire it top and bottom and middle to the white spacer pipes.
You may need to dig away or wiggle away any crushed rock that stops the rebar going all the way down to the bottom of the lower Form-A-Drain.
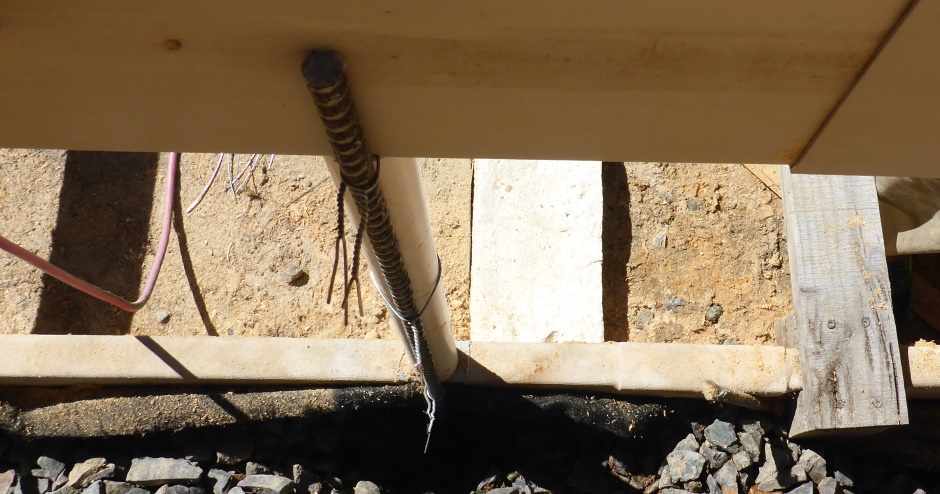
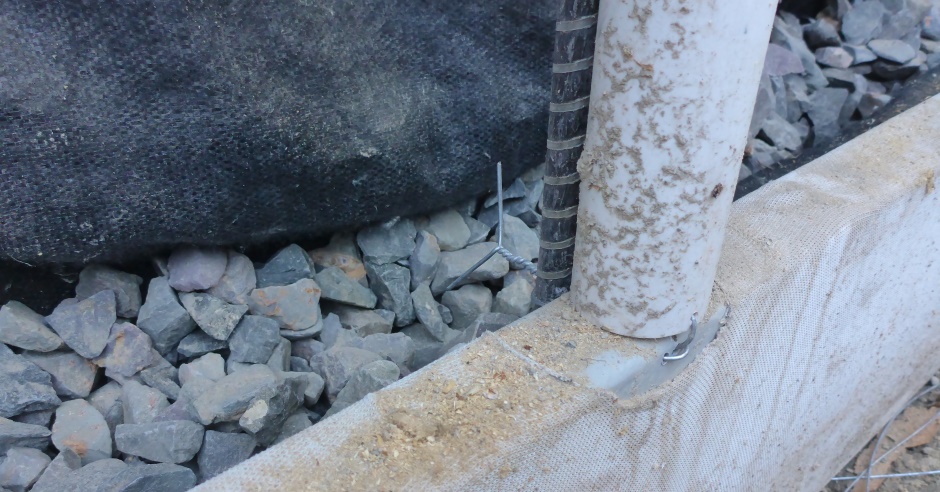
Also wire it at the top of the rebar. The twin holes are 5-3/4" from the top of the Form-A-Drain.
Add additional geofabric up the excavation earth
Previously the geofabric was folded over the crushed rock to keep it clean. Now put it vertically up against the soil. From now on you need to be careful that soil does not fall down into the crushed rock.
Join additional geofabric to the existing geofabric with a stapled folded seam and nail through them both to the earth. Even in the case of the non-slope side of the building, the added geofabric should be wide enough to extend up the excavation and later provide enough left over to fold over the backfill crushed rock.
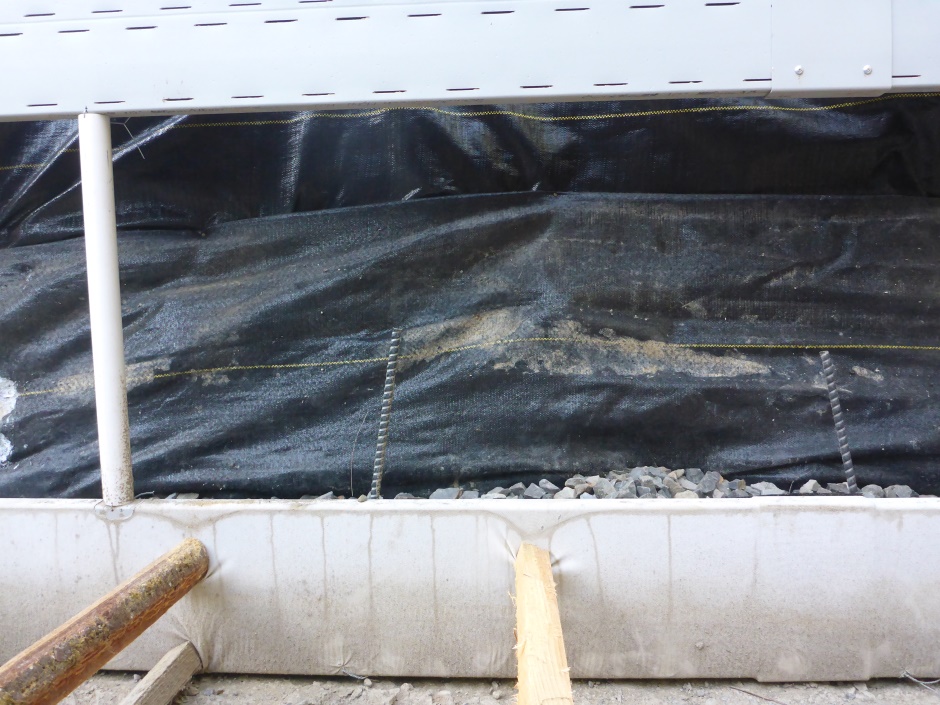
Stop the top falling down using some paving slabs or other creative means.