Home Site Map - Steps - Foundations -
Form Footing - Form-A-Drain Drainage
![]() The mechanism for collecting water from the Form-A-Drain and getting
rid of it.
The mechanism for collecting water from the Form-A-Drain and getting
rid of it.
Form-a-drain drainage pipe connection
Custom design
There will be a hole cut in the bottom of the Form-a-drain as it passes over the drainage pipe that was installed previously.
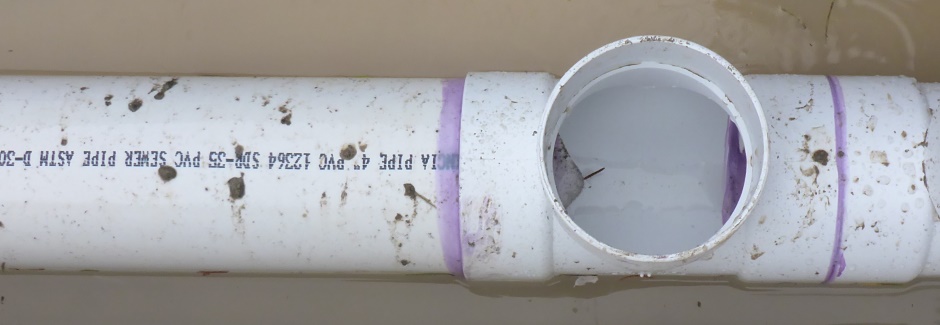
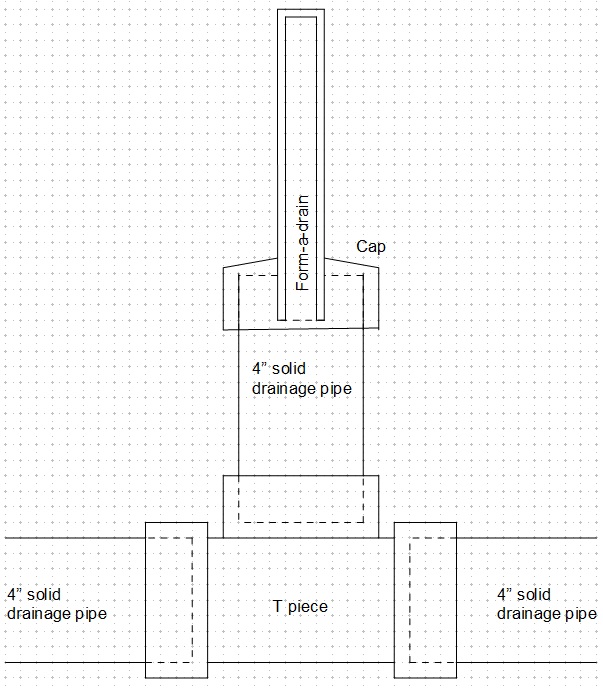
To catch the water, the sloping drainage pipe has upward facing T pieces. To guide the water from the Form-a-drain to the T pieces, short pieces of solid wall 4" drainage pipe cut with a 1.5" slot are used. A cap piece cut with a 1-5/8" deep slot completes the assembly.
With a trowel, dig away the soil round the temporary filter covered perforated pipe (that was used to drain the site while refining the excavation) and remove the perforated pipe. Make sure soil does not fall into the Tee piece.
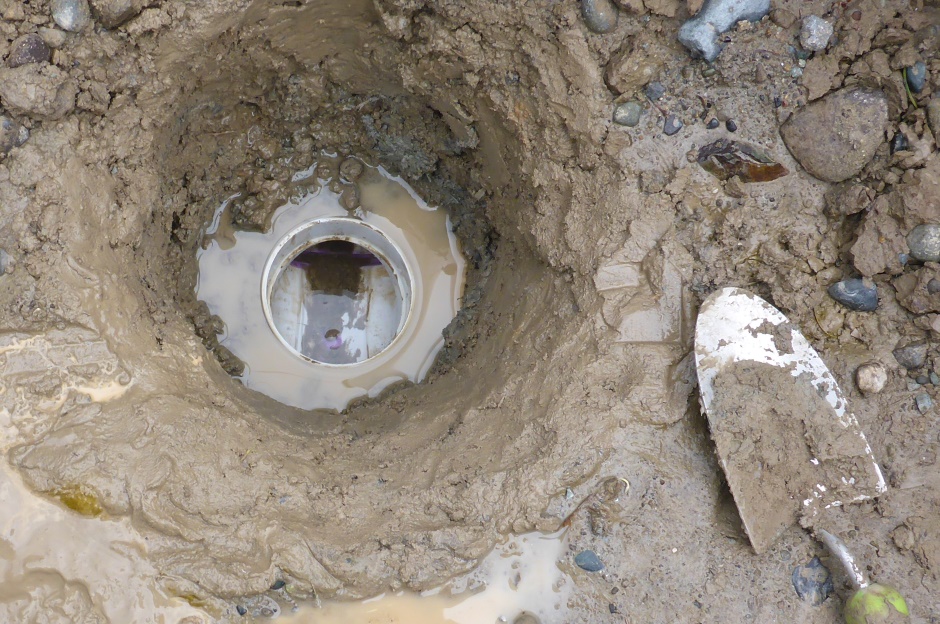
To determine the length of 4" solid pipe required, use your laser measuring white pipe to the bottom of the Tee piece and subtract the distance from the bottom to the bottom of the inner ridge (4"). The remaining distance to the official footing depth plus 1.5" is the length of pipe required.
Pipe length = Measured from batterboard laser to pipe bottom - 4" - 5' 8.25" + 1.5"
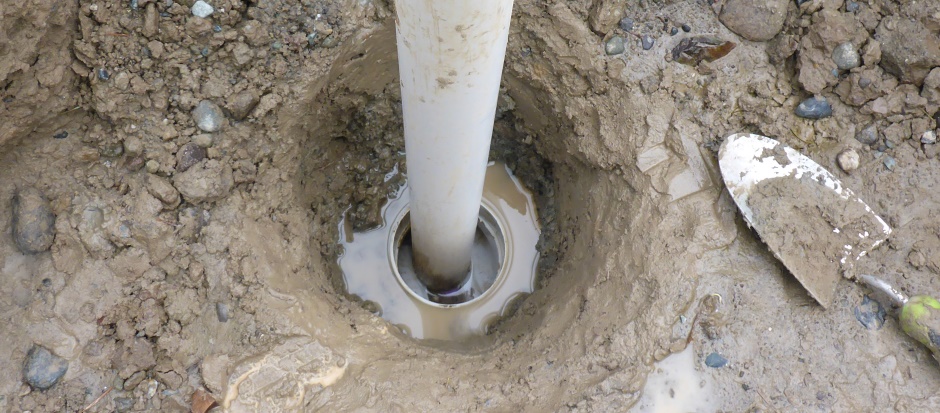
Fabricate and attach the guide pipe assembly
Measure and cut the necessary length of 4" solid pipe. Cut the 4" piping with a slot in the top to guide the water to the T piece. Also cut the top cap as shown in the picture below (use a band saw with a fine tooth blade).

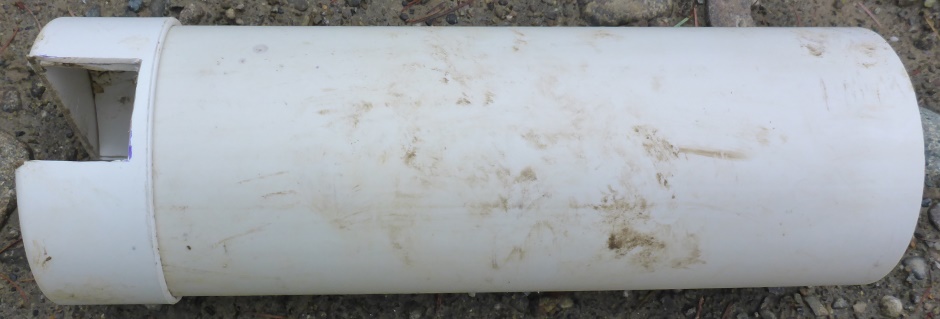
Temporarily assemble the parts. There is no need to glue the pipe and it is best not to as that provides some wiggle adjustment.
With all the upward slotted pipes installed it is possible to place the Form-a-drain (rather than it hitting the temporary perforated drain pipes).


