Home Site Map - Steps - Foundations -
Prepare Site - Excavation To level
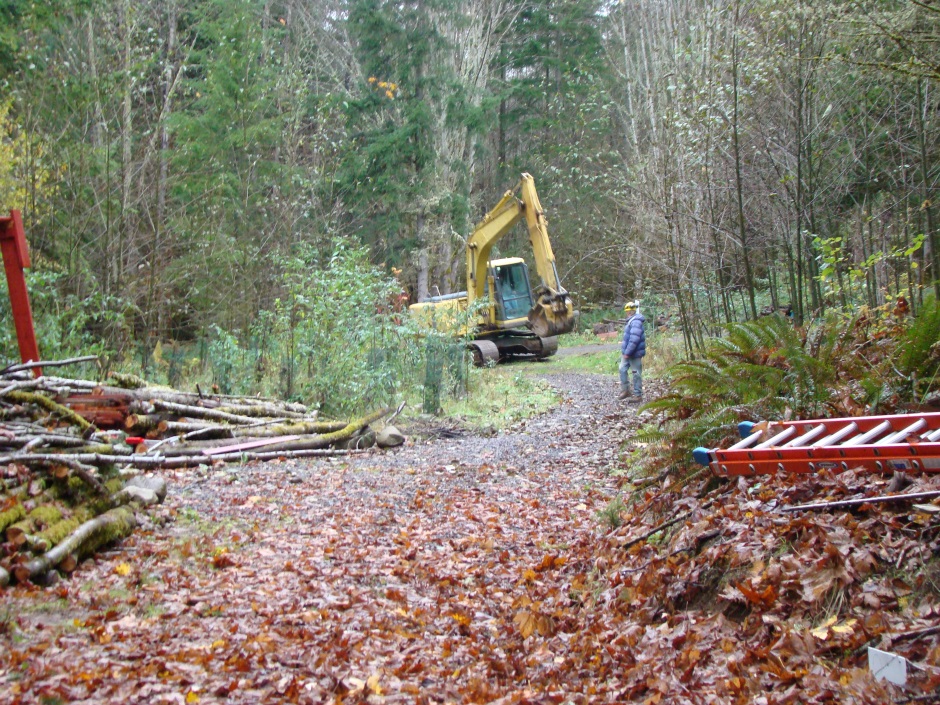
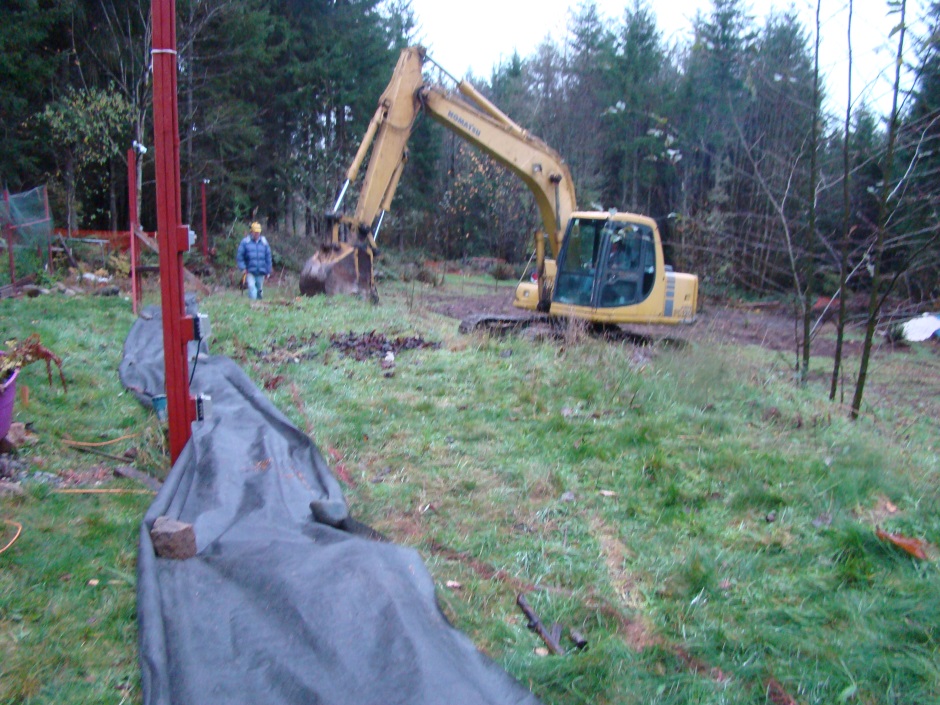
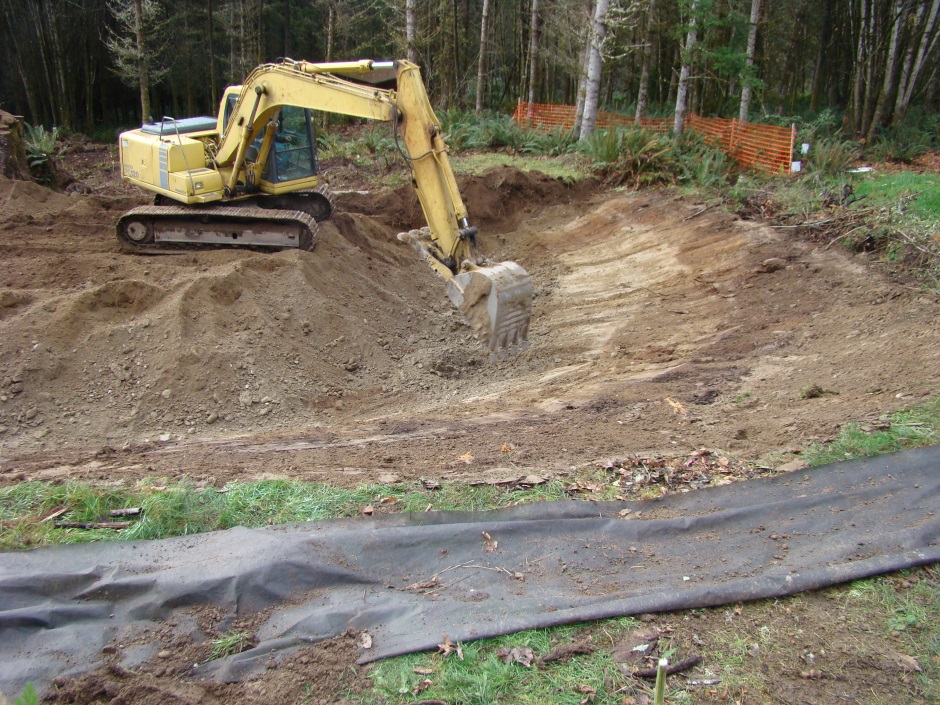
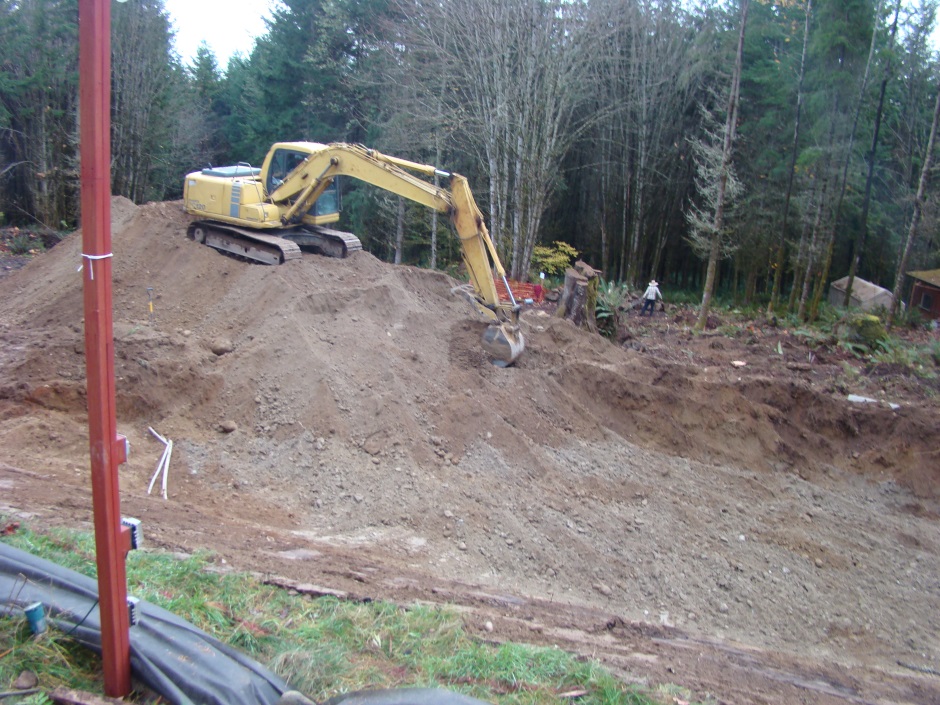
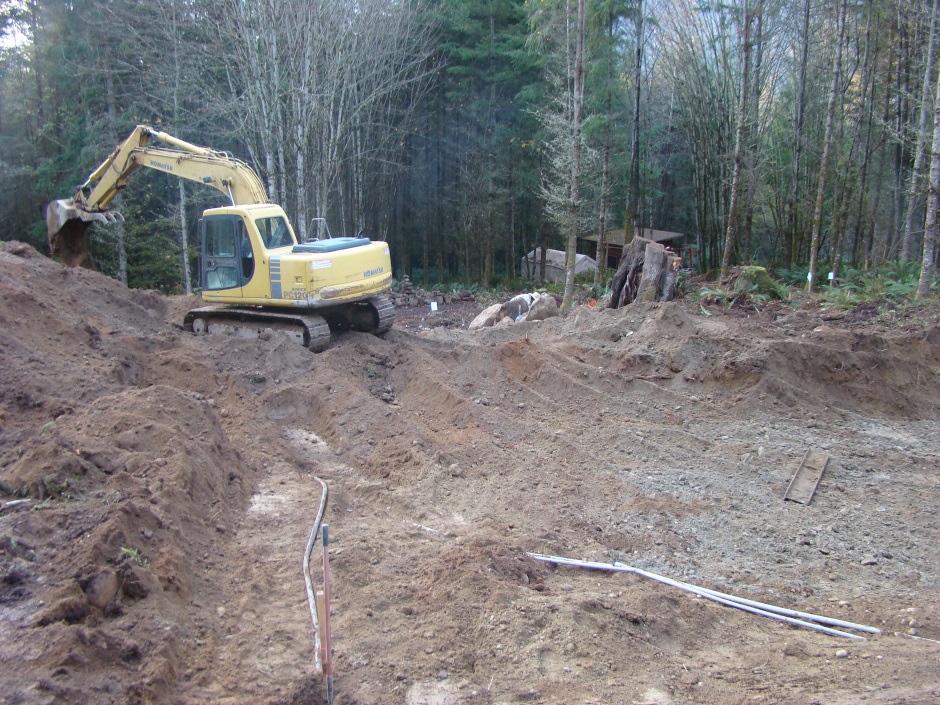
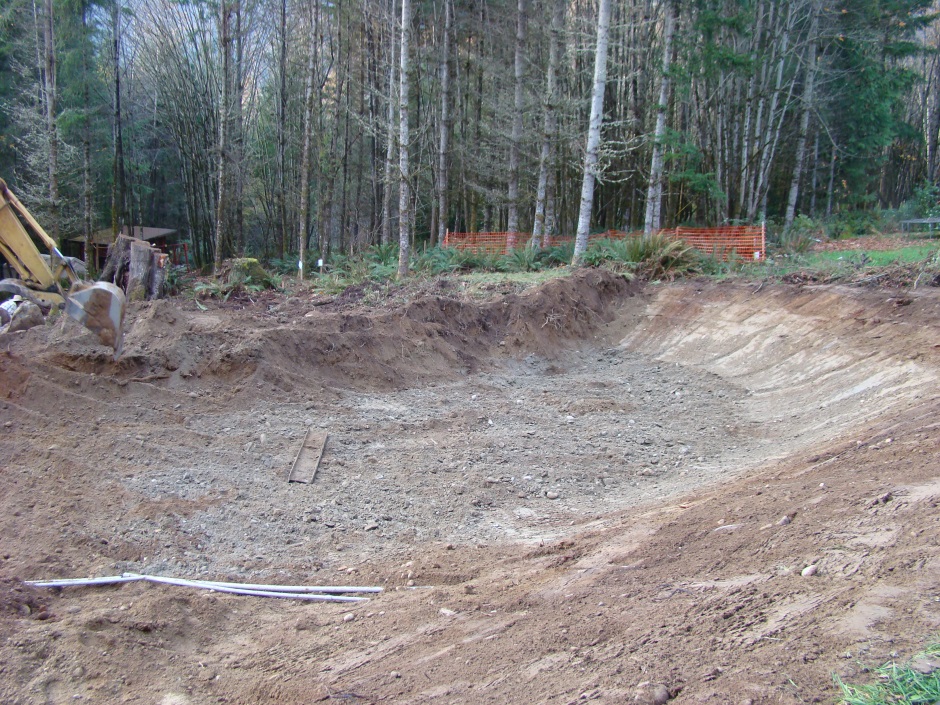
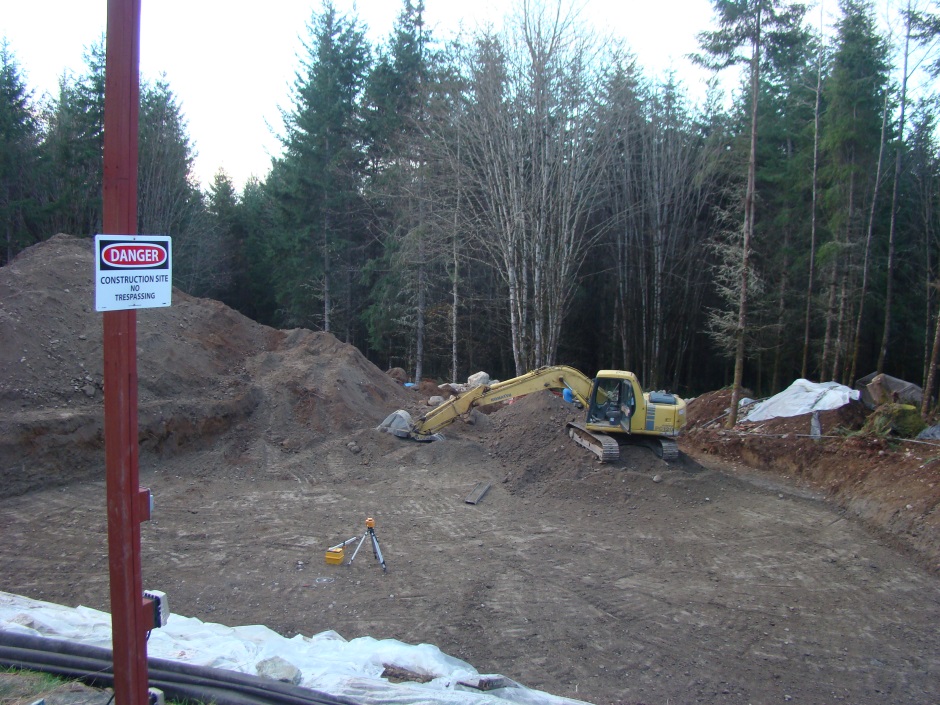
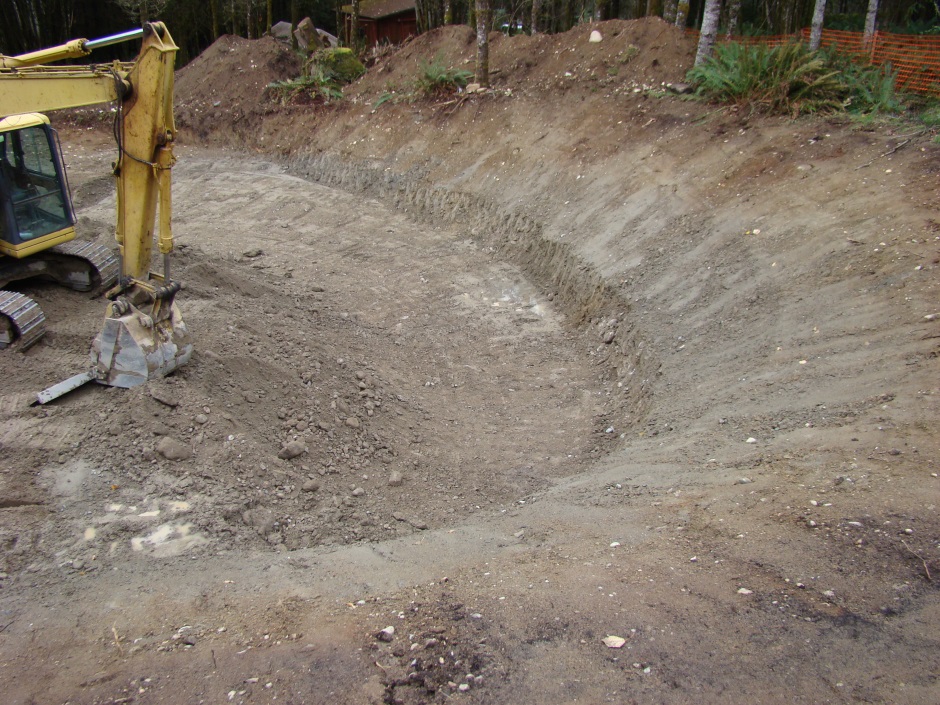
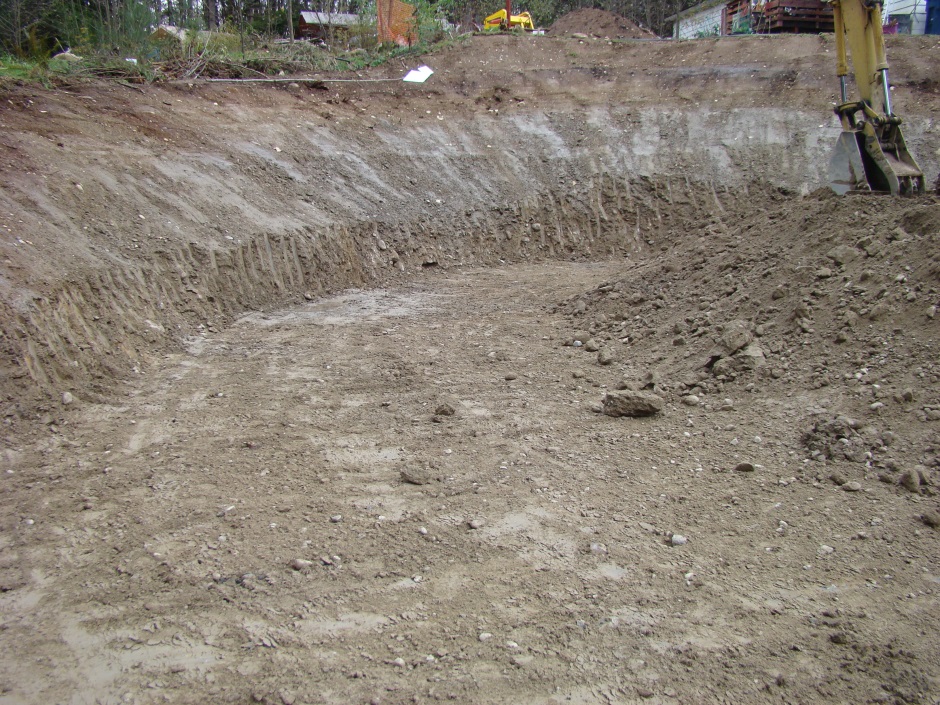
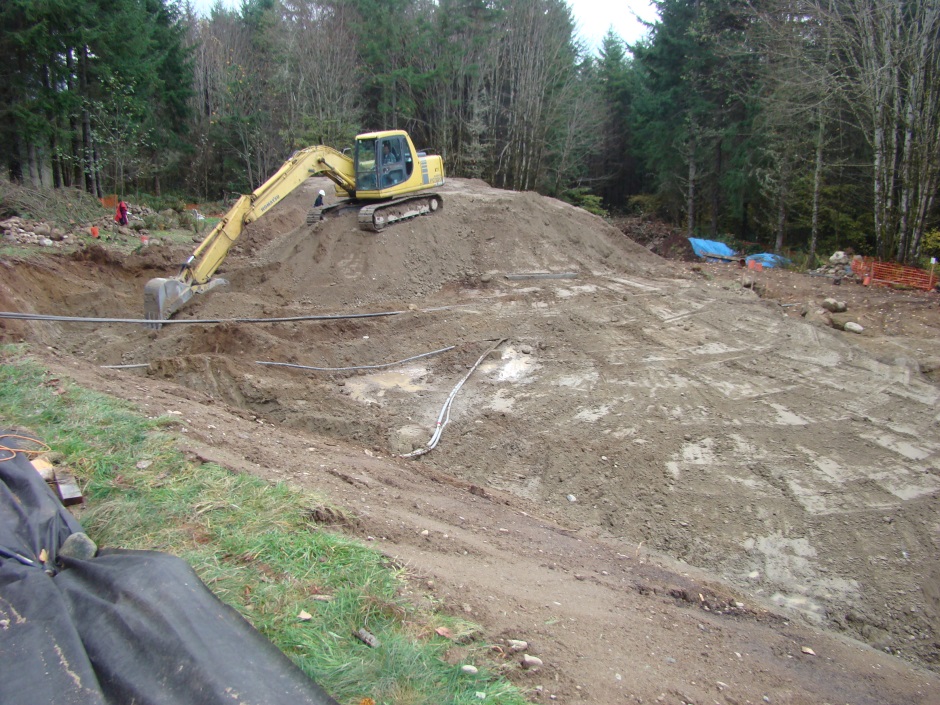
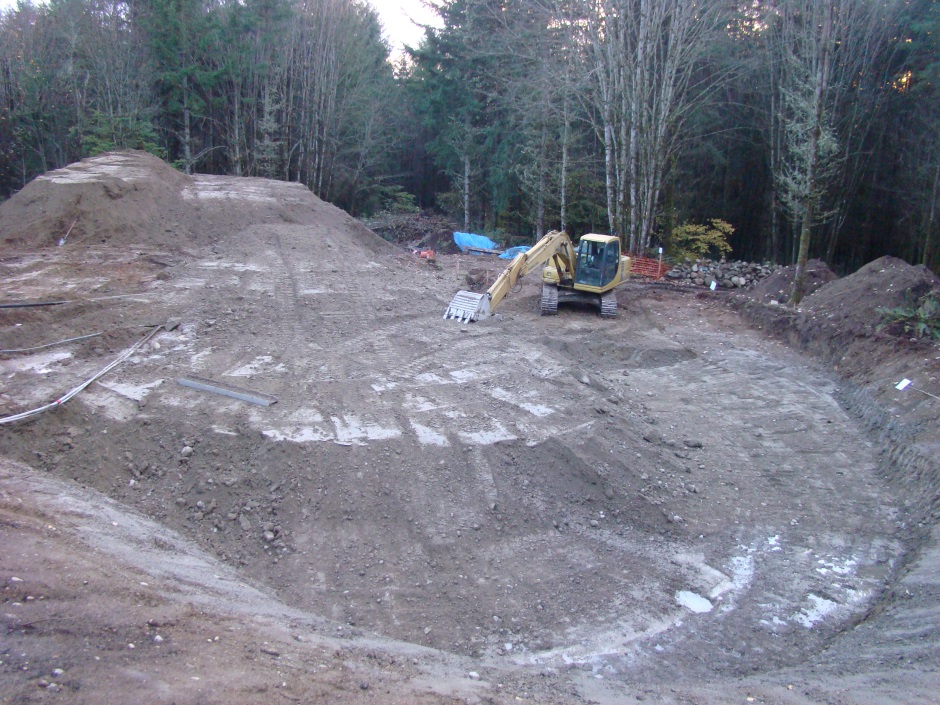
![]() A photo record of the excavation process.
A photo record of the excavation process.
Excavate the site to level
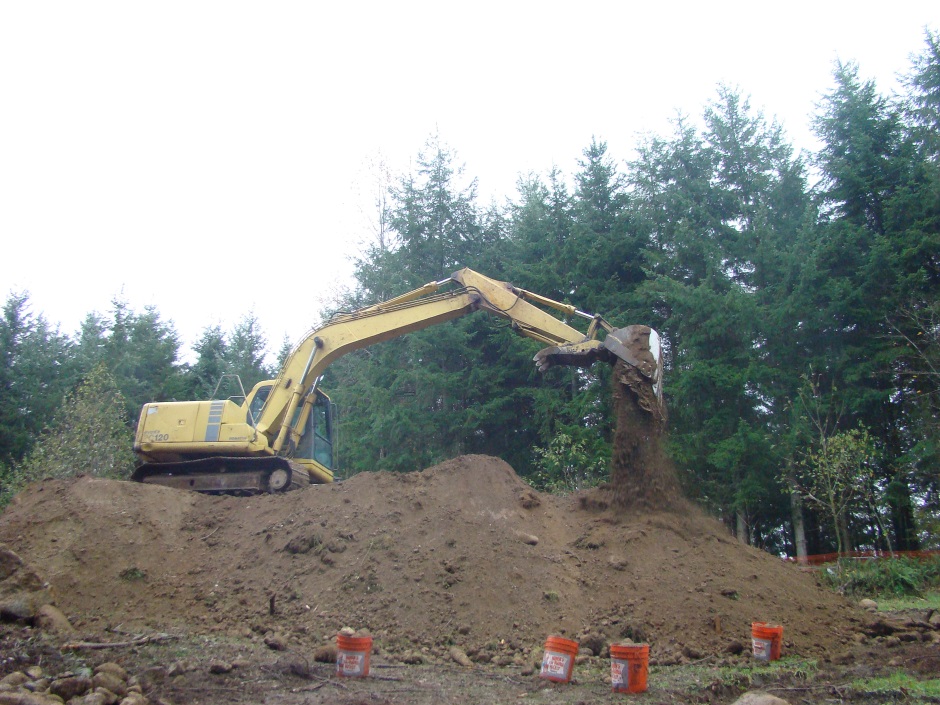
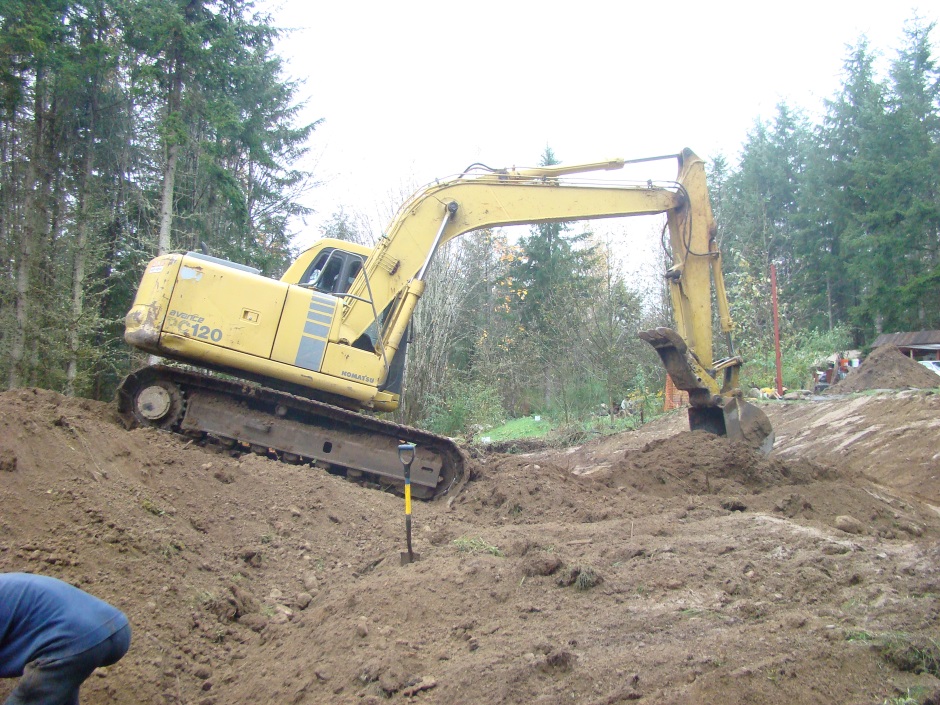
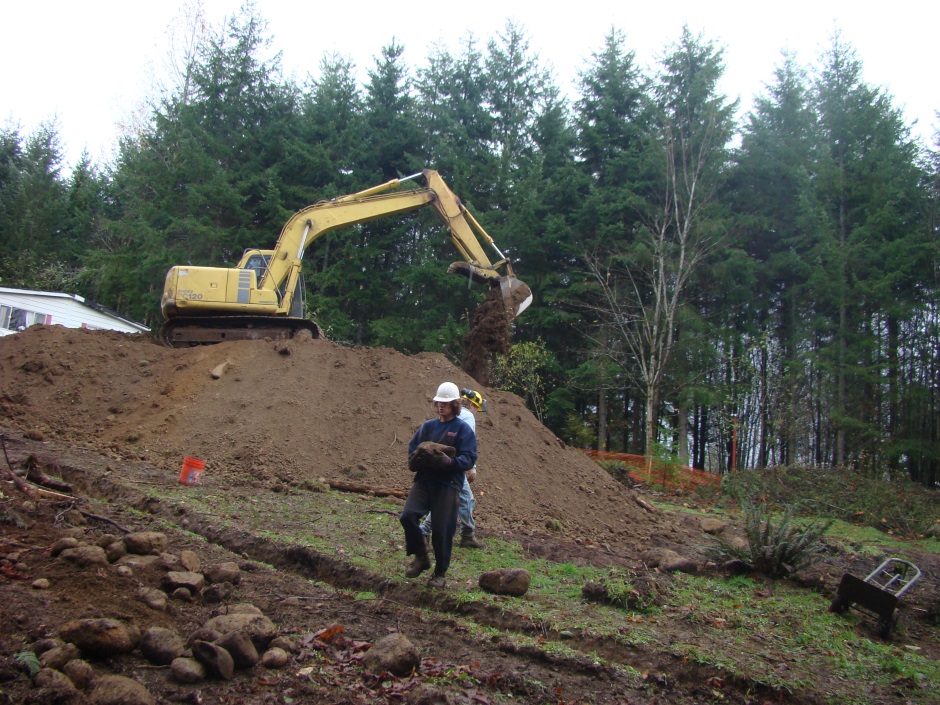
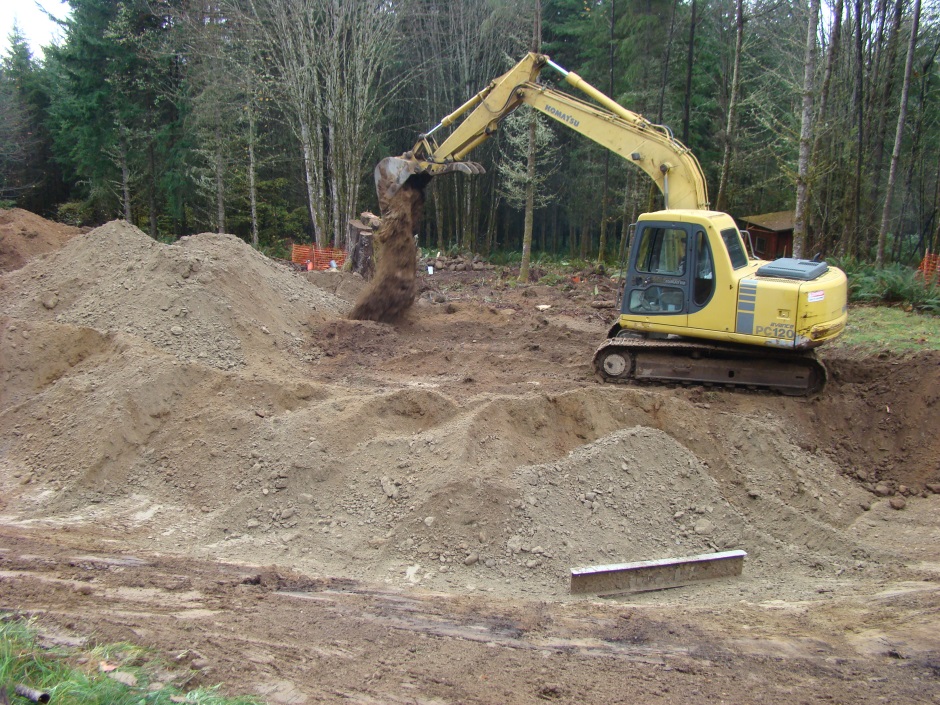
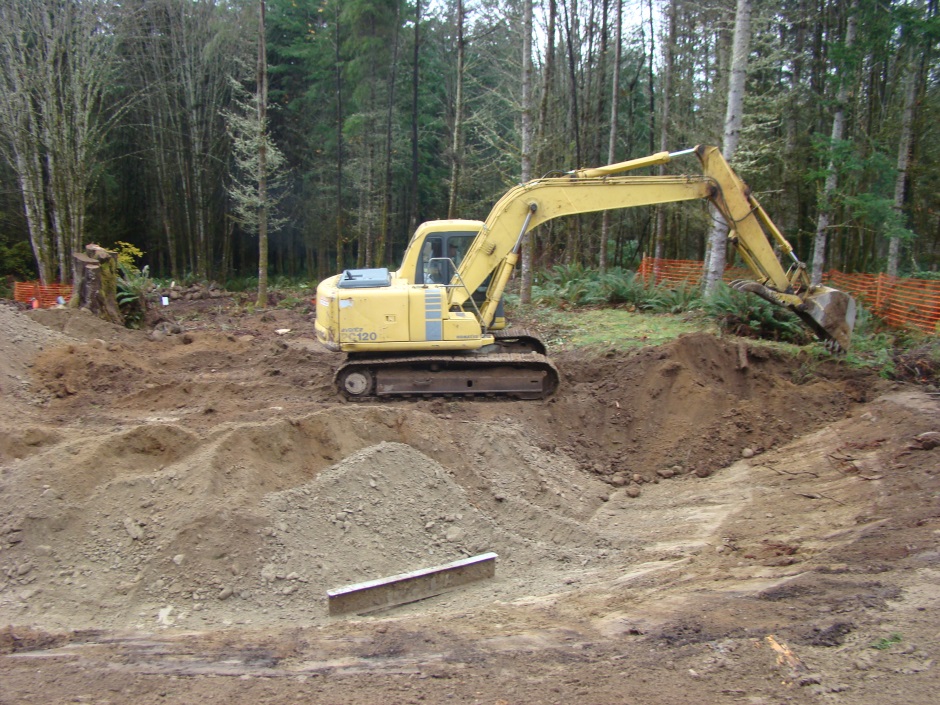
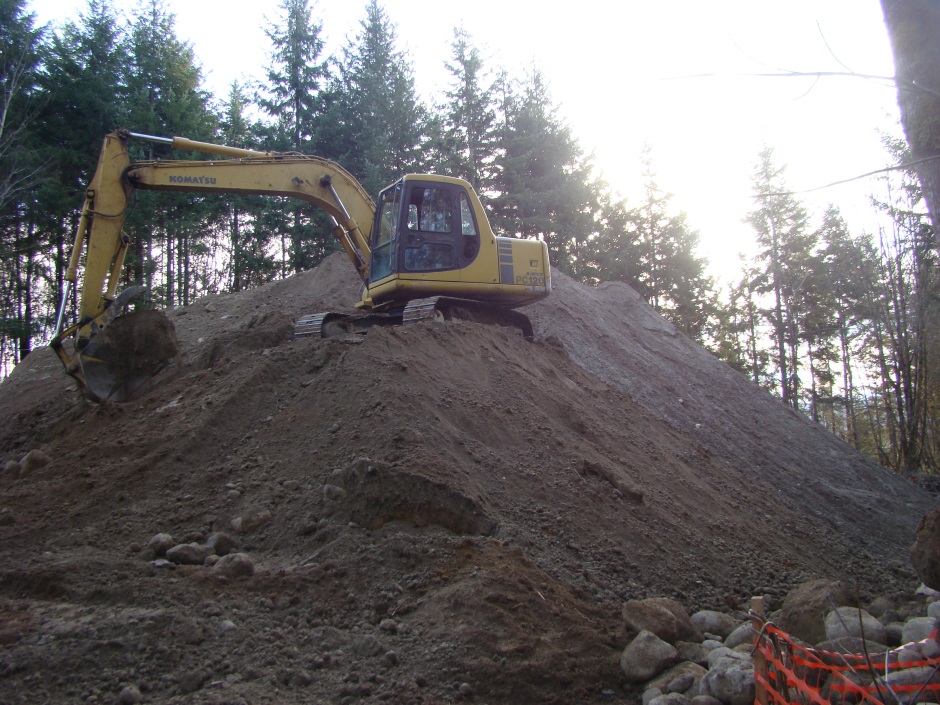
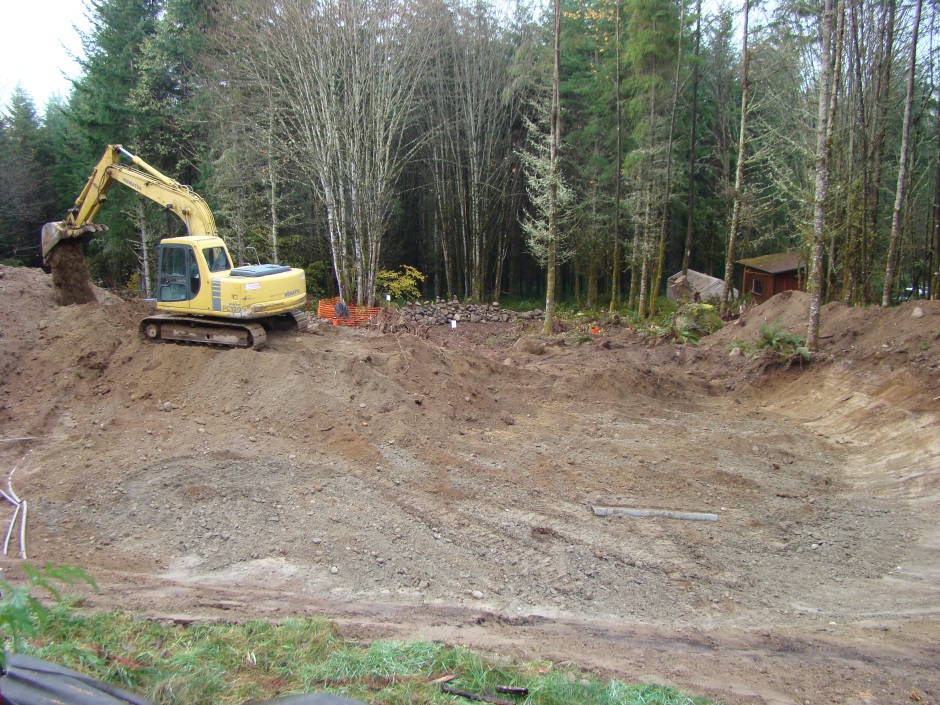
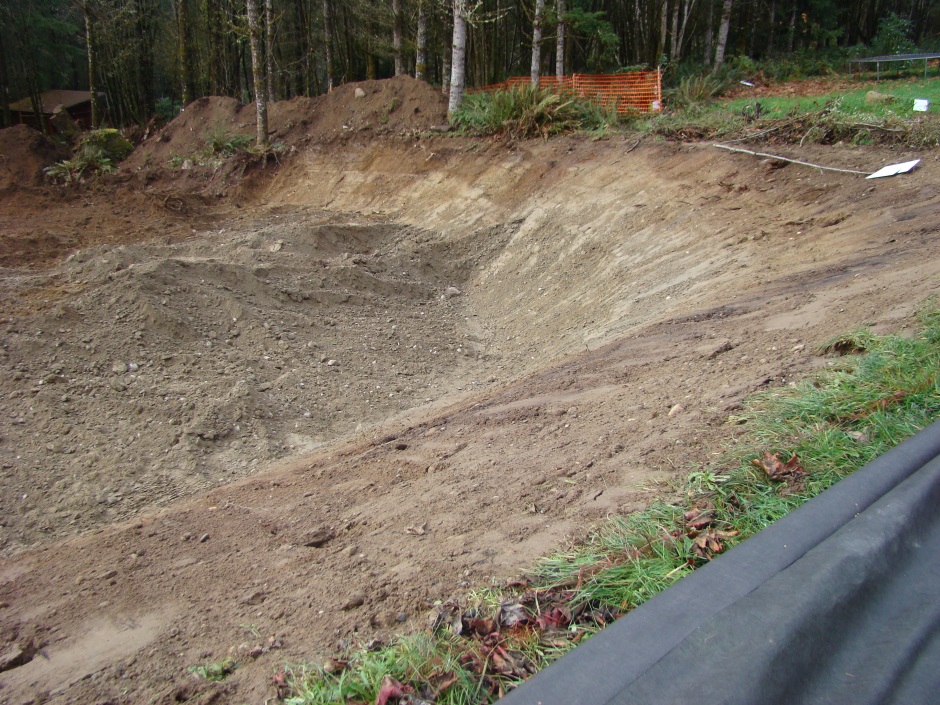
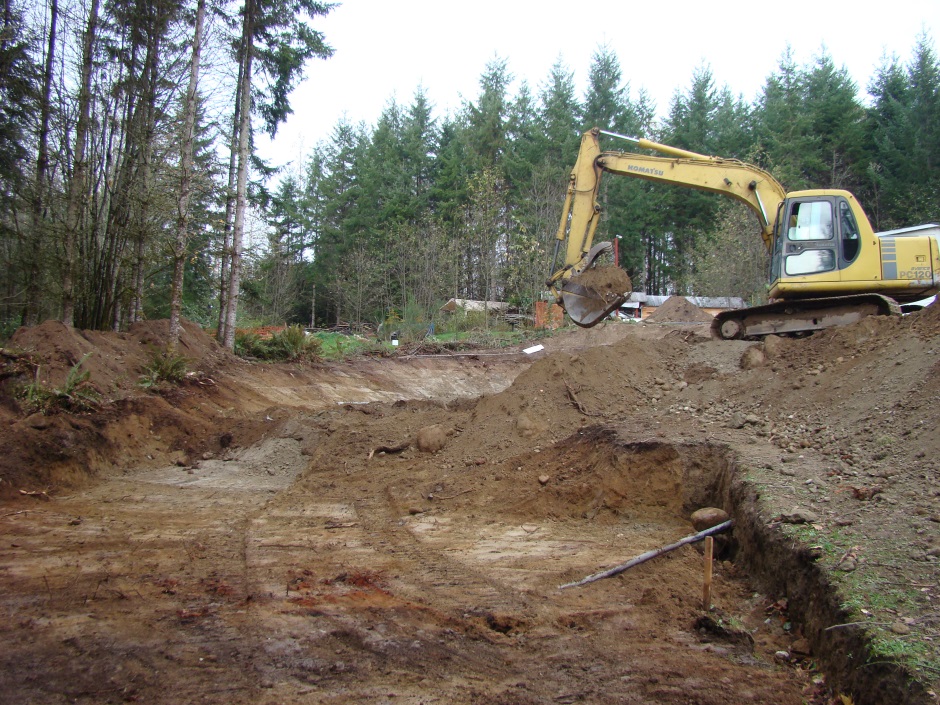
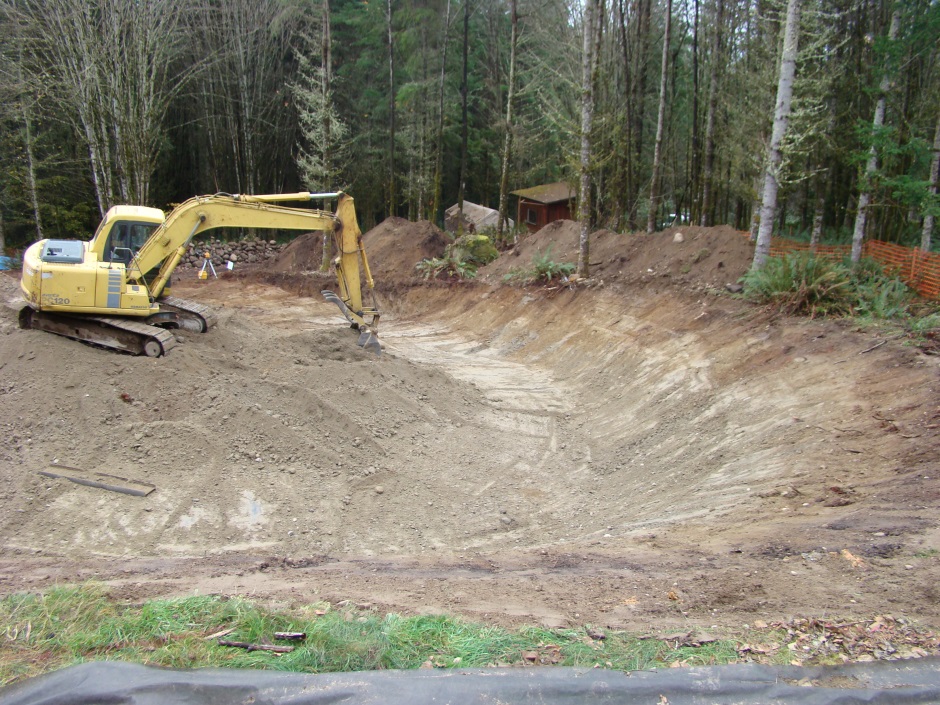
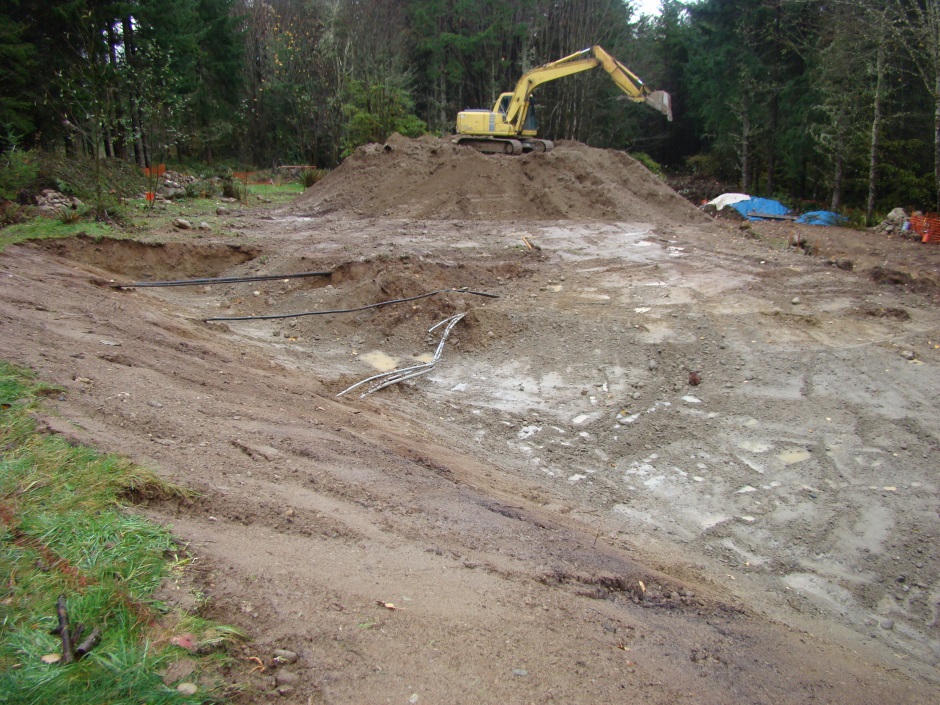
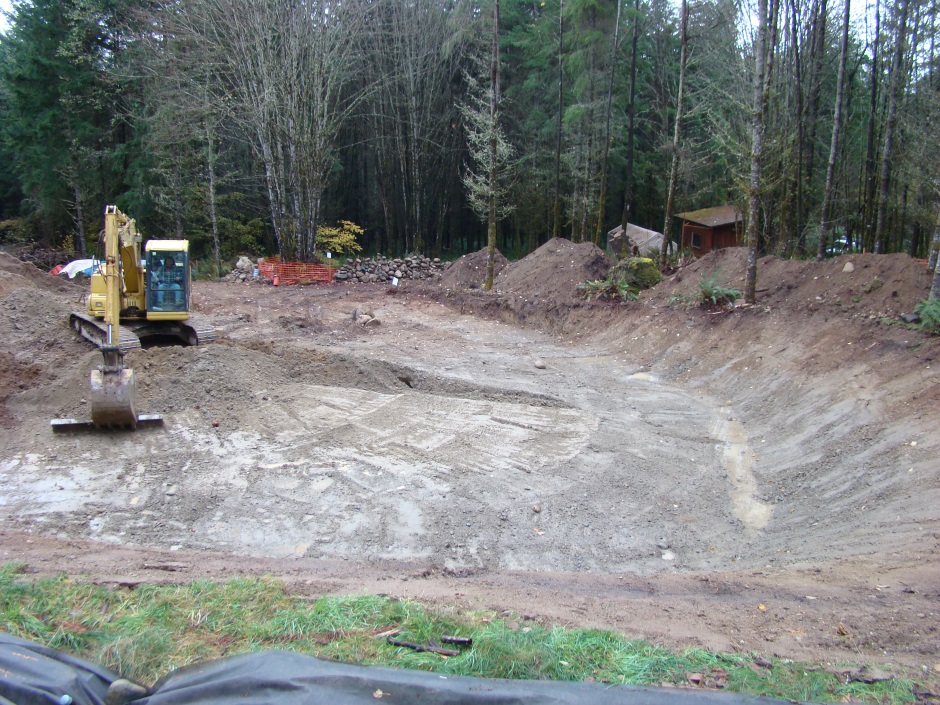
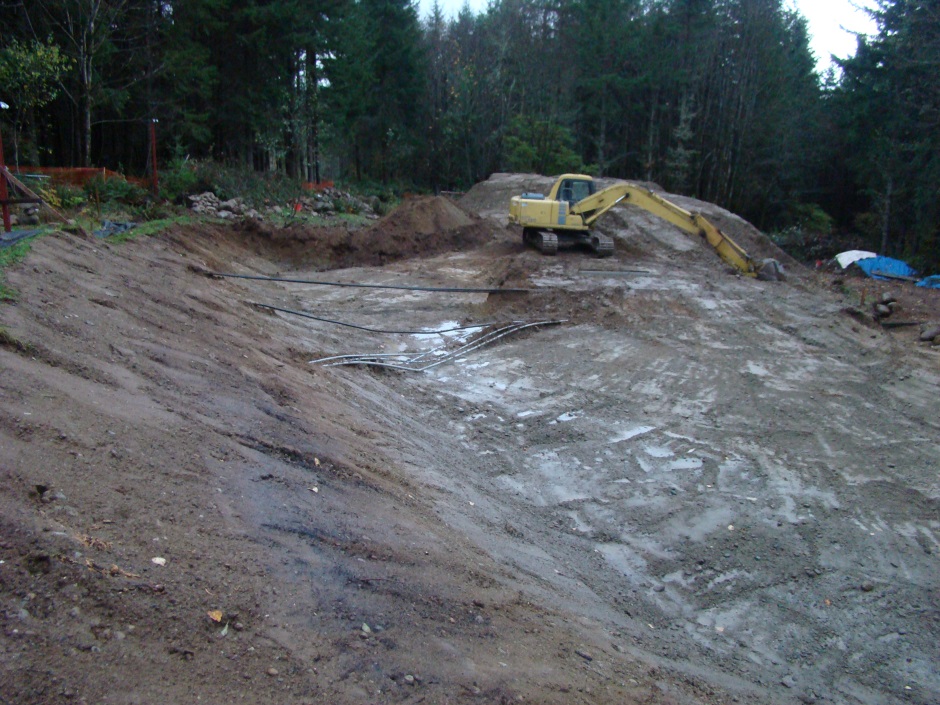
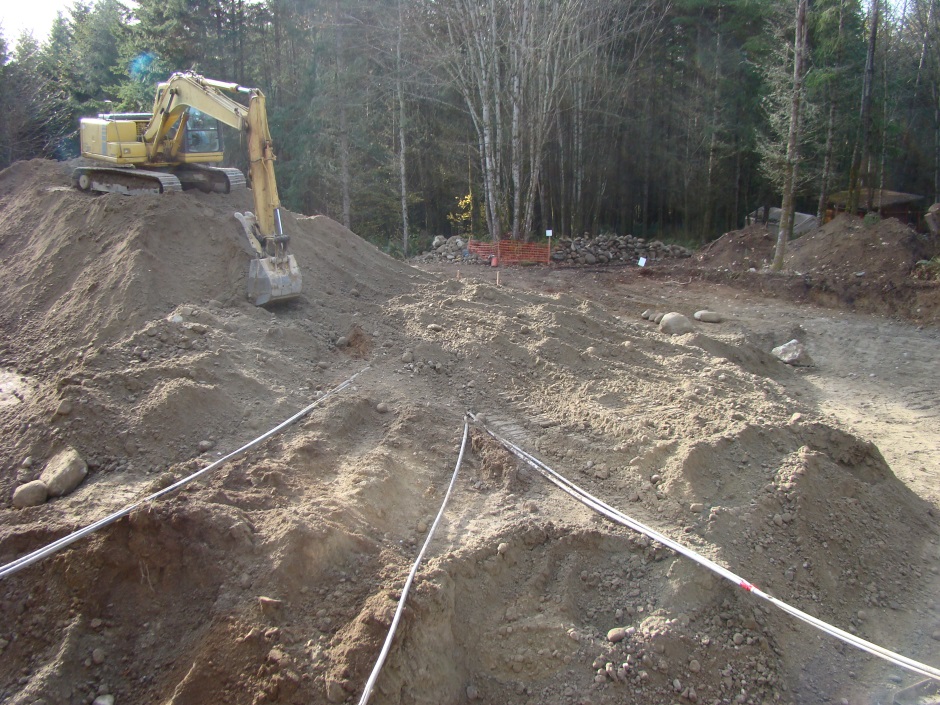
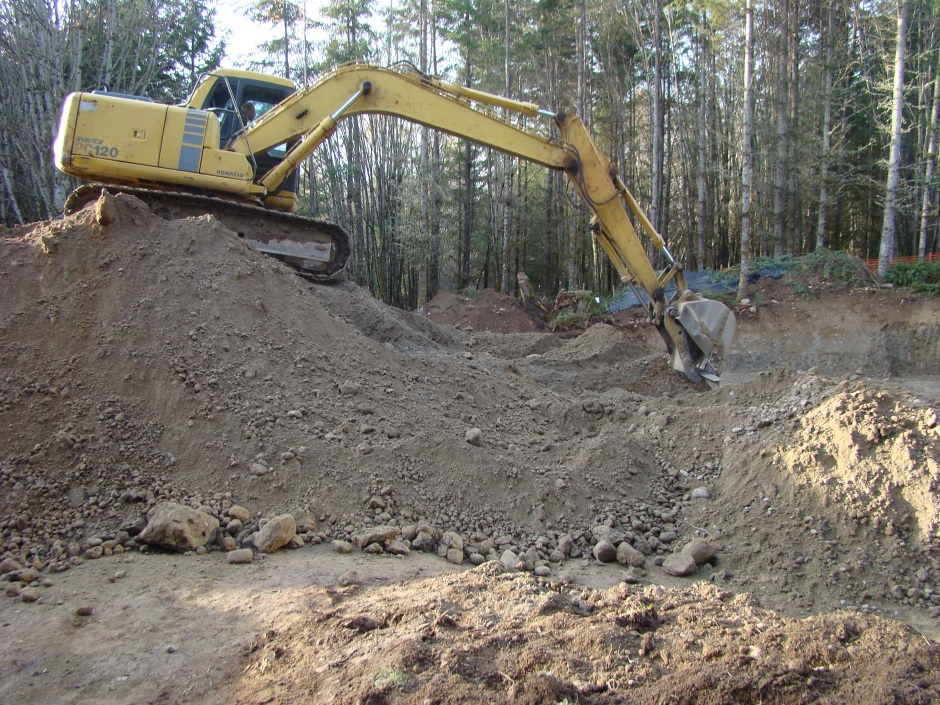
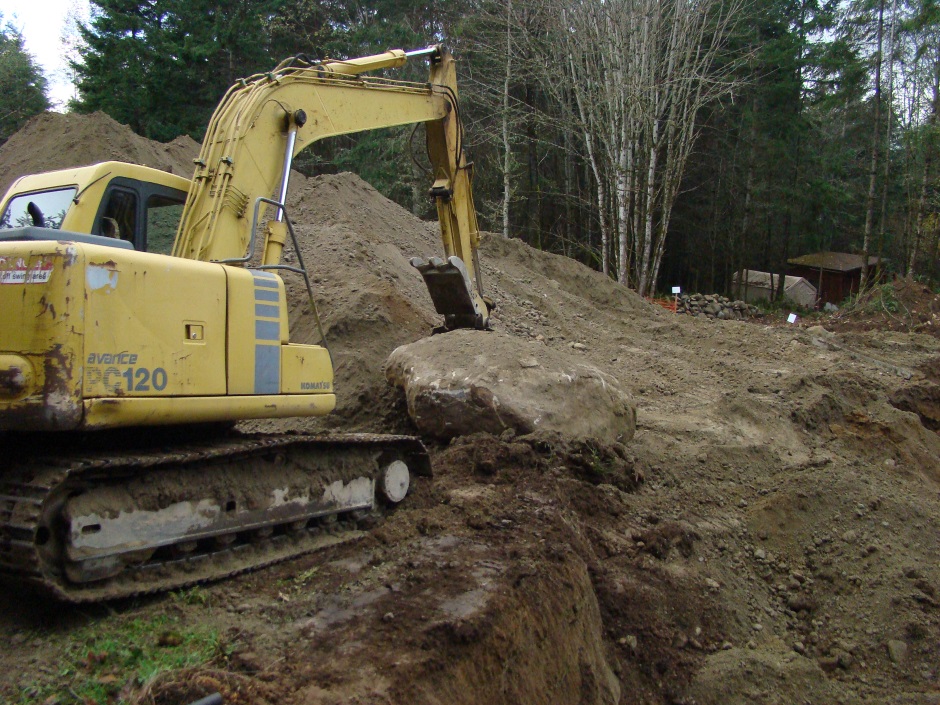
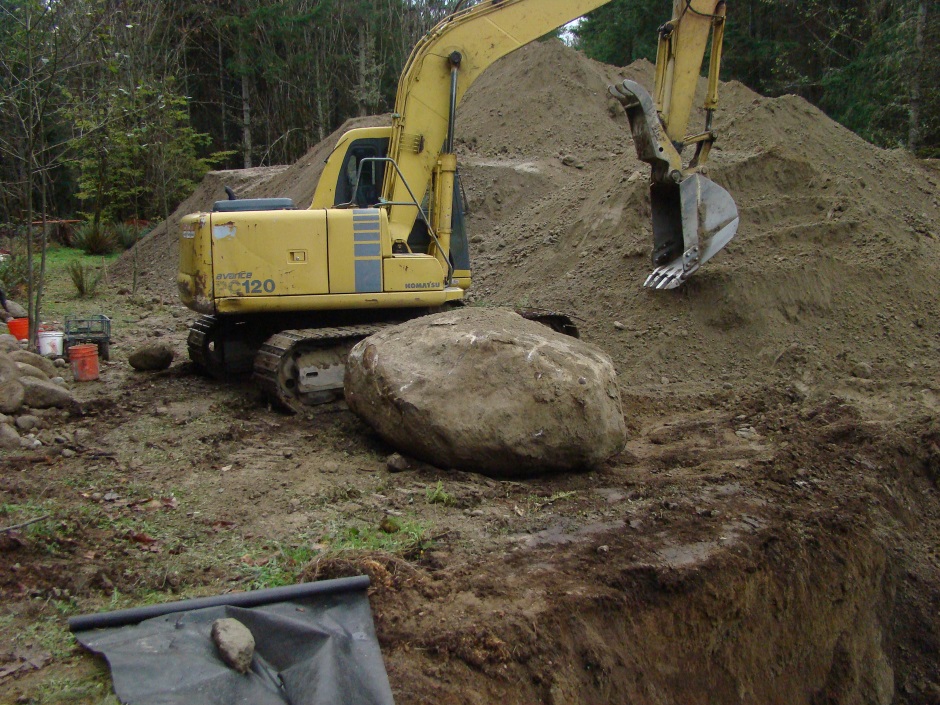
In my case there was a huge amount of excavating to do. I needed to take a hillside with a 1 in 7 slope and cut it flat over the whole house site and a bit beyond. It needed a heavy duty excavator - a 120, which is the biggest you can move on public roads without needing the large cost of an exceptional convoy.
The excavator has wide tracks so you need a nice wide access road to the site.
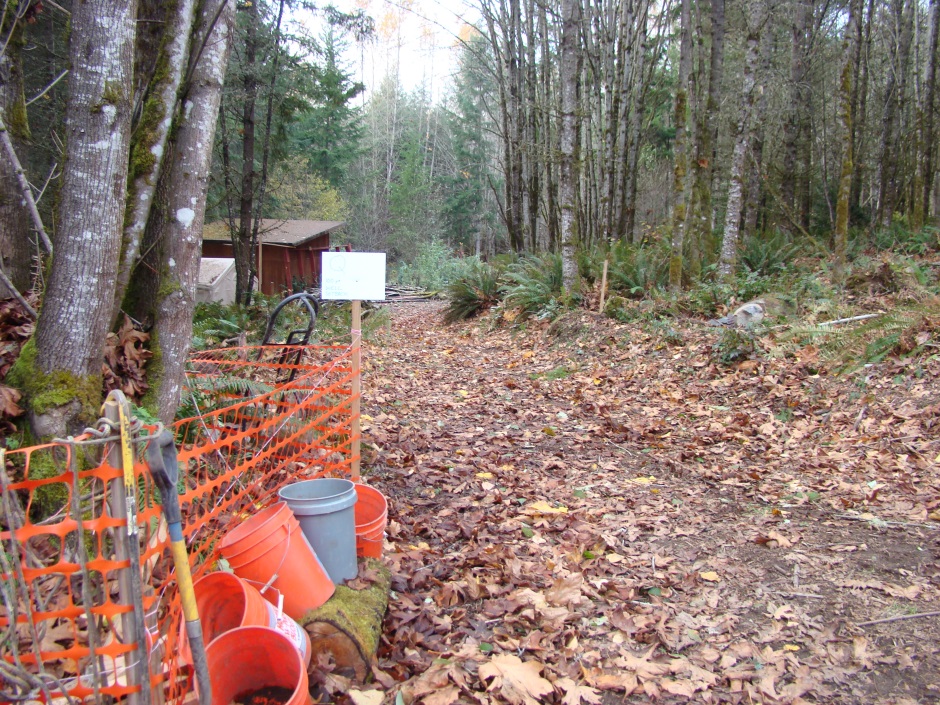
Clearly mark on the ground with spray paint the area that you want dug. The clearer you make things the less time and money will be wasted.
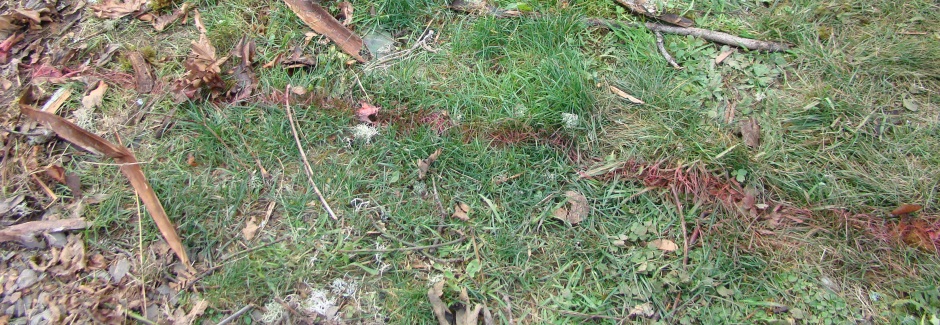
Excavation Day 1
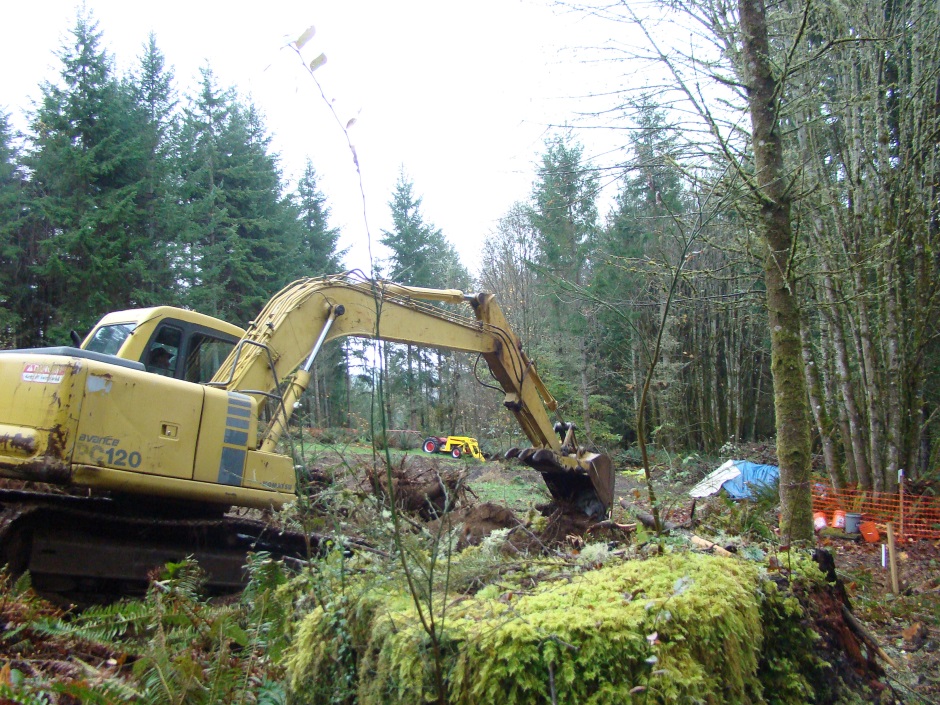
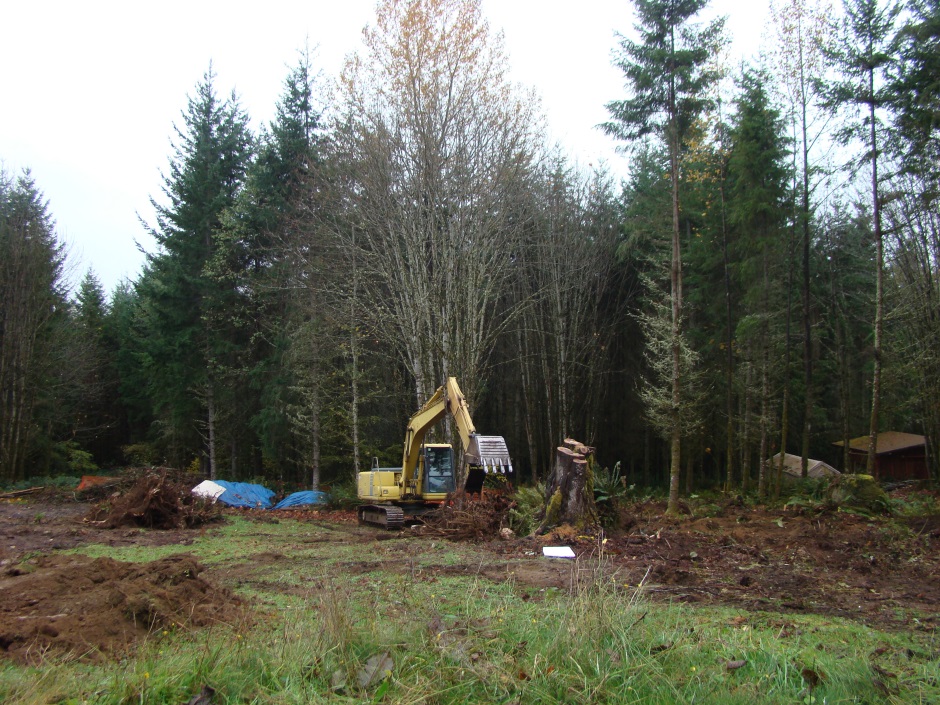
The first big job is to dig out the tree stumps.
Felling trees by cutting the trunk with a chain saw is easy (although great care is necessary to avoid injury). The hard part is getting the roots out from the ground, and it is necessary to get the roots out from under the house area. There are various strategies for getting the roots out, but most methods involve using heavy machinery ie an excavator. If the tree is not too big then you may be able to topple it over (roots and all) by pushing on the trunk with the digger. If that doesn't work then cut the trunk near ground level and dig around the roots with the digger until the stump is free enough to be lifted out by the excavator.
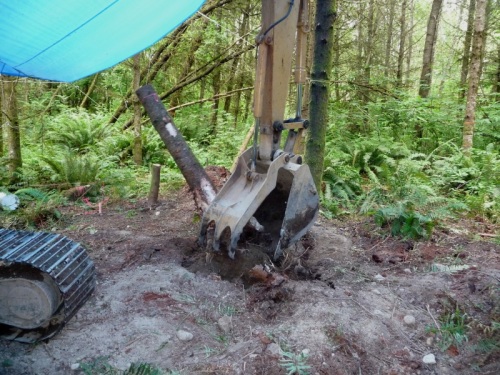
And move the stumps out of the way.
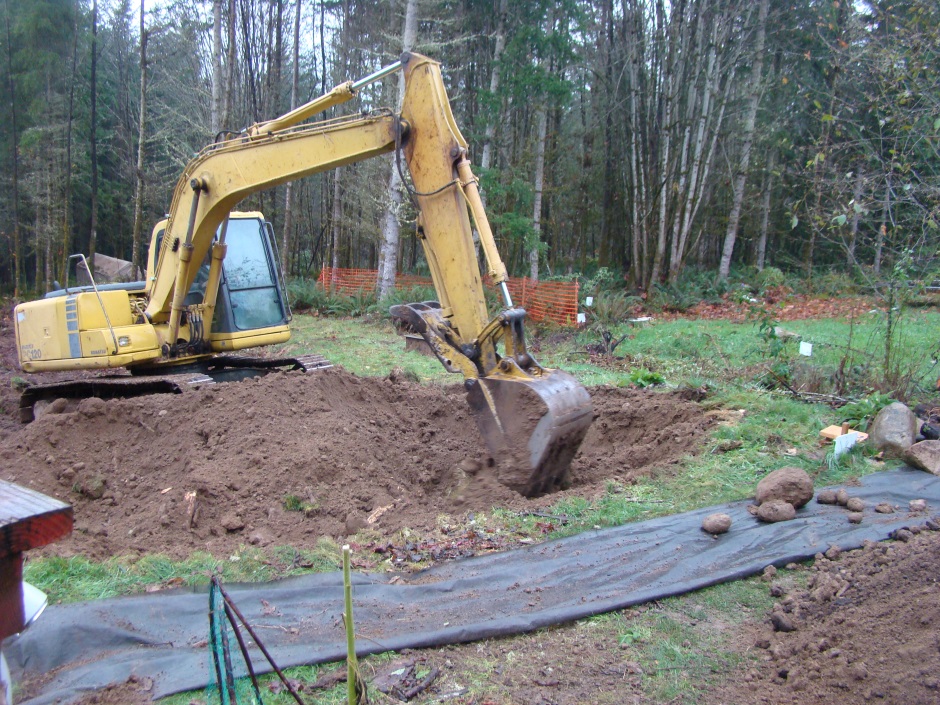
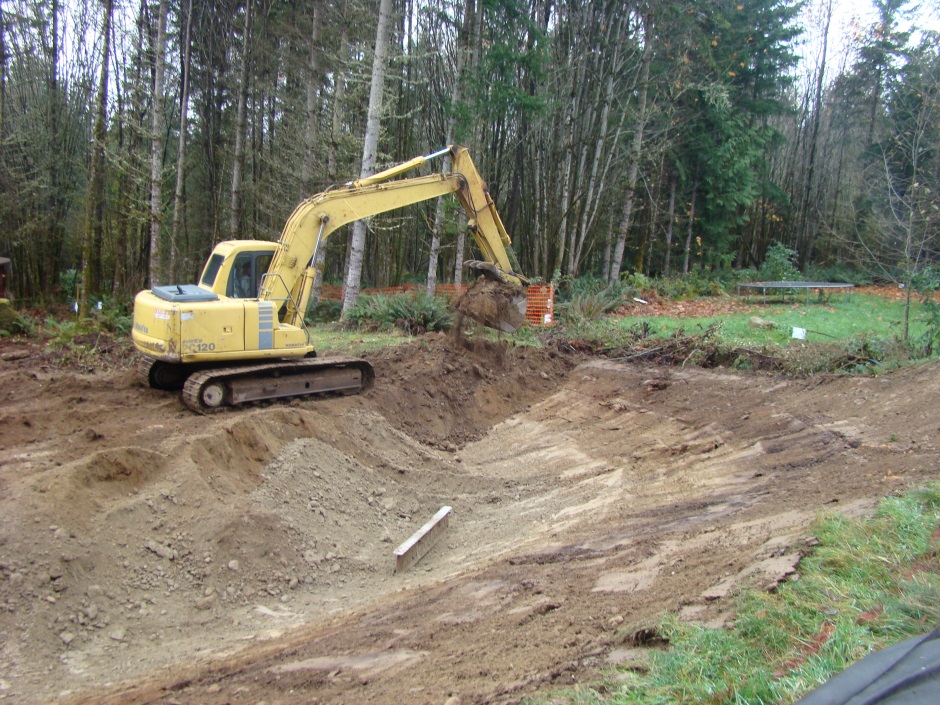
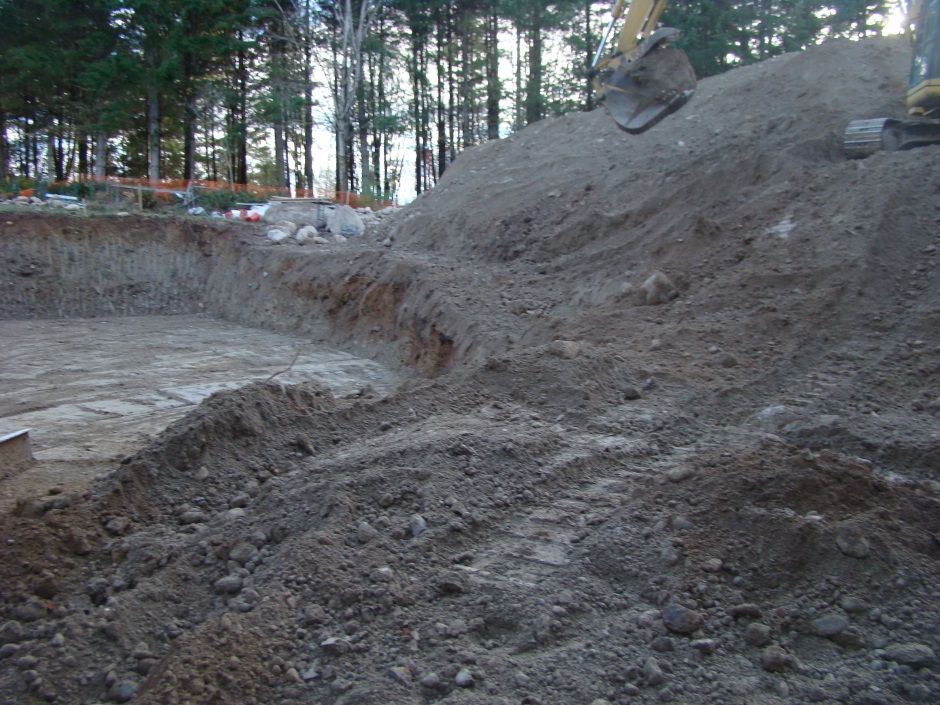
Starting the slope down.
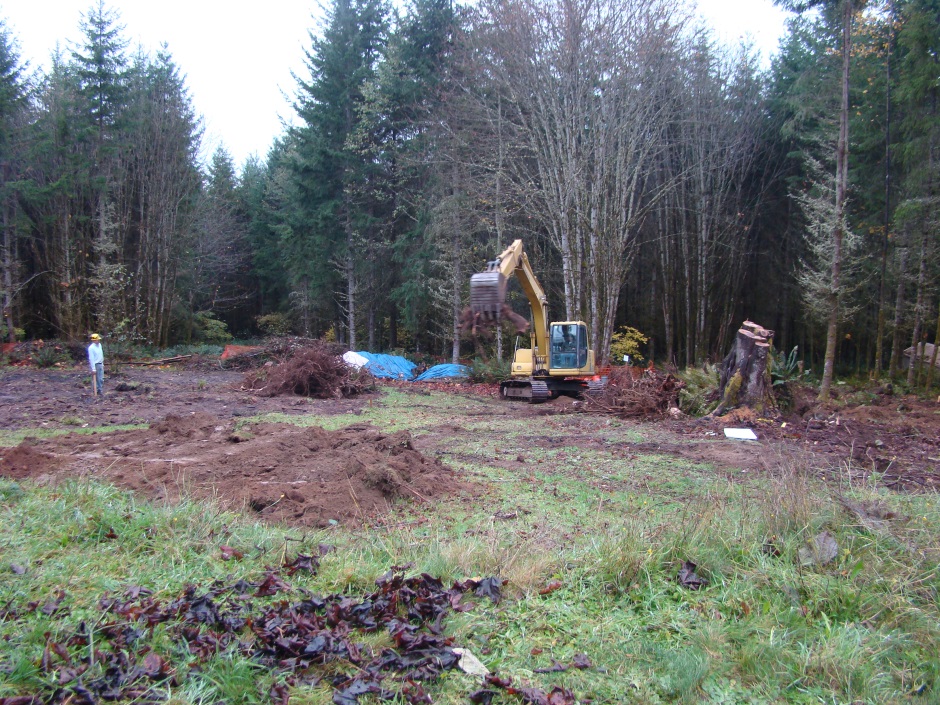
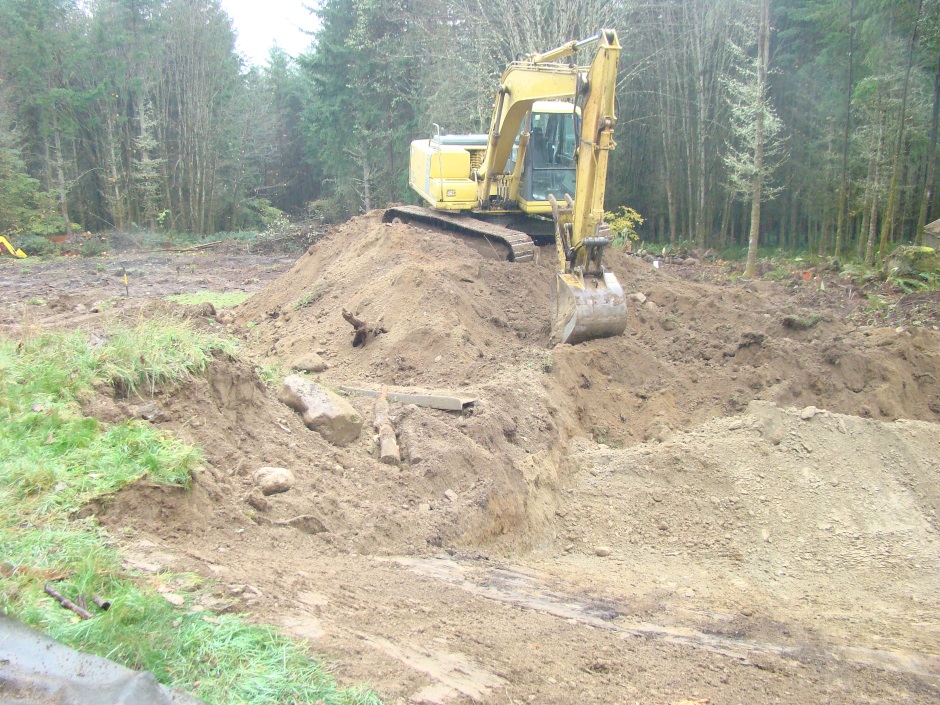
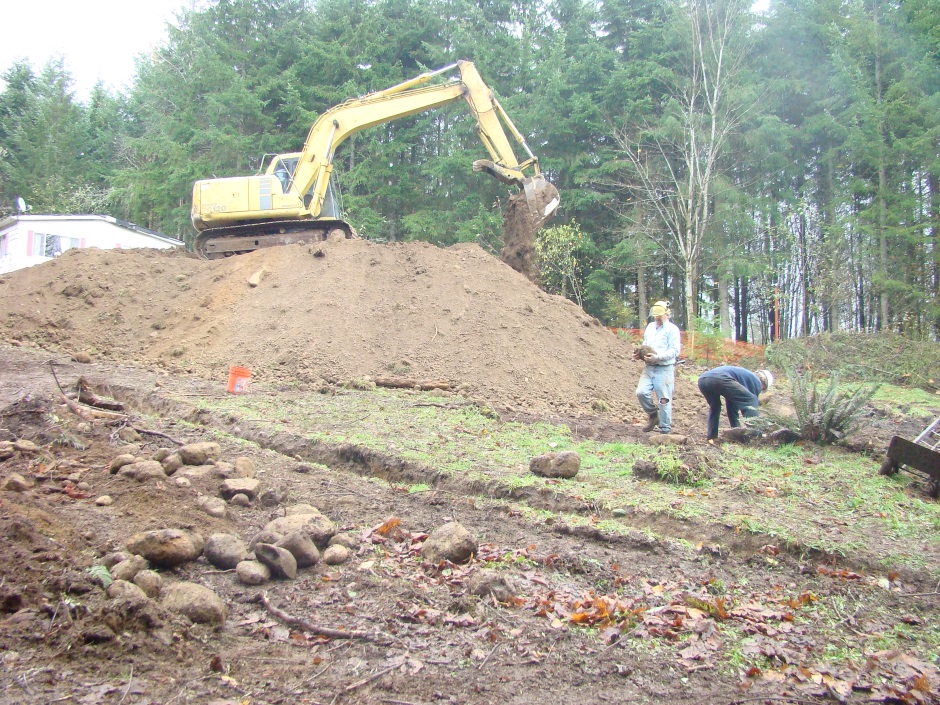
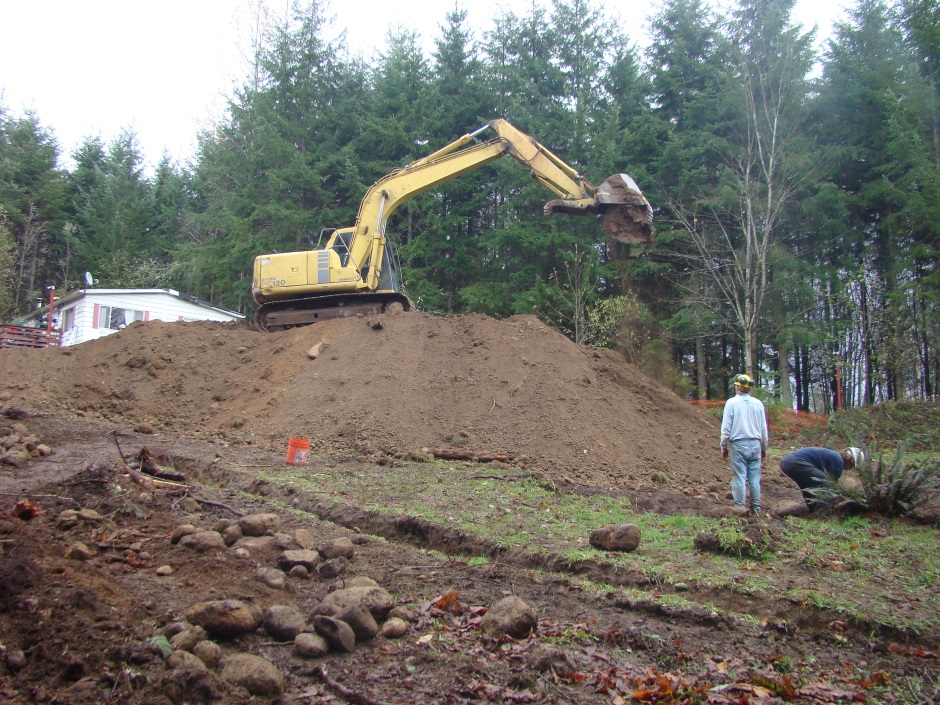
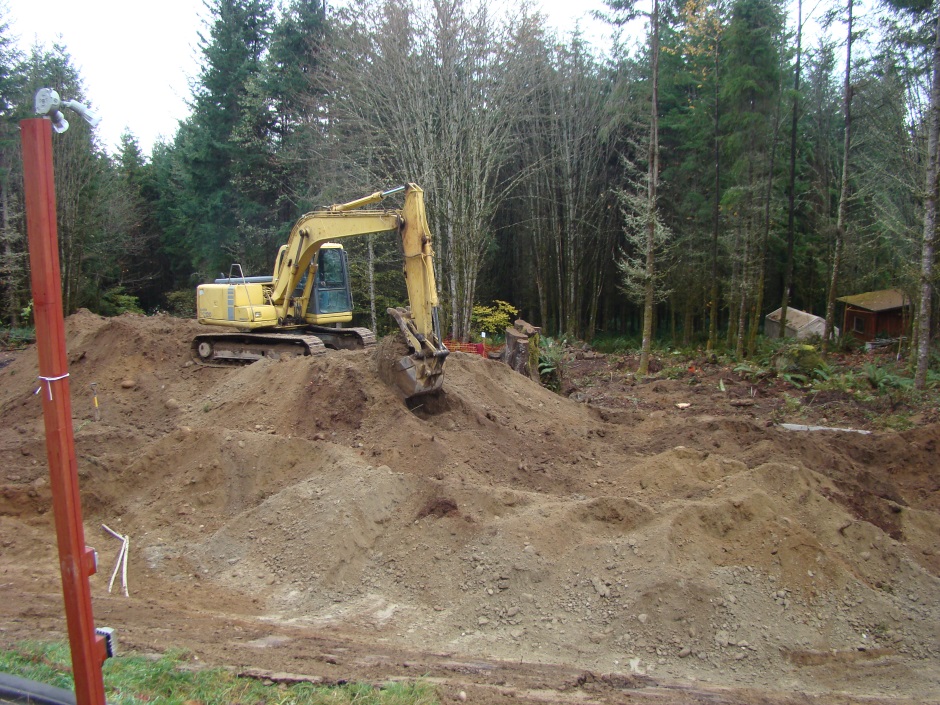
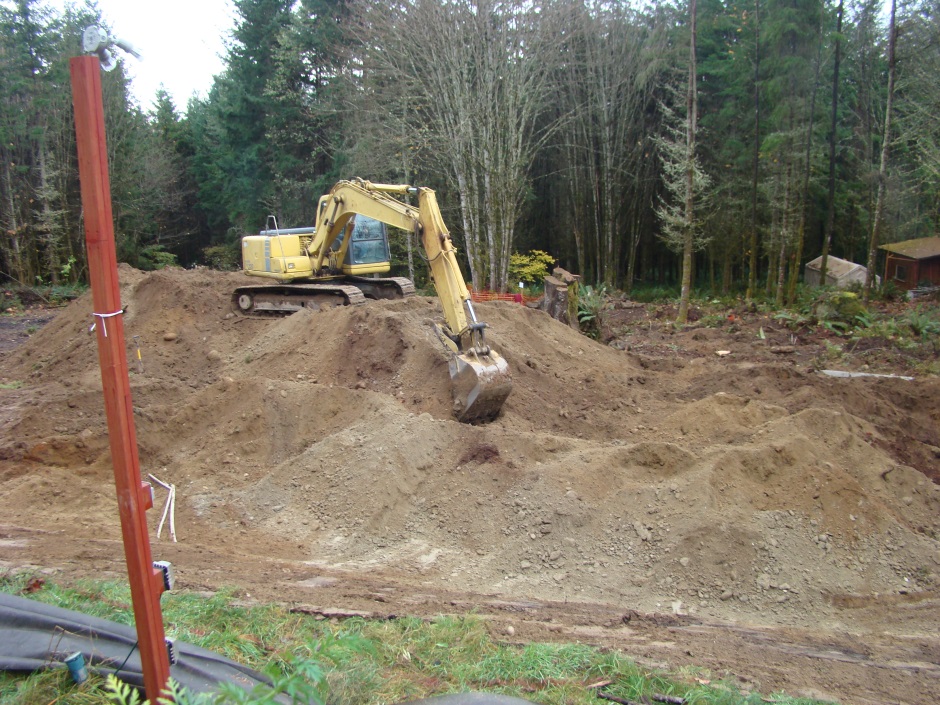
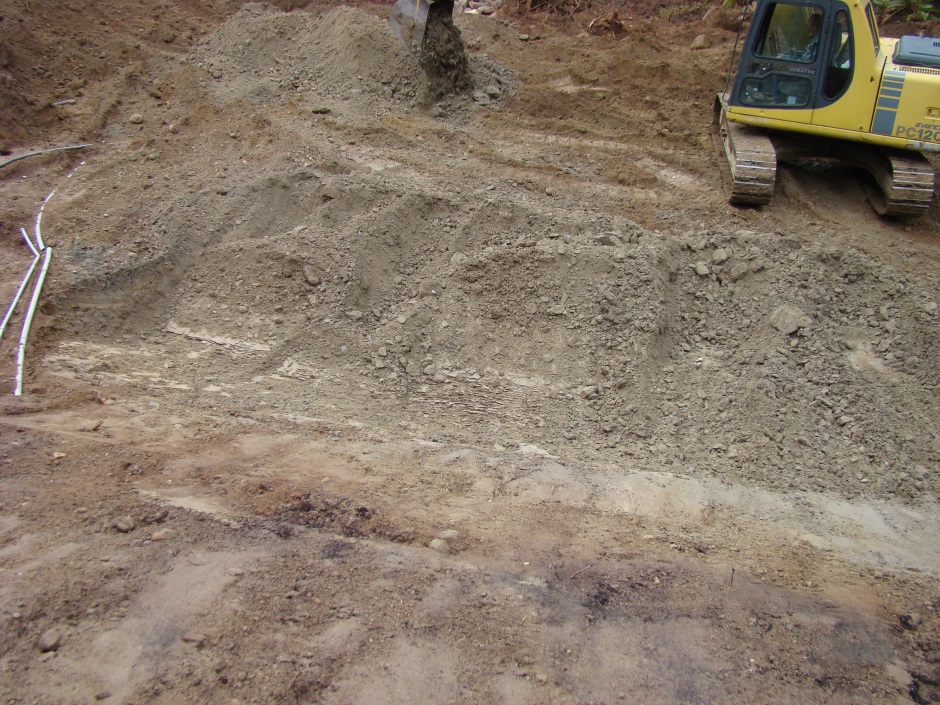
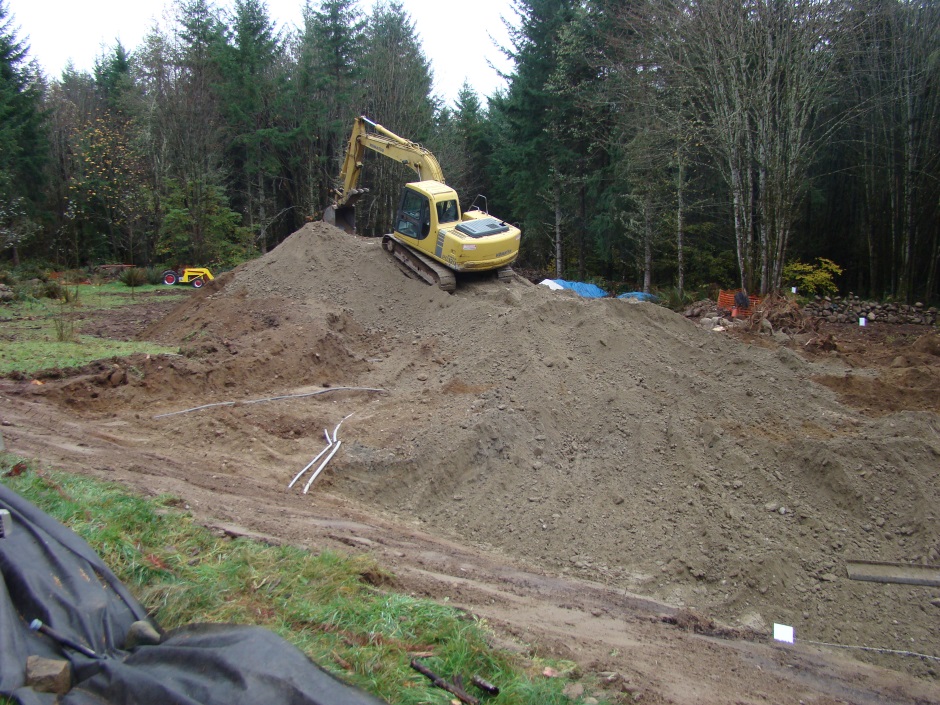
The earth dug is formed into a mound that is gradually moved backwards.
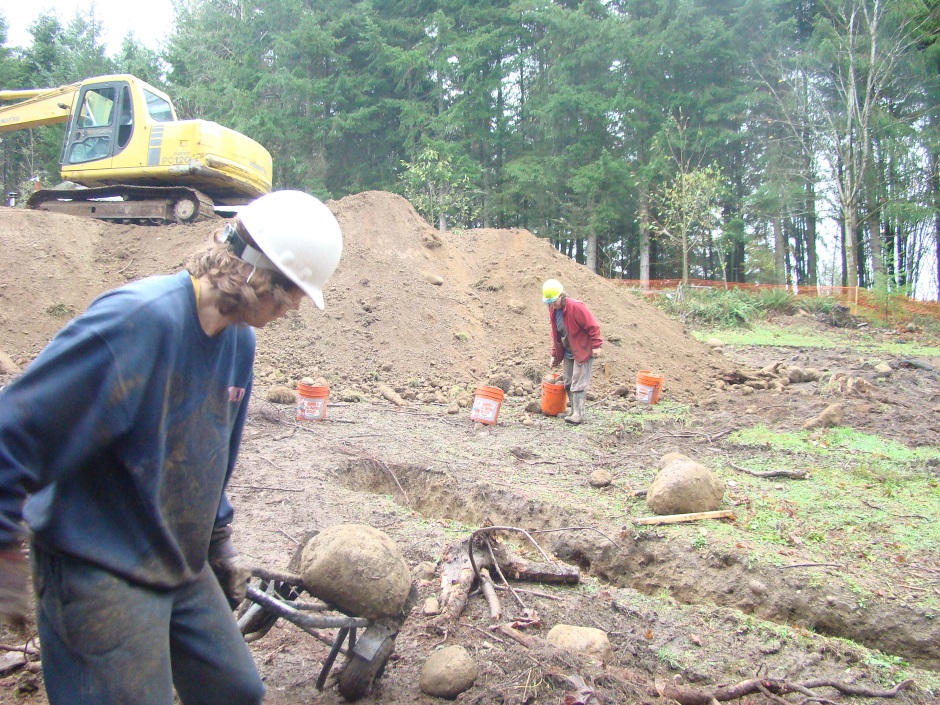
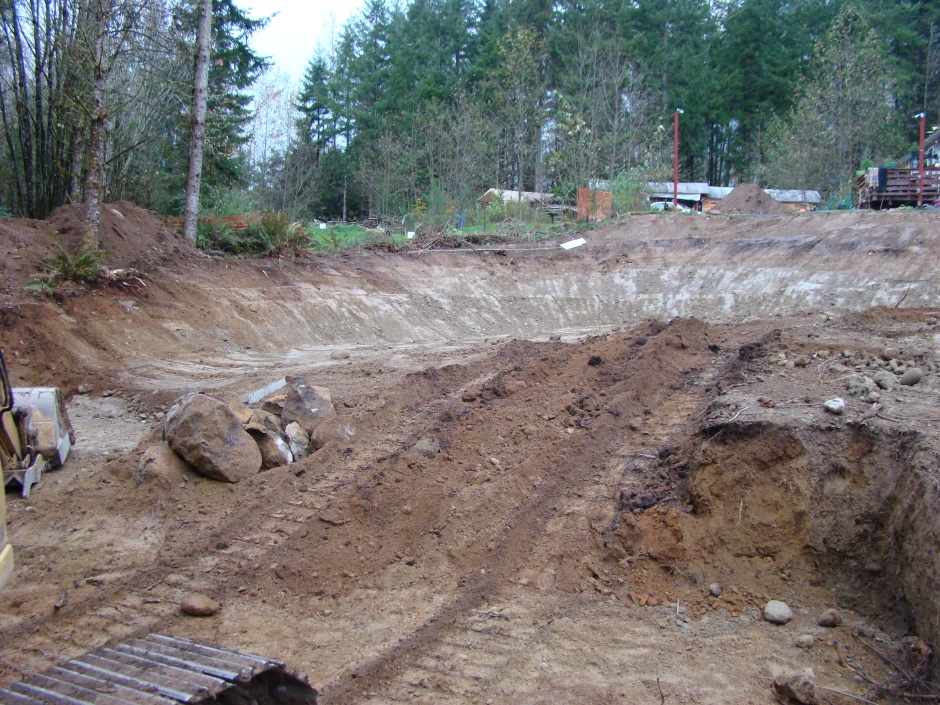
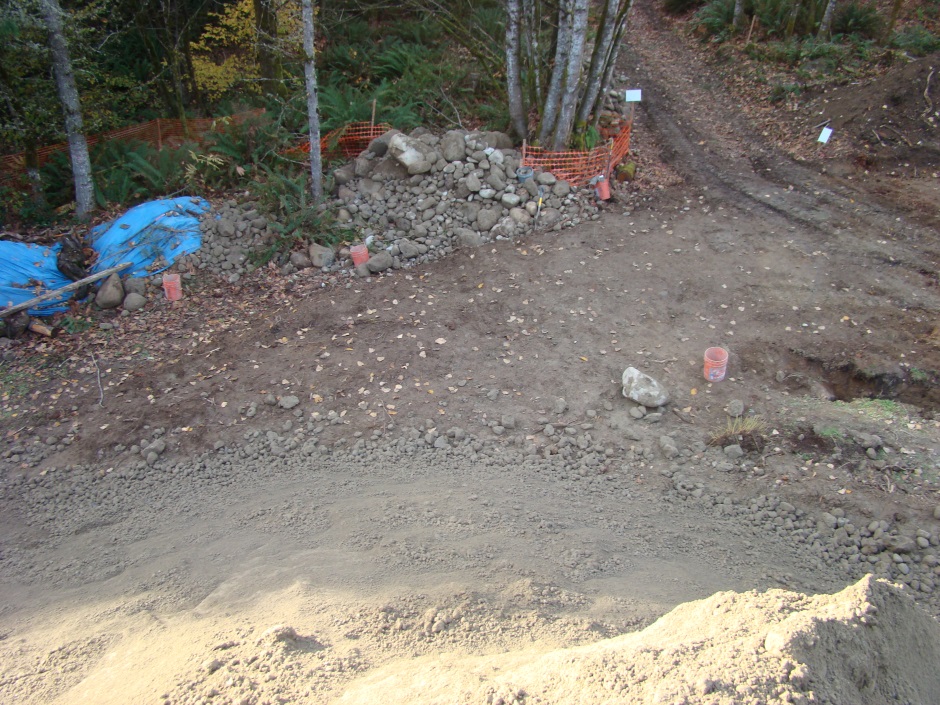
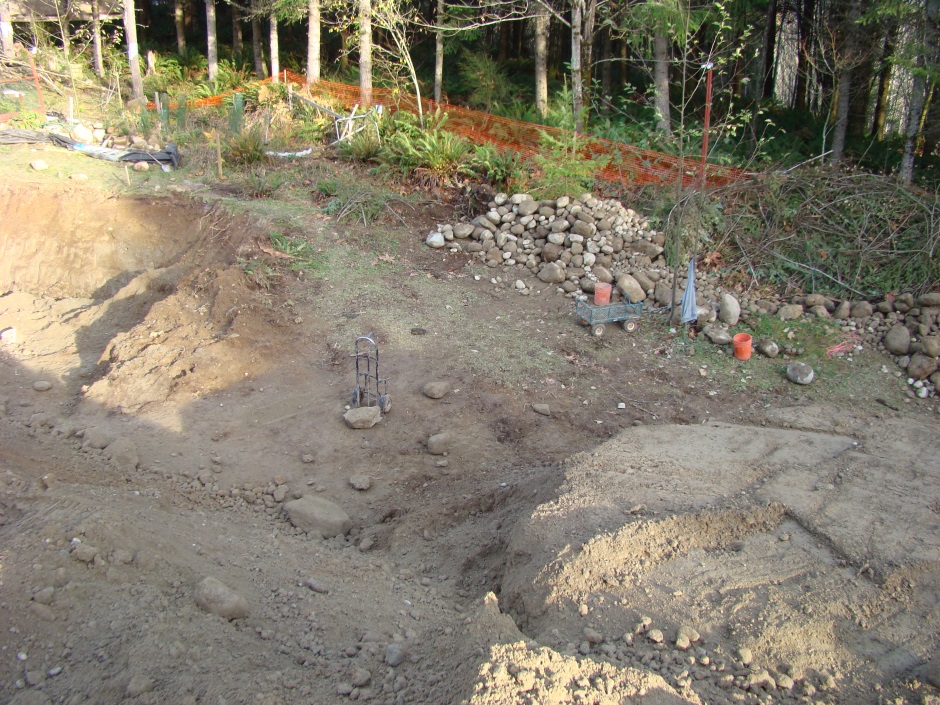
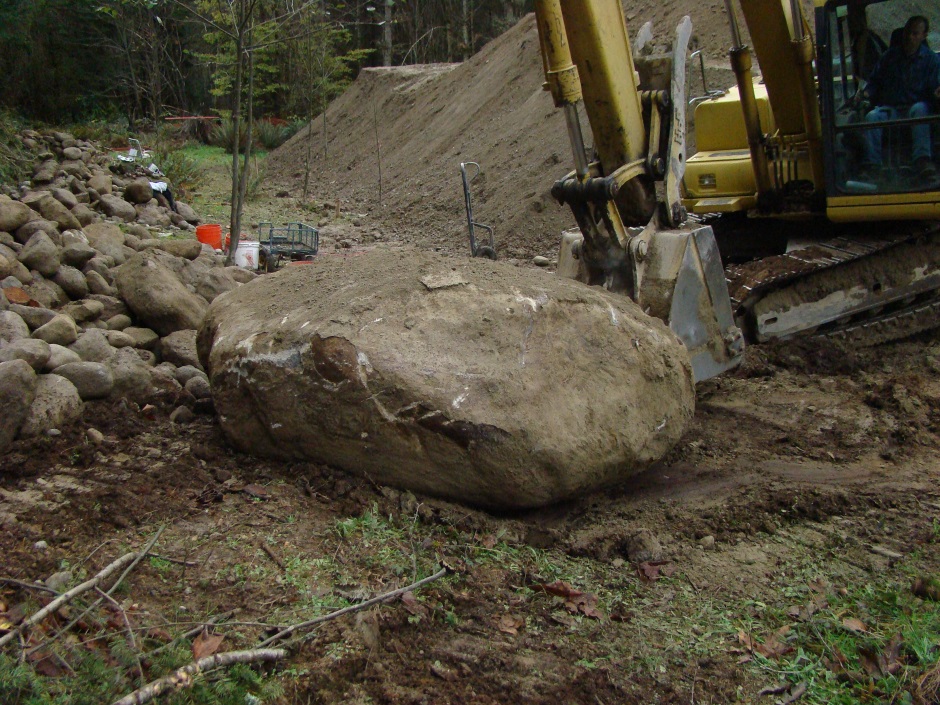
While the excavator is doing its thing, you need to scavenge rocks and cart them off to a rock pile for saving. Rocks are a really useful resource so definitely worth saving even though it's a lot of work.
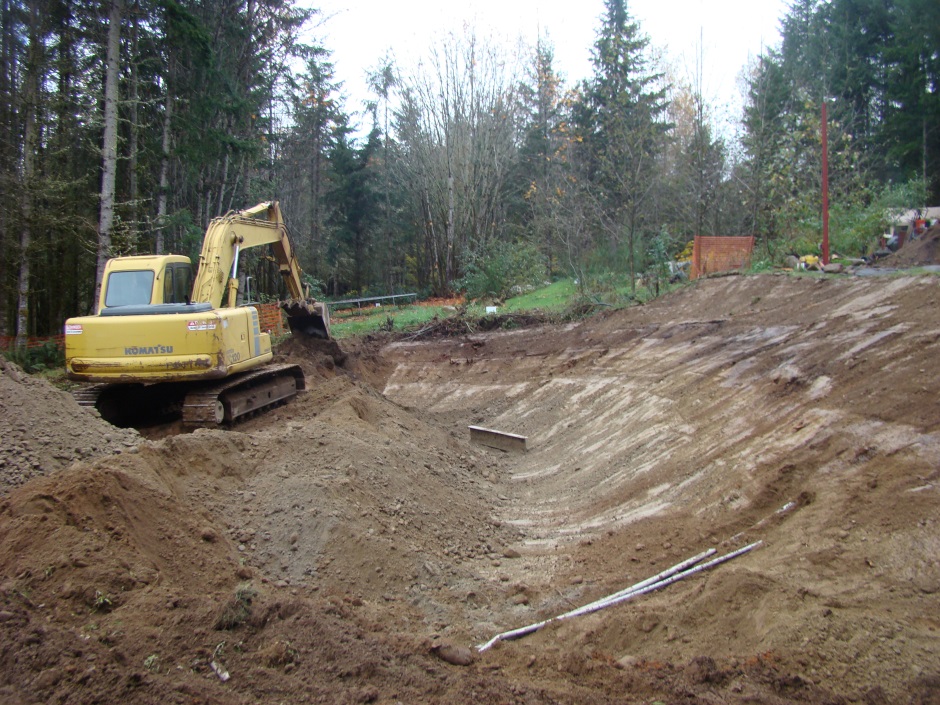
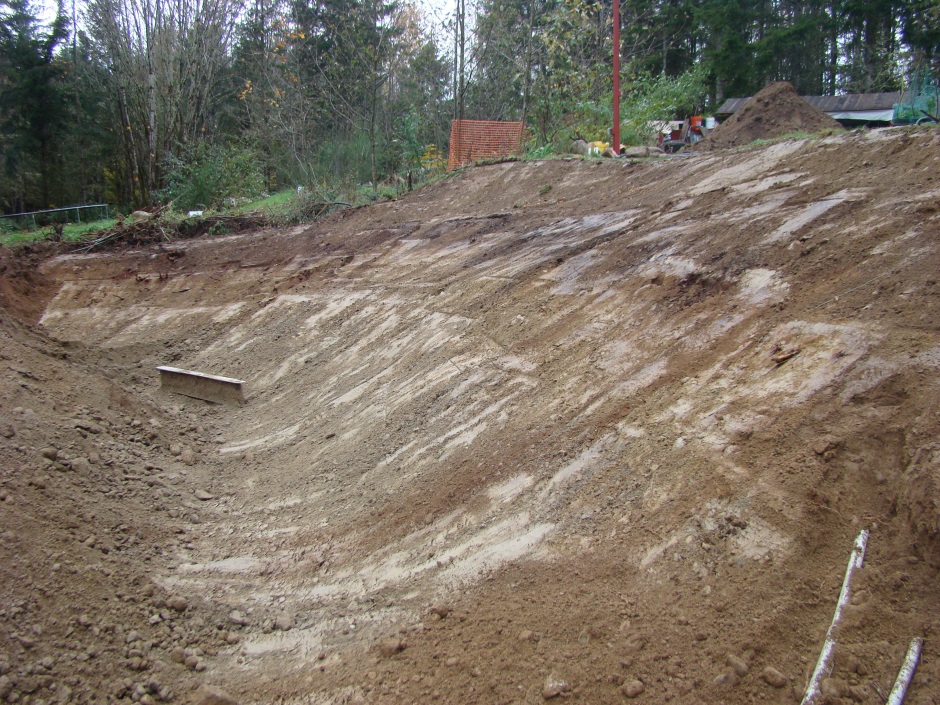
The following two photos are after one day's digging.
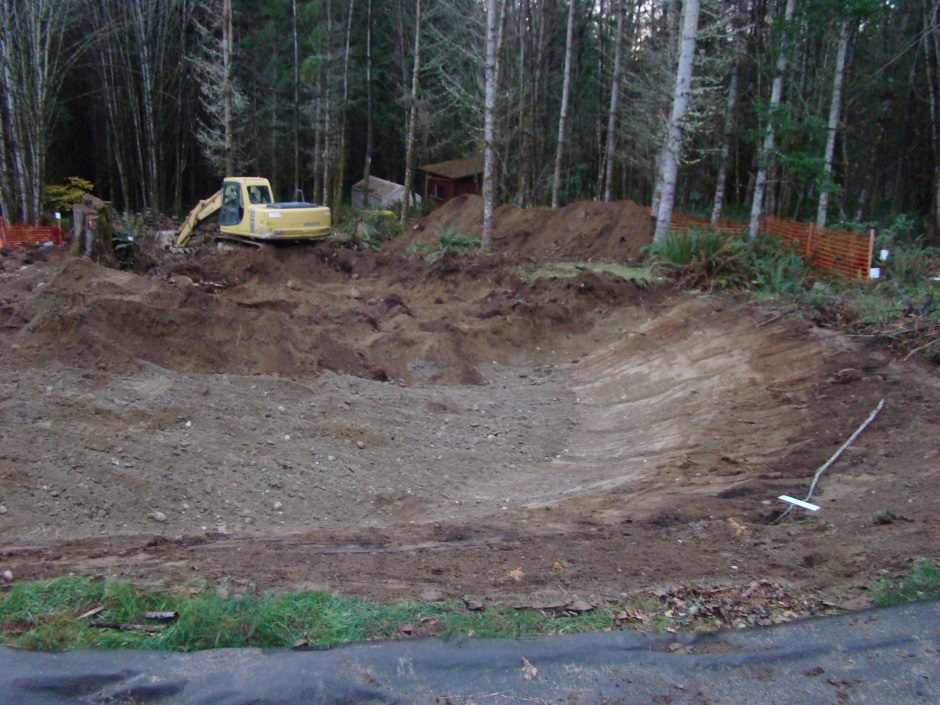
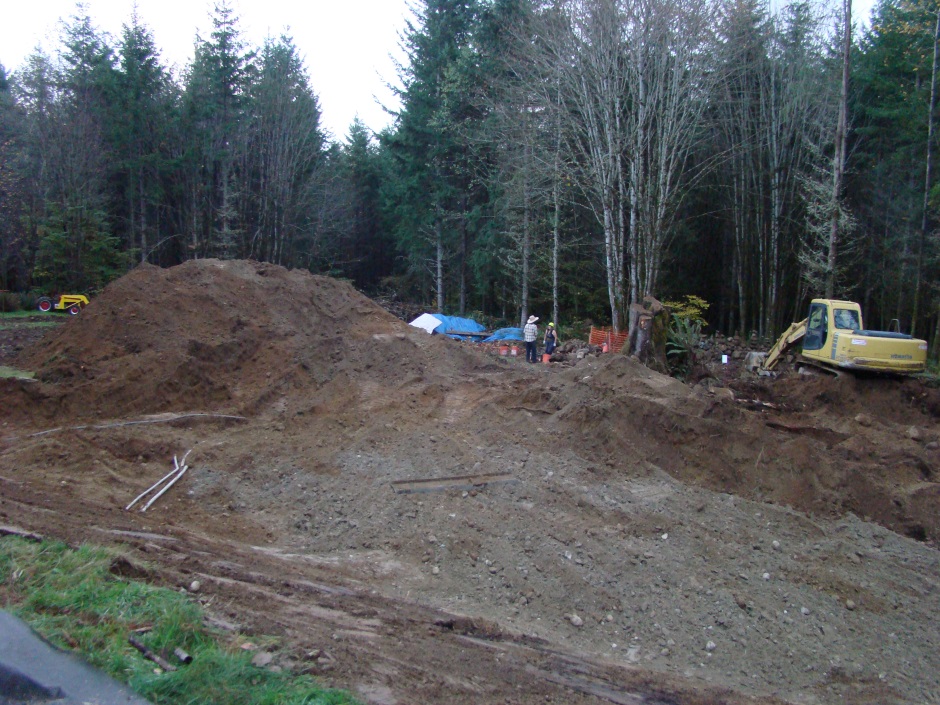
Excavation Day 2
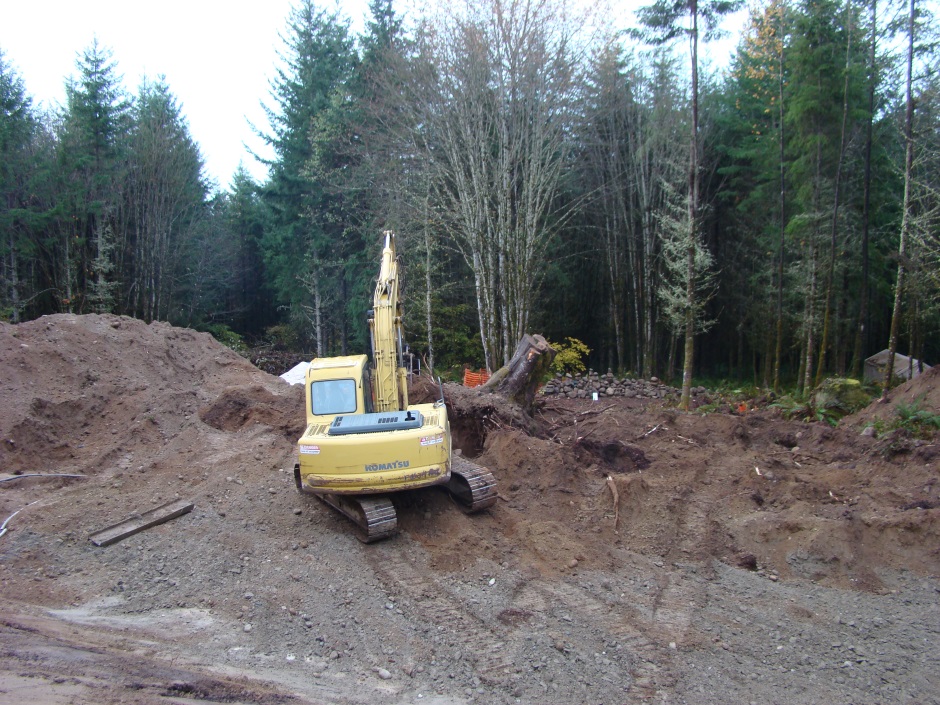
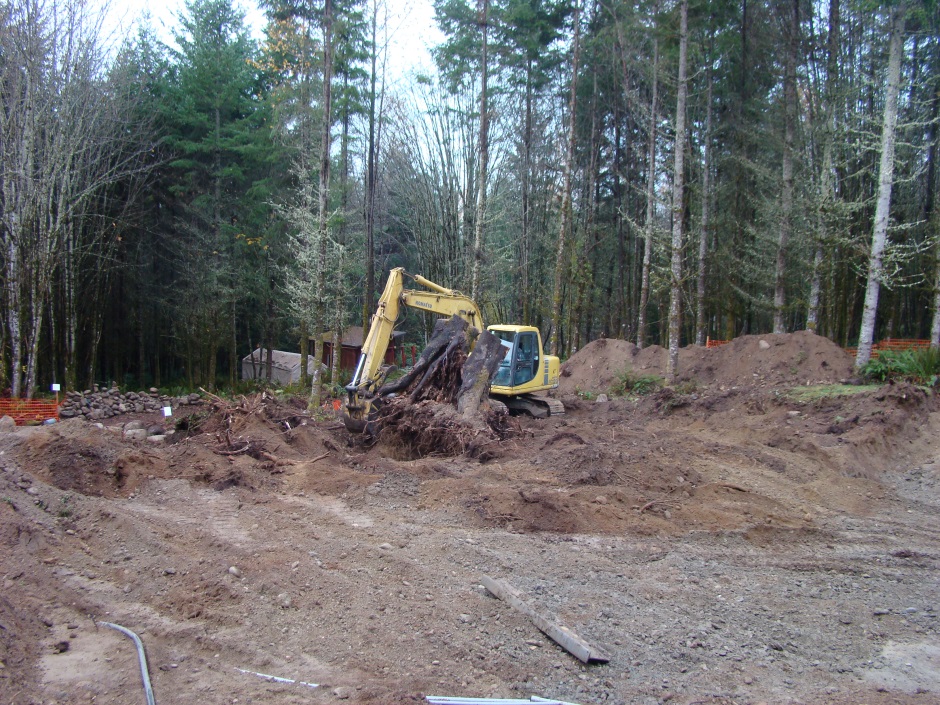
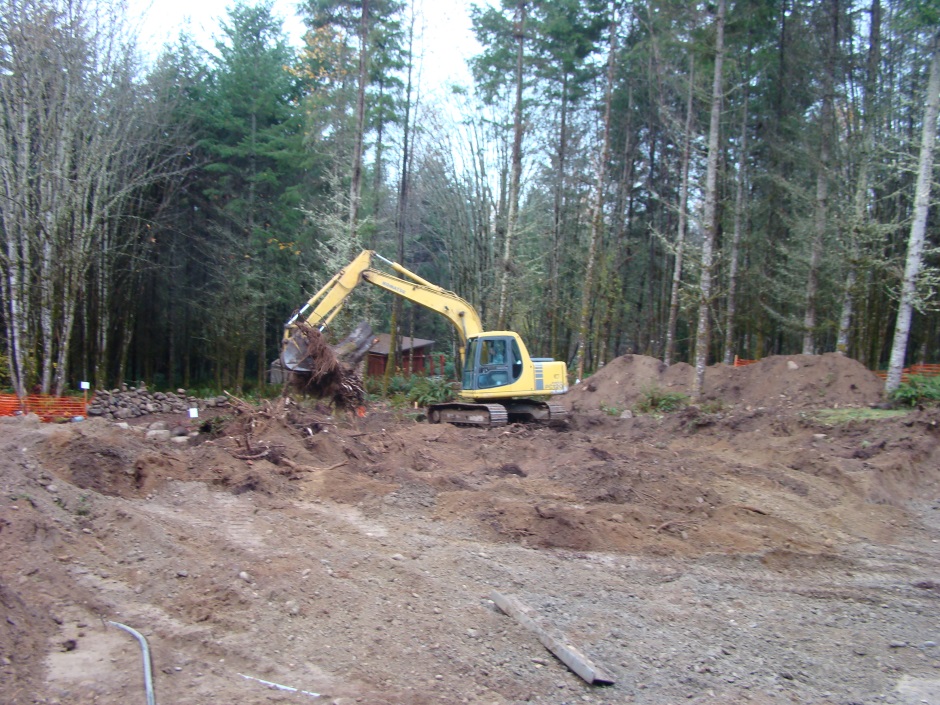
Excavation Day 3
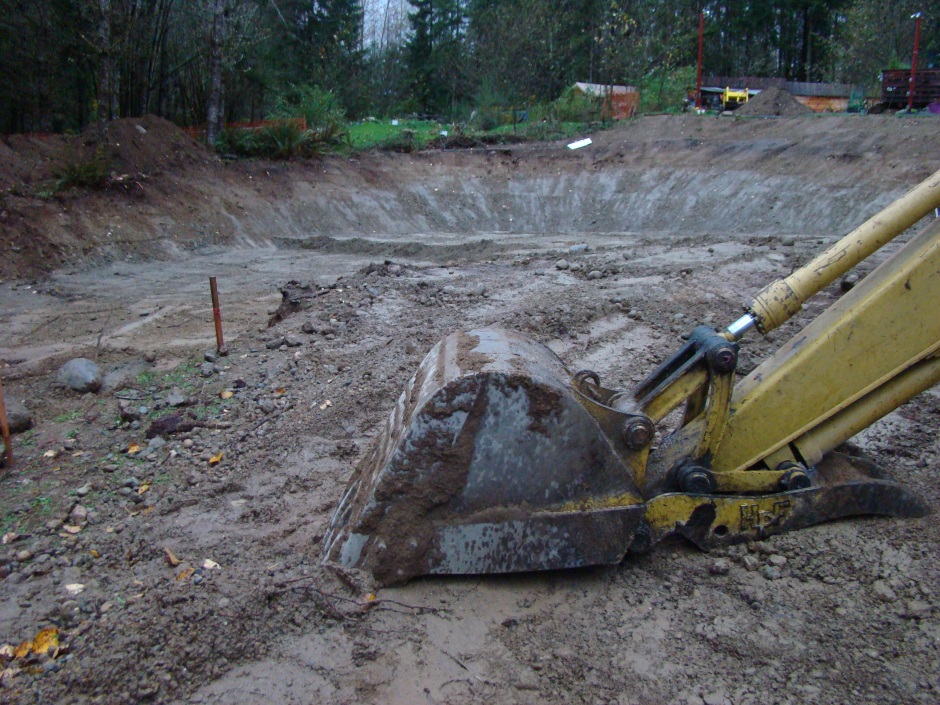
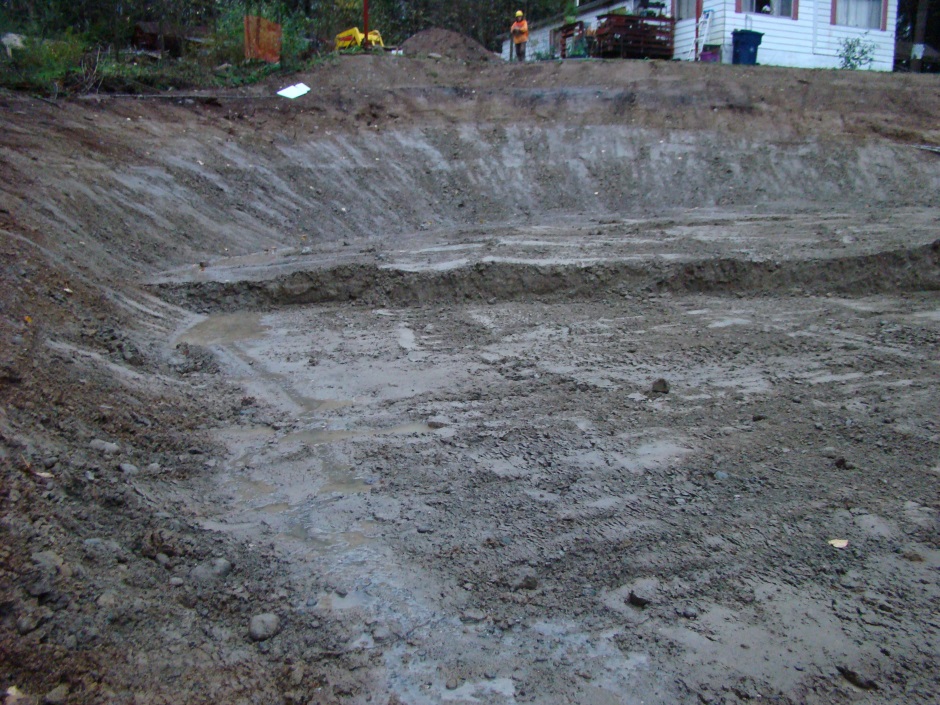
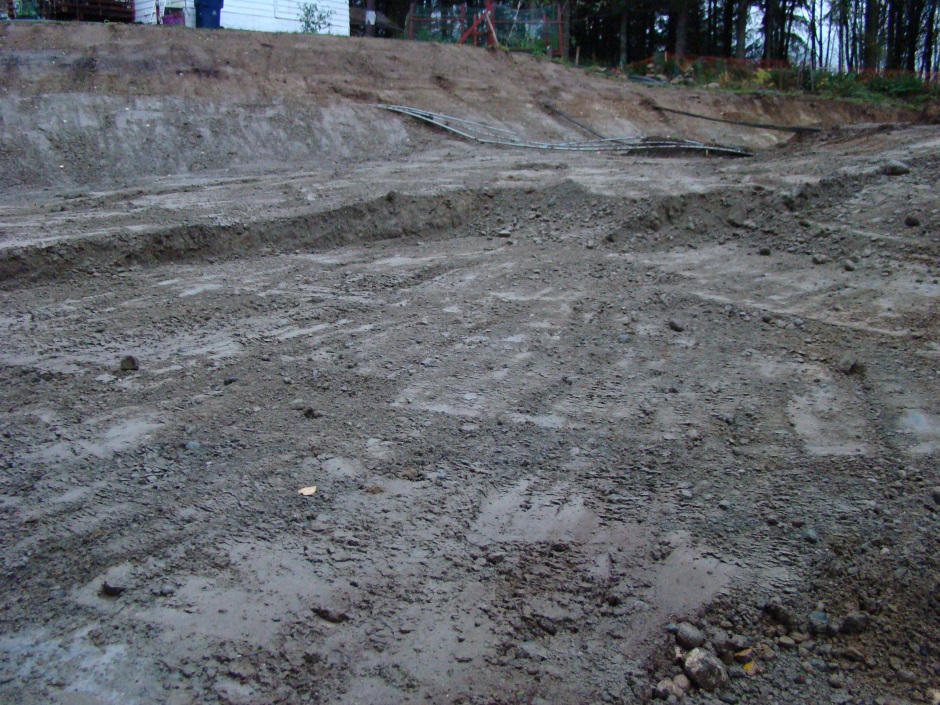
Excavation Day 4
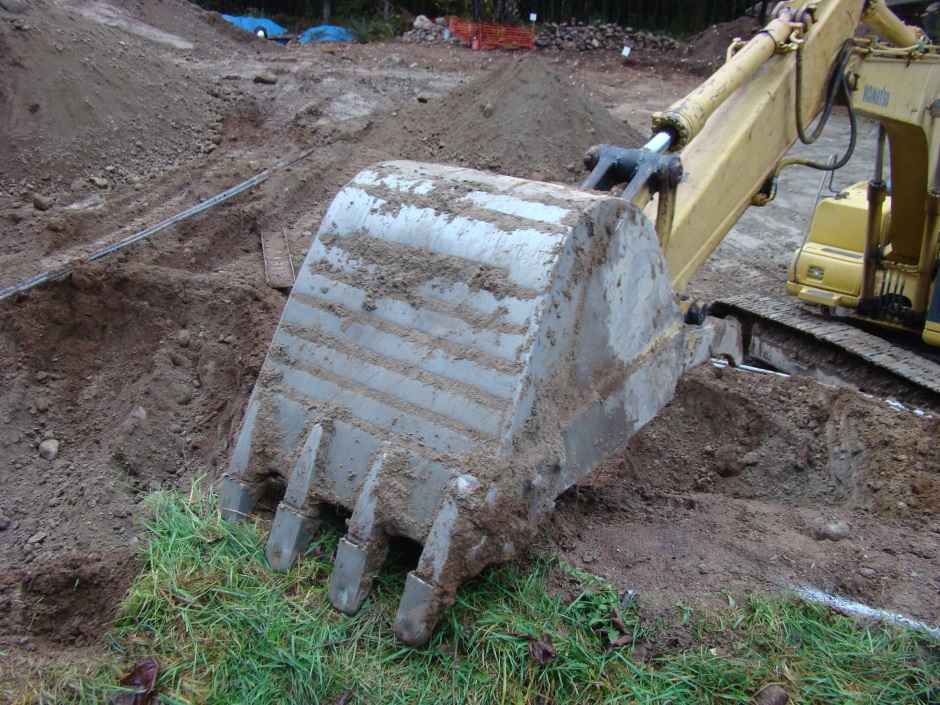
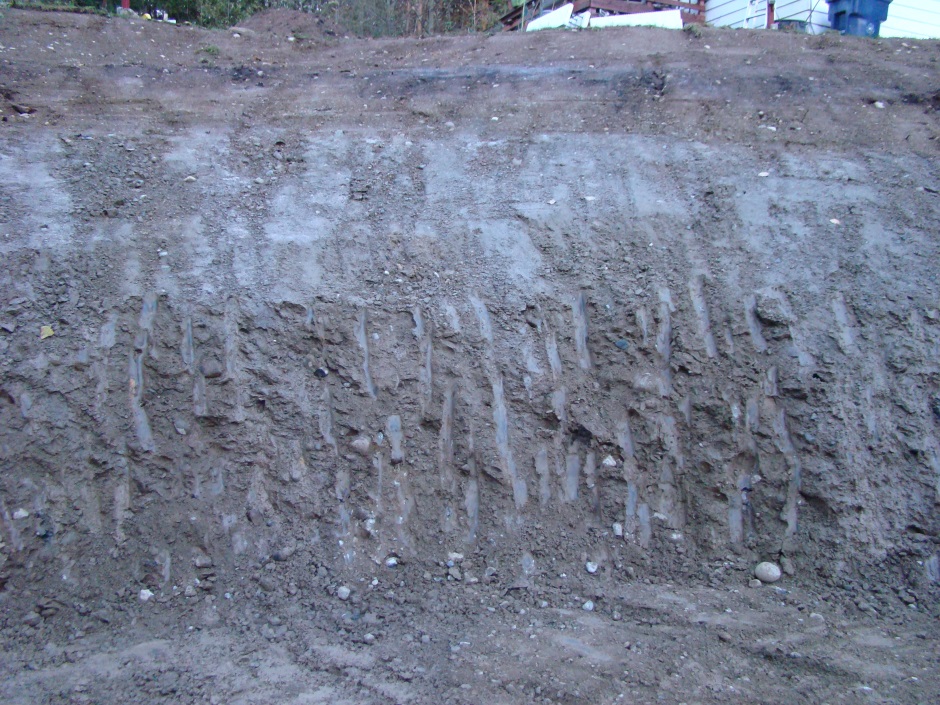
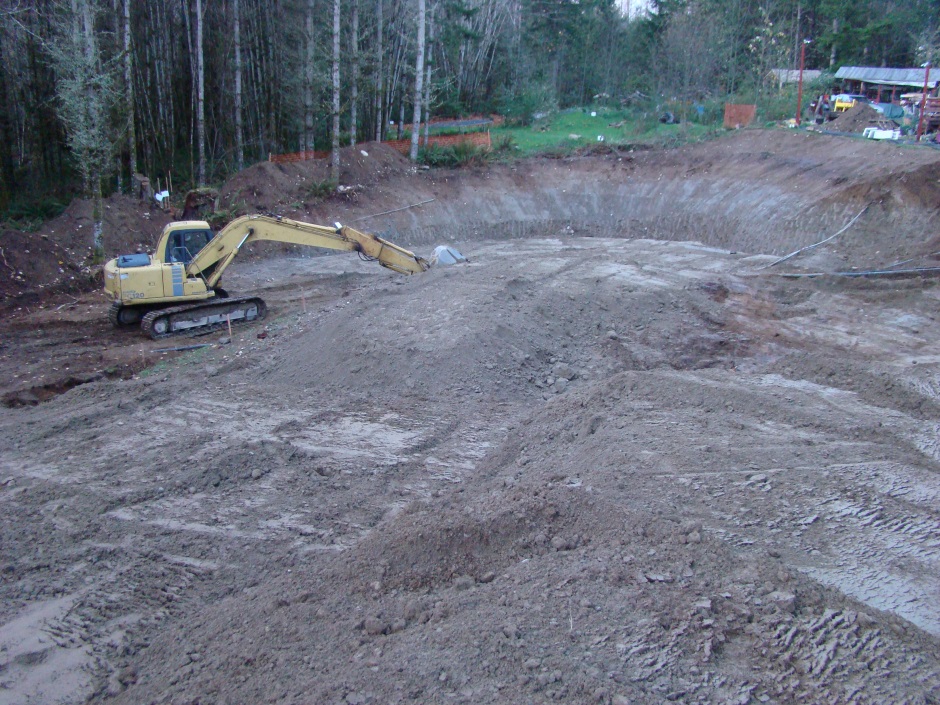
Excavation Day 5
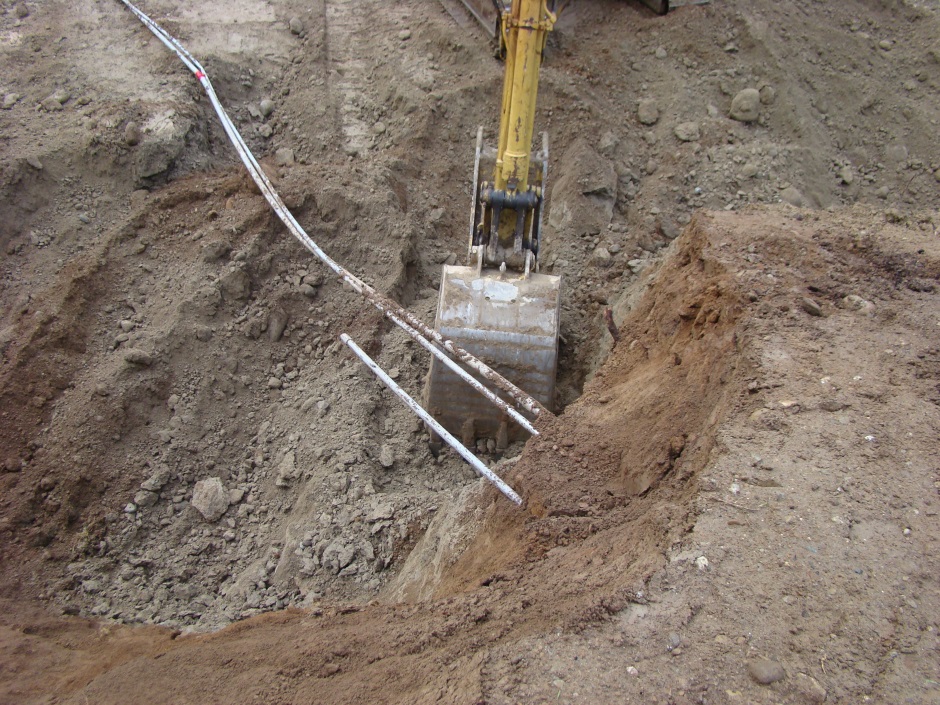
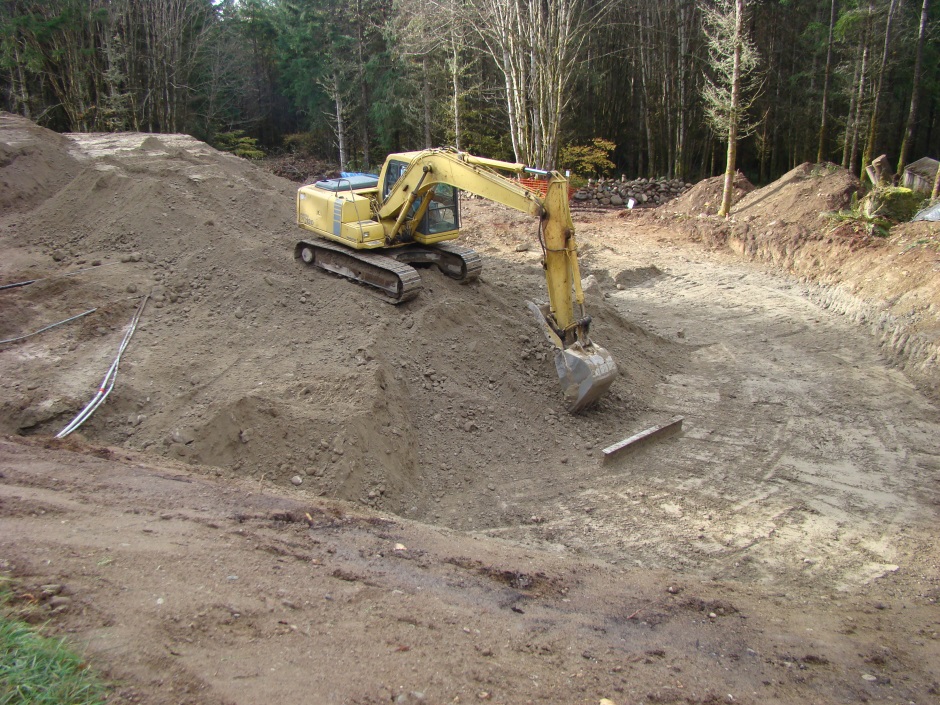
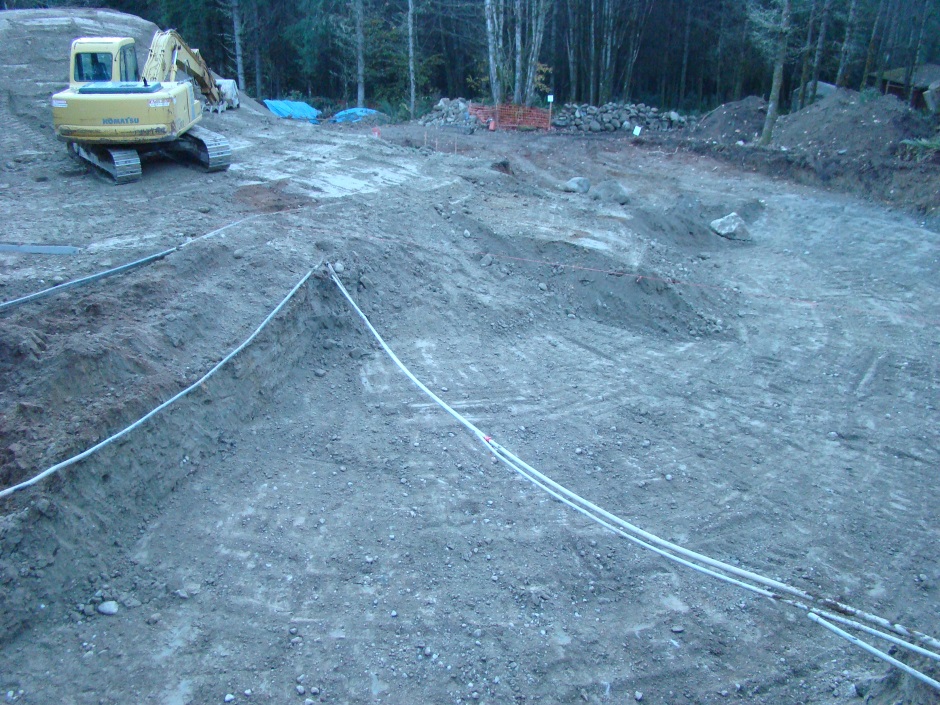
Excavation Day 6
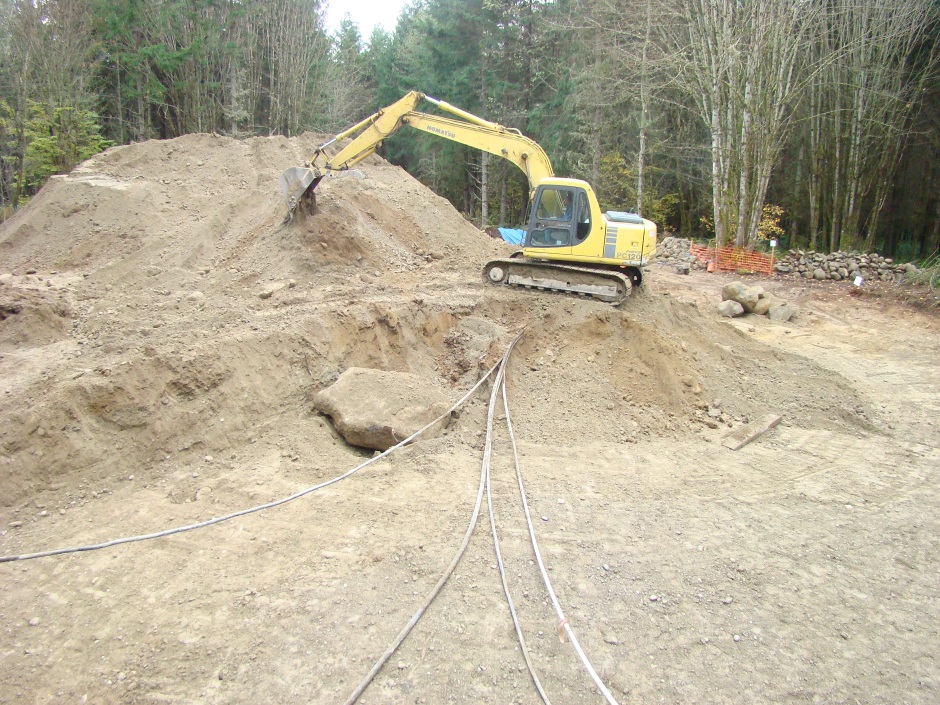
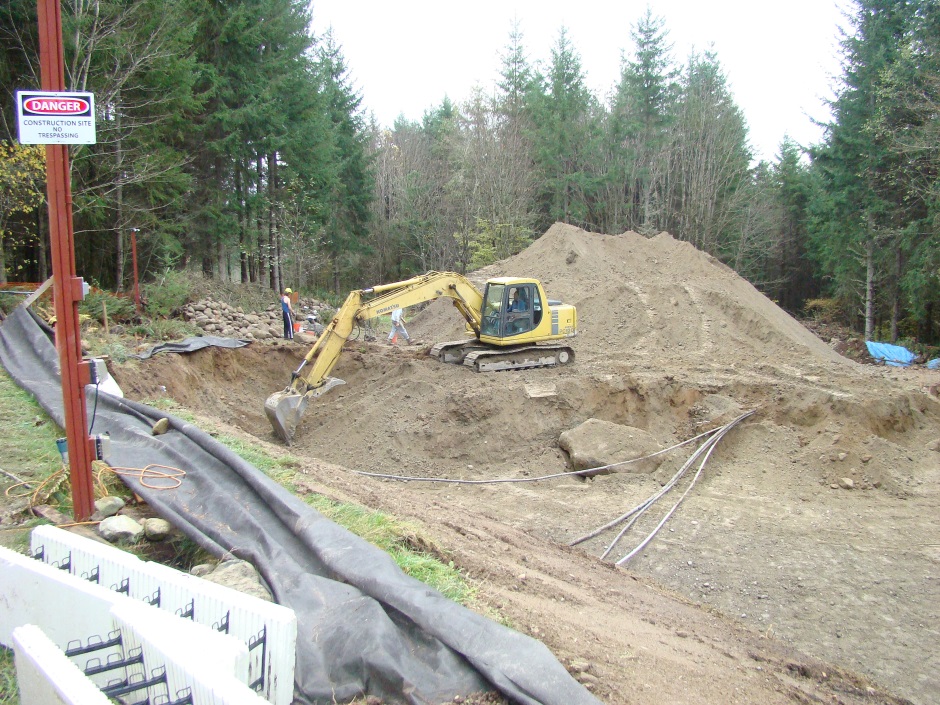
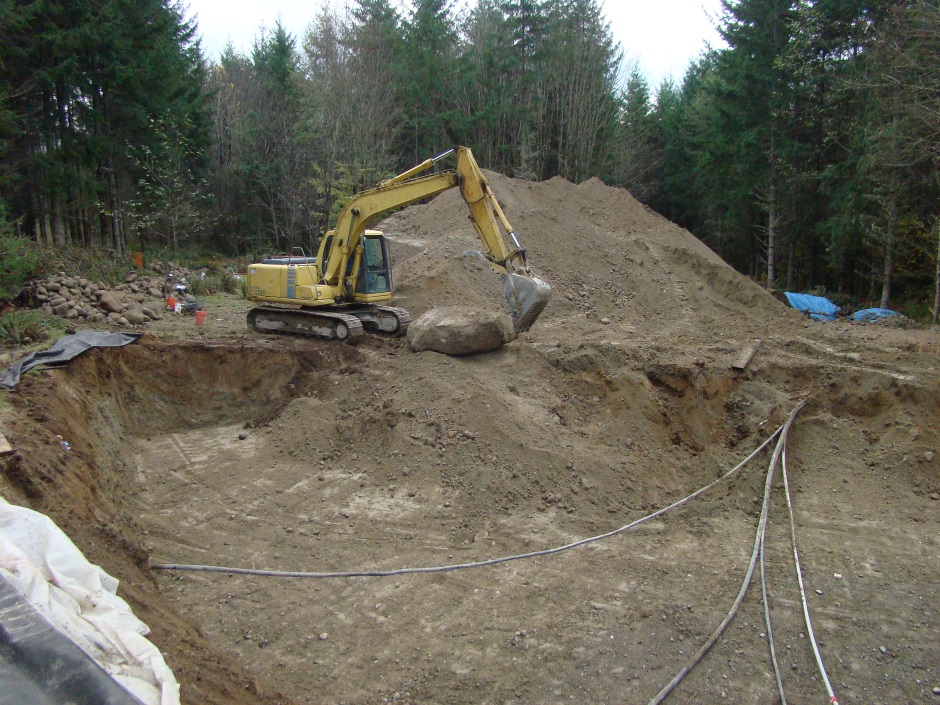
Excavation Day 7/8
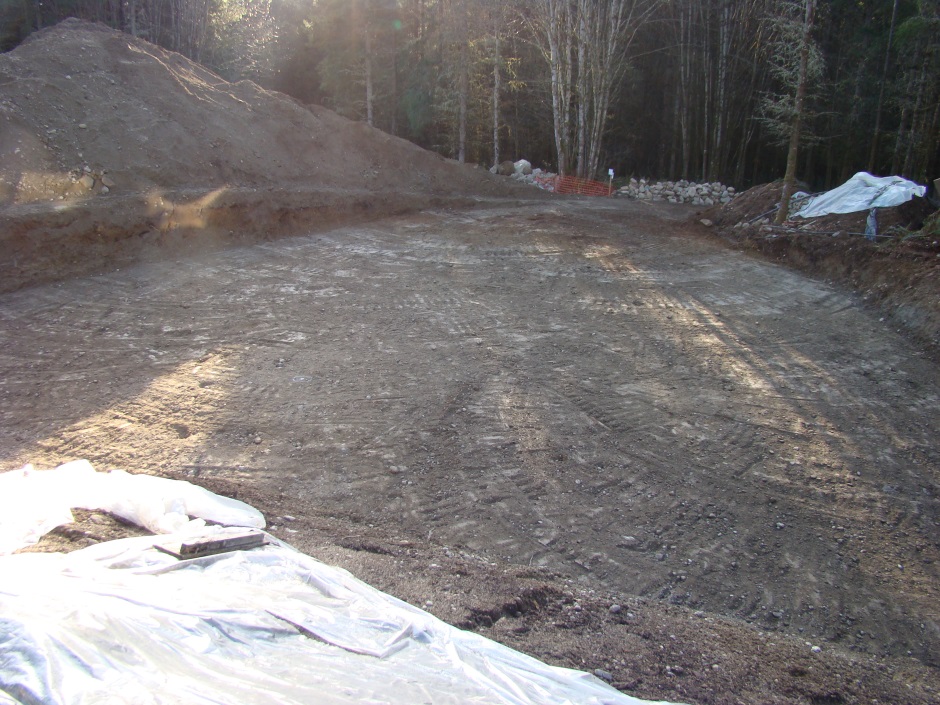
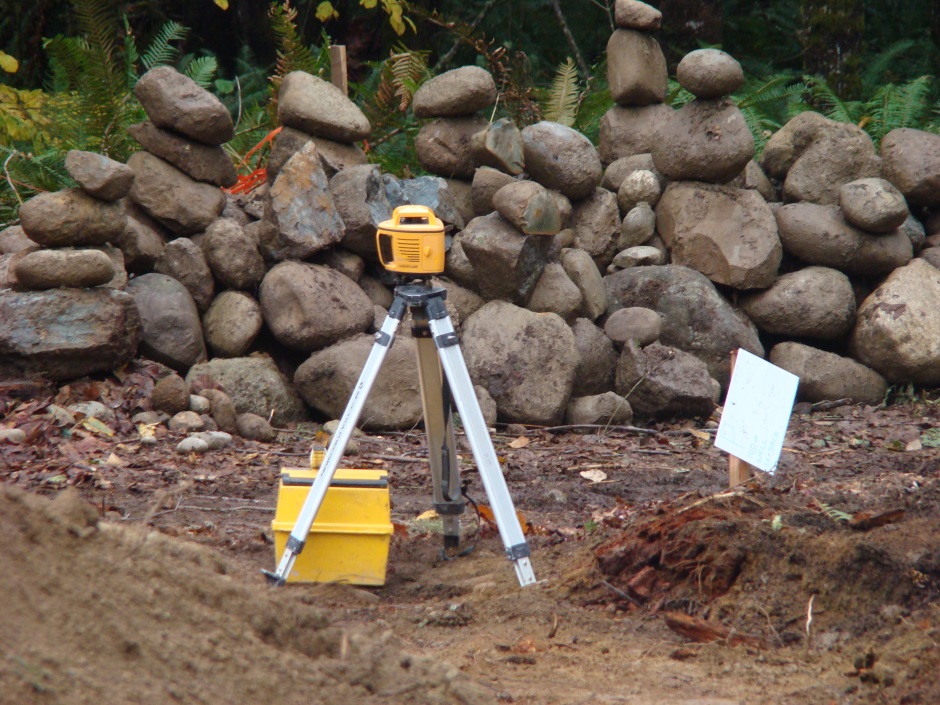
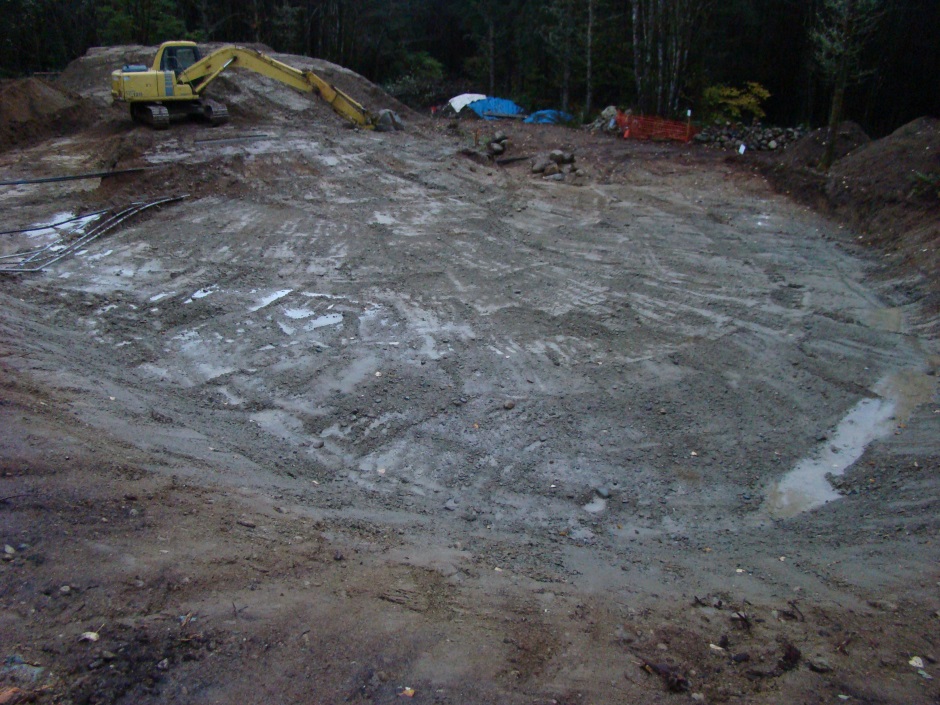
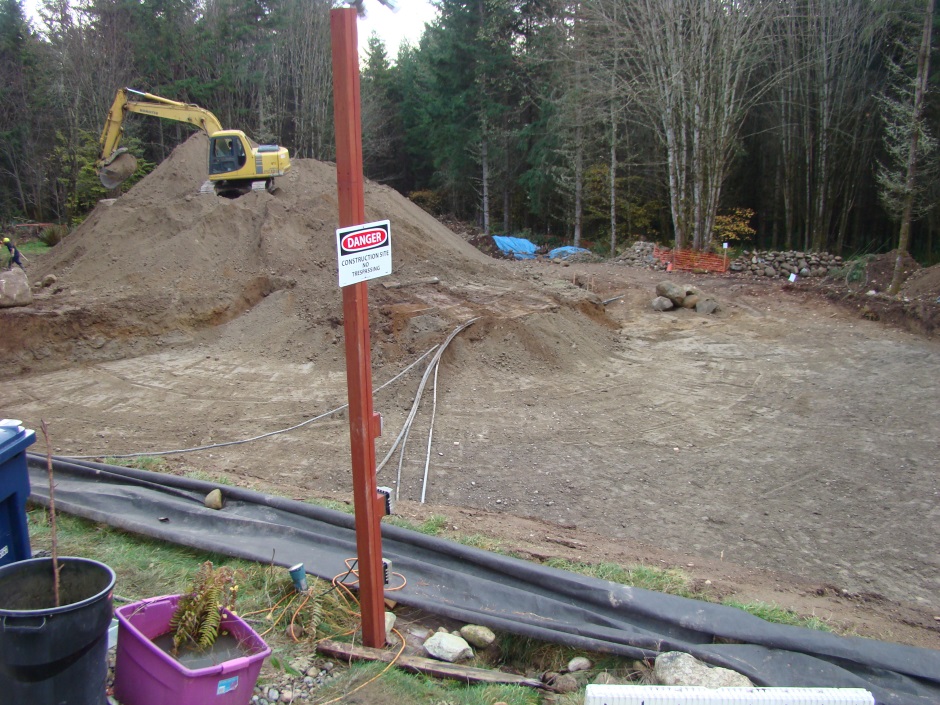
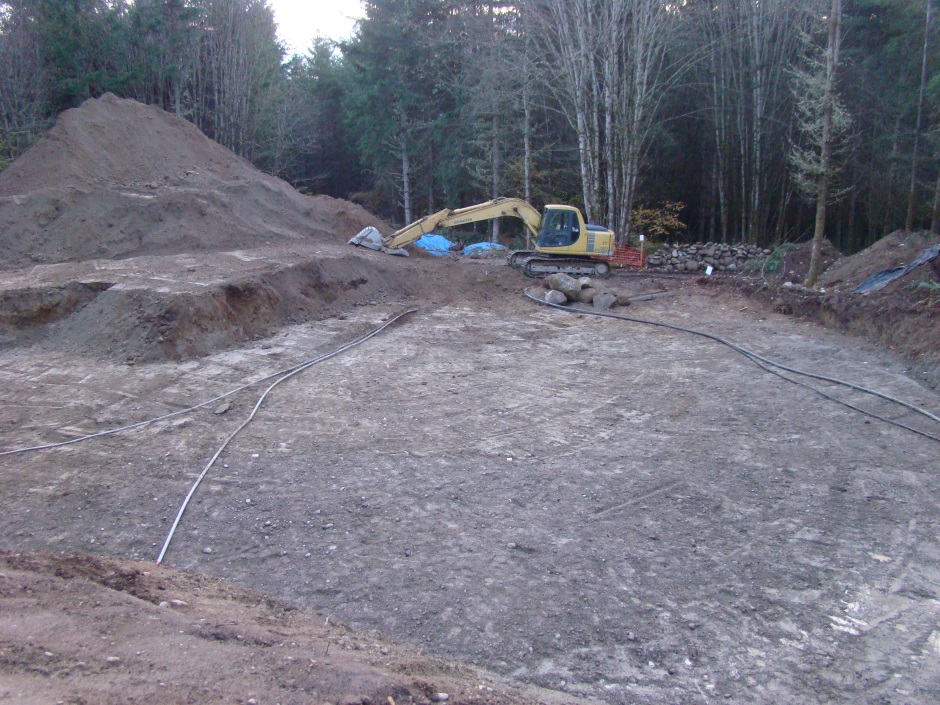
The last day is mainly about getting the ground level by using a laser.
Here is the site all nicely leveled...


