


Home Site Map - Steps - Basement Walls and Ceiling -
Batons, Doors, Windows
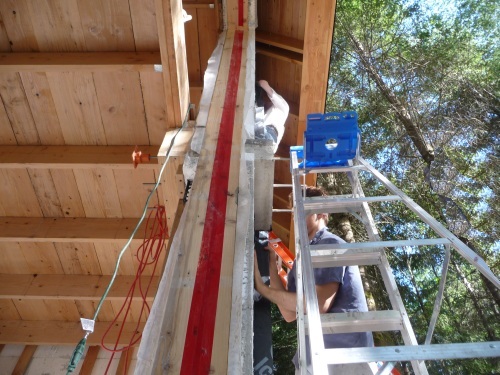
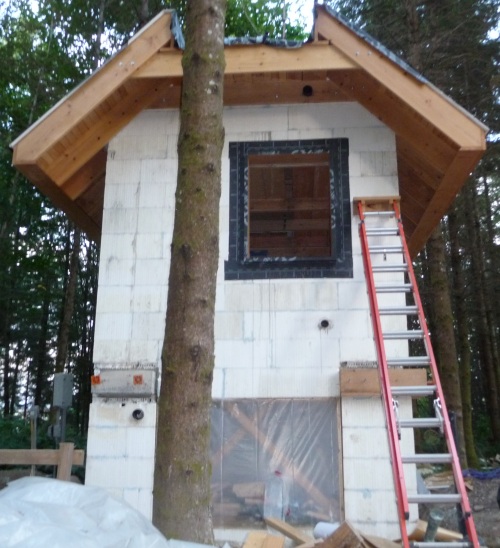
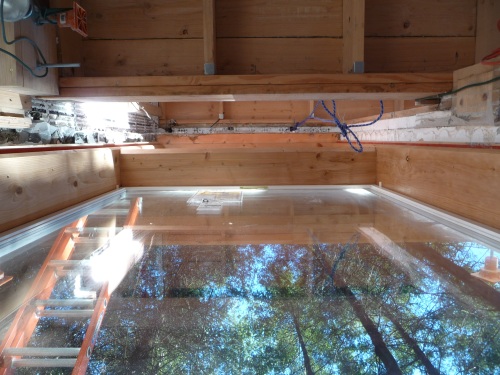
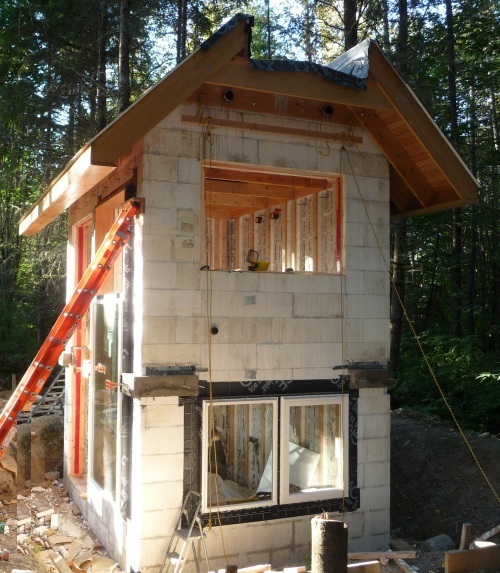
Implement wood covers over ceiling openings
Use polyethylene and toughliner over wood to make it waterproof and UV-proof. With this, the basement should be weather-proof (given that there is polyethylene over the window openings.
Buy windows and doors
Details on selecting windows can be found here and info on doors is here .
Purchase the quantity that you need for the basement.
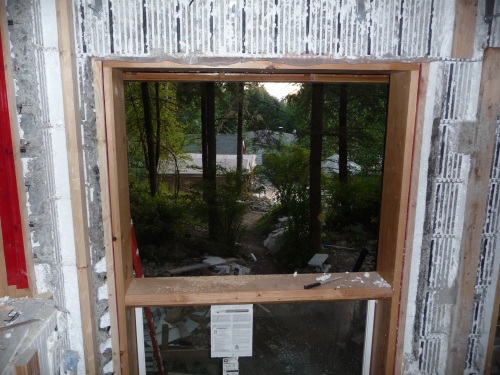
Prepare window openings
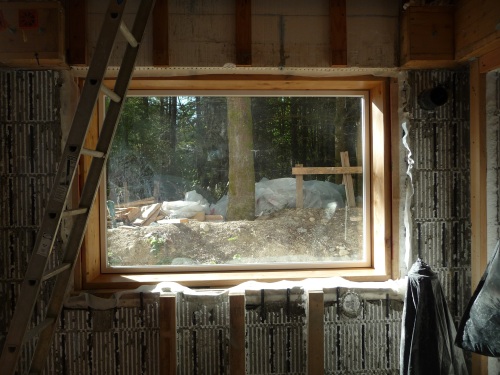
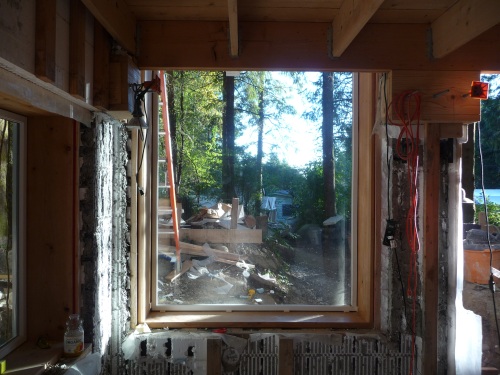
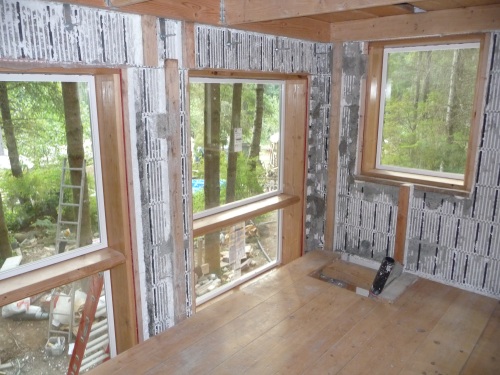
Cut away EPS at 45 degrees
As can be seen in the diagram below, it is necessary to cut away the polystyrene in the window opening to form a 45 degree angle on the left and right. This is to increase the angle of view out through the windows given that the walls are so thick. The cutting is not done at the top and bottom of the window openings (only at the left and right sides).
<Diagram below needs updating>
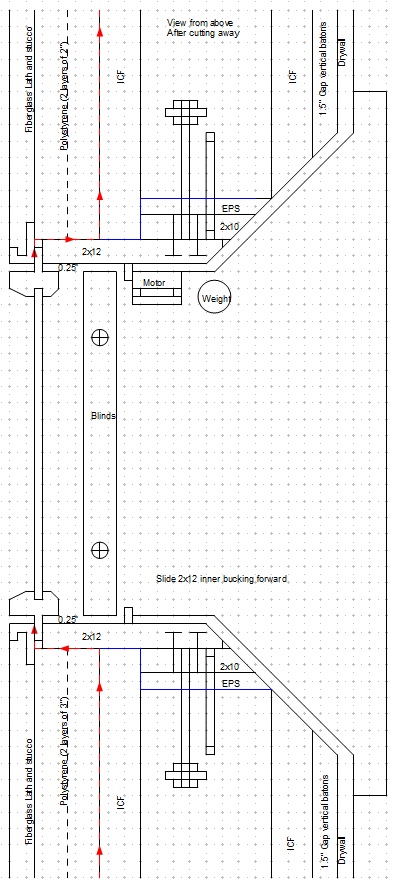
The cut can be a little rough because it will eventually be covered up.

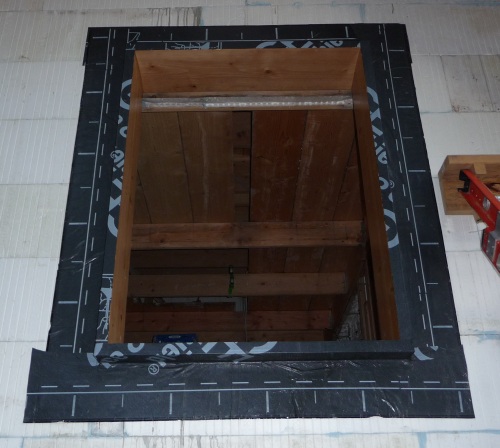
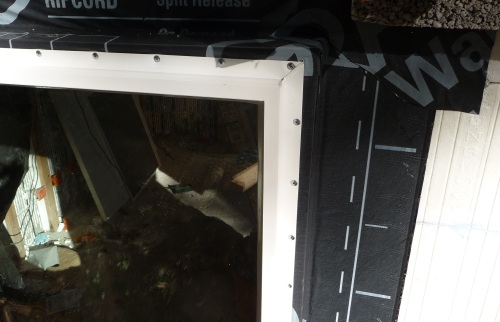
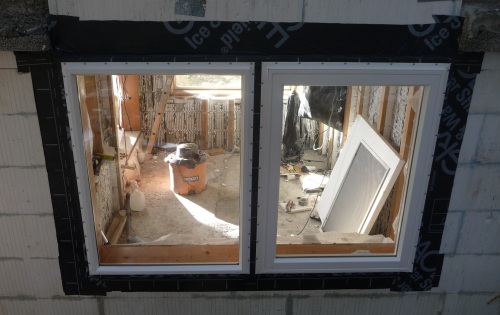
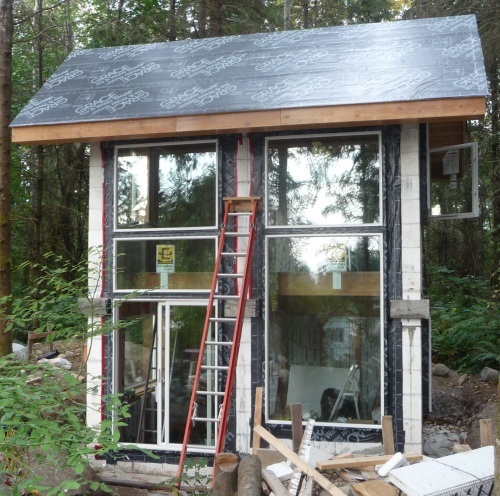
Waterproof sliding bucking protrusion
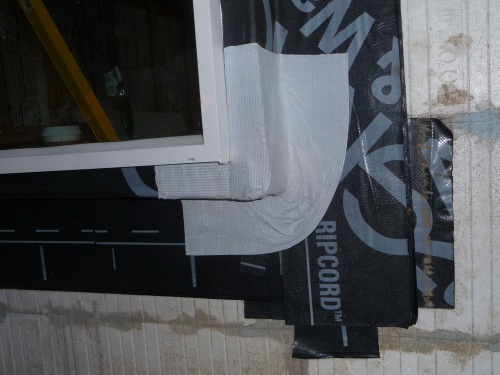
Use 12" wide strips of Grace Ice and Water to waterproof top bottom and sides of the protrusion. Do the bottom strip first and the top strip last. The first 1.5" is the surface that the window seats on and it finishes with 4" stuck onto the outside wall ICF EPS.
At the corners where the straight pieces of Grace Ice and Water meet, fit pieces of flexible wrap over the top. Details of the flexible flashing for the corners is here .
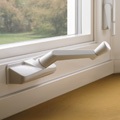
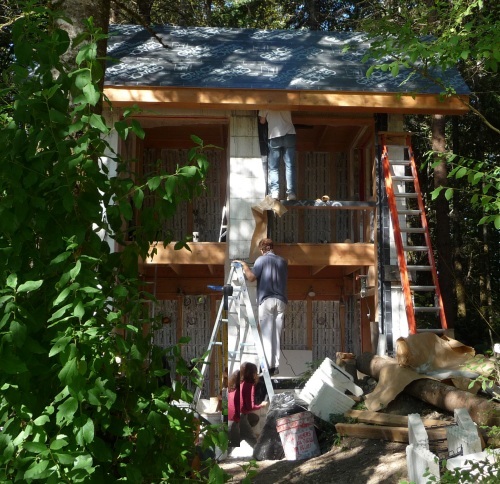
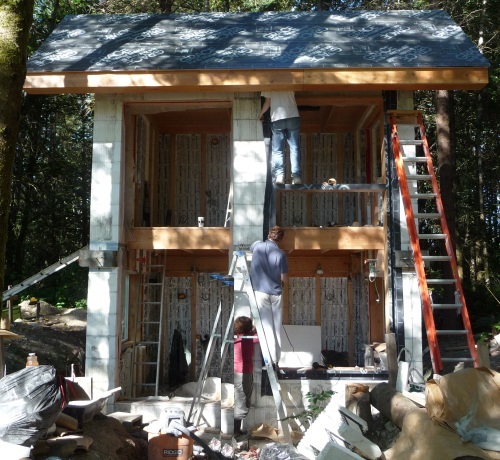
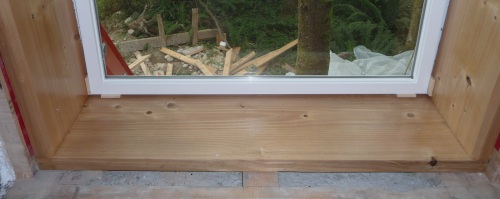
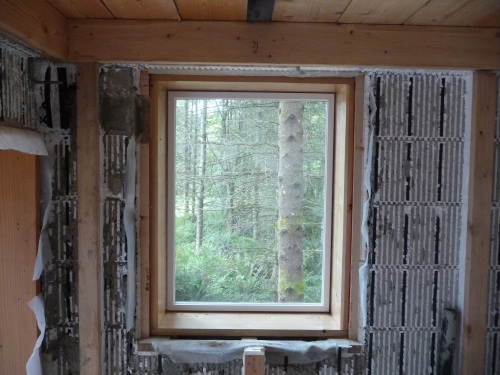
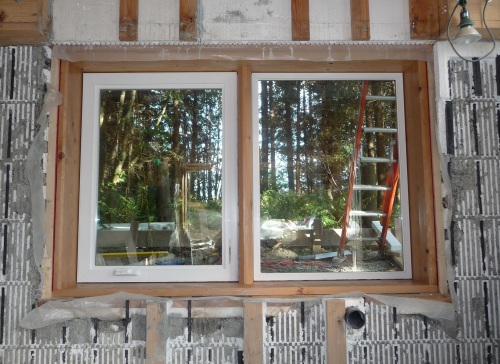
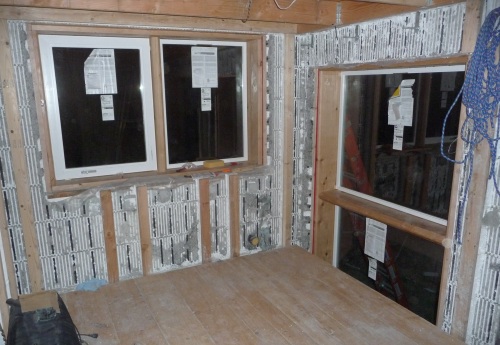
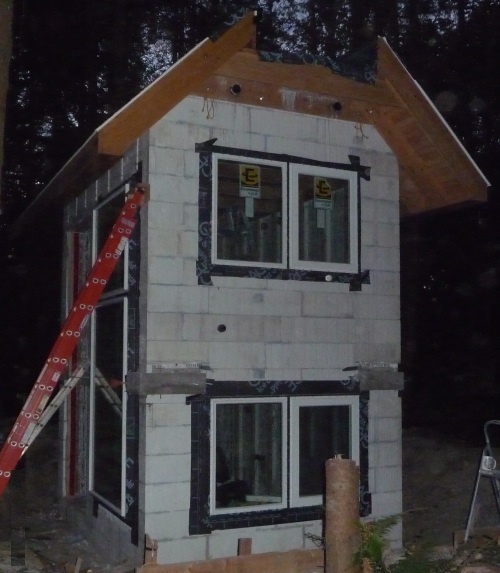
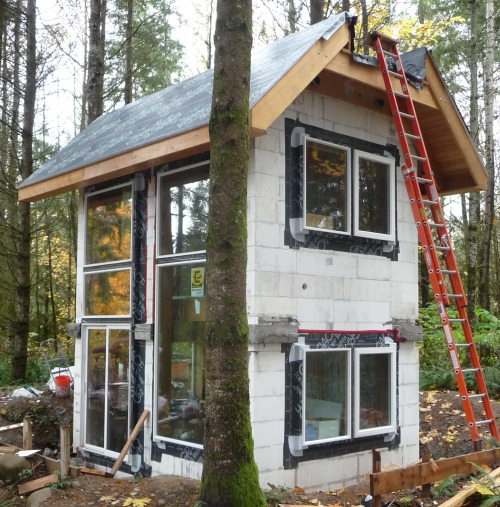
Fit windows
Windows are very heavy, so you will want to rig up a rope and pulley system to the top two corners.
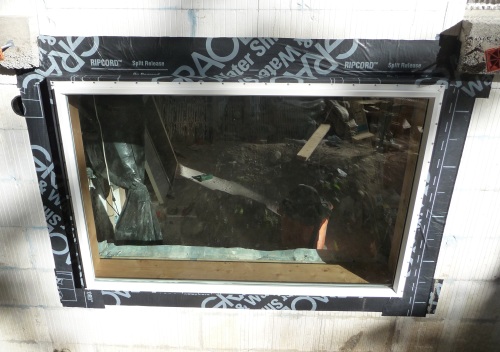
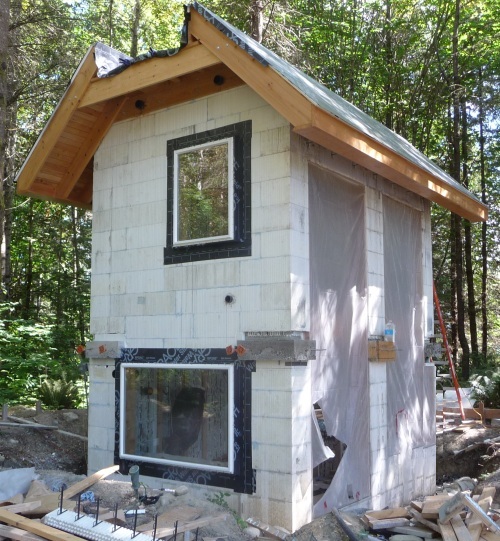
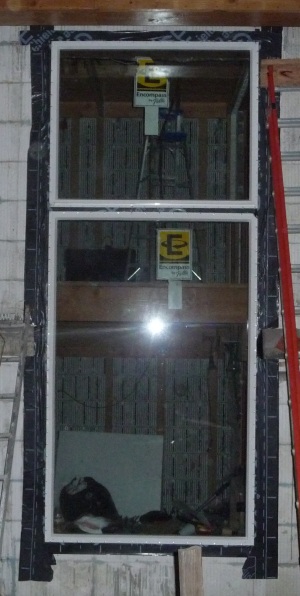

Add flashing over window nail flange
This is an additional layer of flashing on the outside over the window nailing flange once the window has been fitted. Conventional thinking says there should not be and flashing along the bottom of the window so that water can drip out. However this does not make sense in the context of an air tight house. You will want flashing along the bottom and it need to be applied before flashing the sides. The flashing along the top of the window is done last.

As a final step, on the corners add some flexible self-stick gasket...
Install exterior doors
Make and install garage door
Carriage doors (rather than rollup). Make a wood sandwich with EPS in the middle.
Make provision for automatic door openers.