


Home Site Map - Steps - Foundations -
Foundation Lining - Slab Main EPS
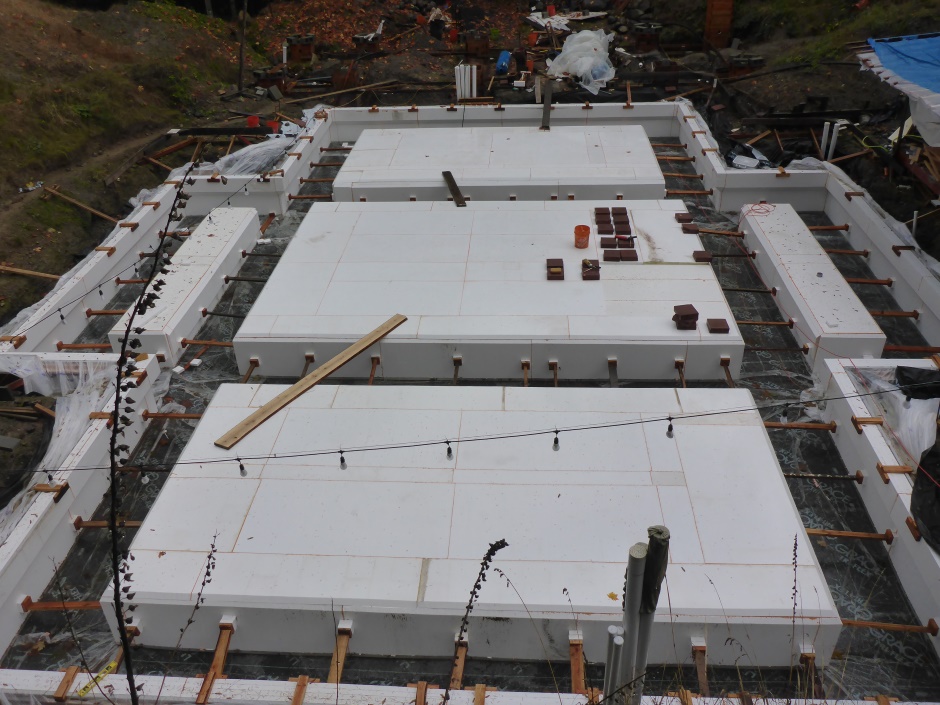
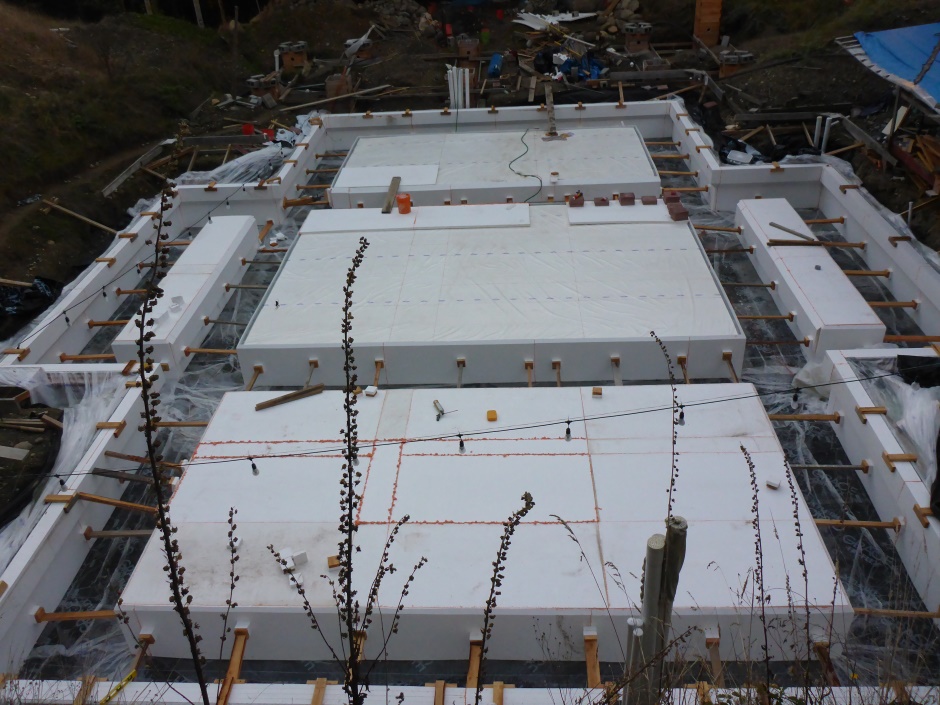
![]() Add the bulk of the polystyrene insulation over the slab area.
Add the bulk of the polystyrene insulation over the slab area.
Cover slab area with a layer of 2" EPS
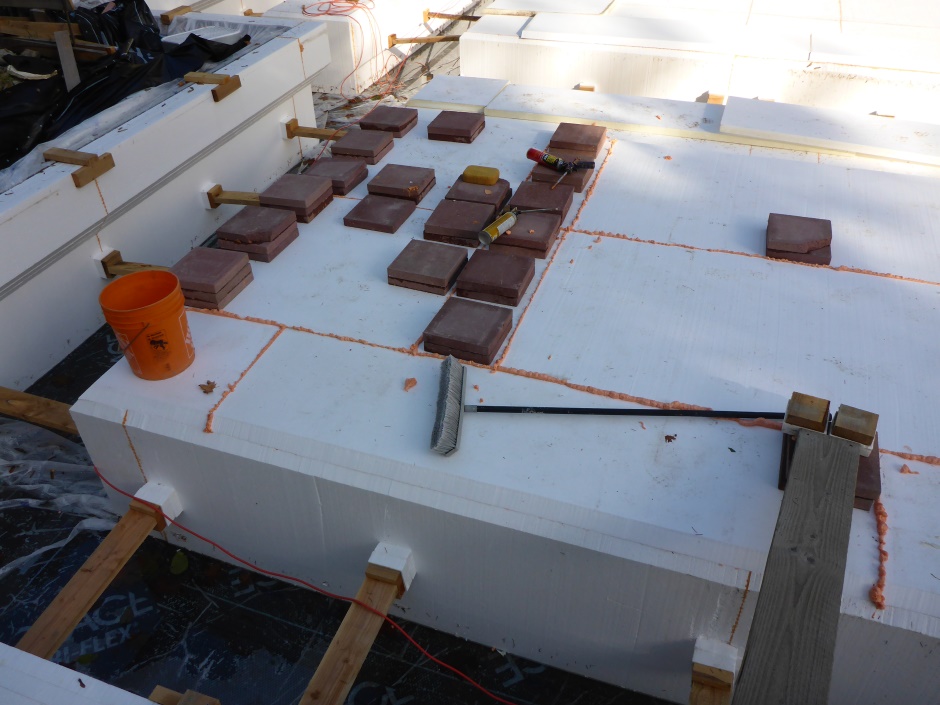
Get the right mix of 40psi and 15psi EPS
As described in Techniques - Building Science - Foundation and Wall Design in the section called "Distributing the load", it is important to use the right mix of psi rated polystyrene sheets in order to give the right distribution of load on the slab.
The first layer (the layer being described here) is mainly done using 4' wide sheets of 40psi EPS adjacent to the footings and then 15psi sheets for the rest of the slab to the center. At the north and south ends of the slab areas I use 8' of the 40psi before switching to the 15psi.
Sponge off rain water from slab area
It is good to avoid trapping water under the EPS that goes over the slab. After sponging off the rain water that will have collected on the polyethylene sheet, try to get the first layer of EPS over that particular slab area before it next rains. If you are careful with the foam gap filler between the sheets then the EPS layer will be reasonably rain-proof.
Lay EPS sheets to overlap edge of Form-a-drain
The sheets go over (ie overlap) the upper inner Form-a-drain. The edge of the polystyrene sheet is flush with the trench side edge of the Form-a-drain. This corresponds with the edge of the vertical EPS trench lining. Use foam gap filler on the sheet edges to join the sheets together at all the seams so they don't move around. Use temporary packing tape and paving slabs to weigh the sheet down while the foam gap filler adhesive sets.
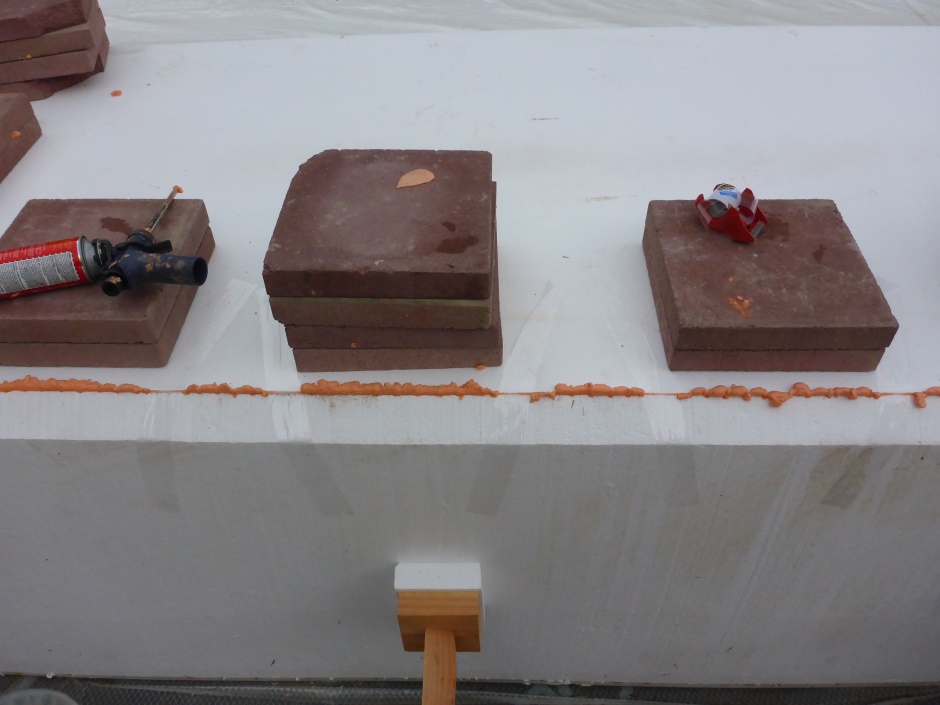
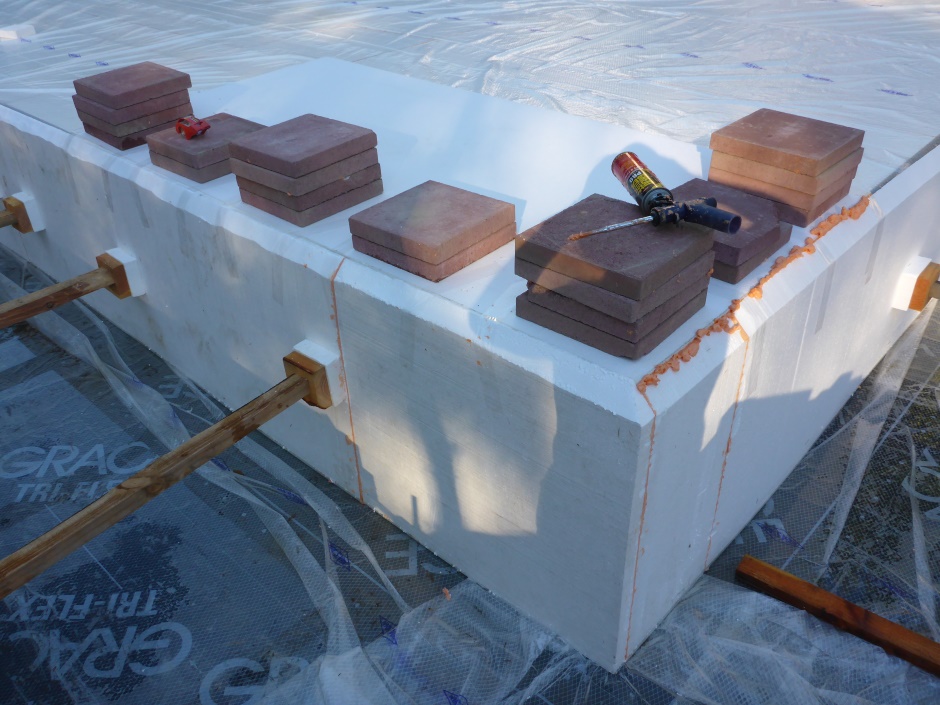
After the foam has dried and the paving slabs have been removed, go round with the foam gun to fill in any gaps in the join so that it becomes rain-proof. Use a 9mm long blade craft knife to cut off the excess foam to create a nice flat surface.
![]()
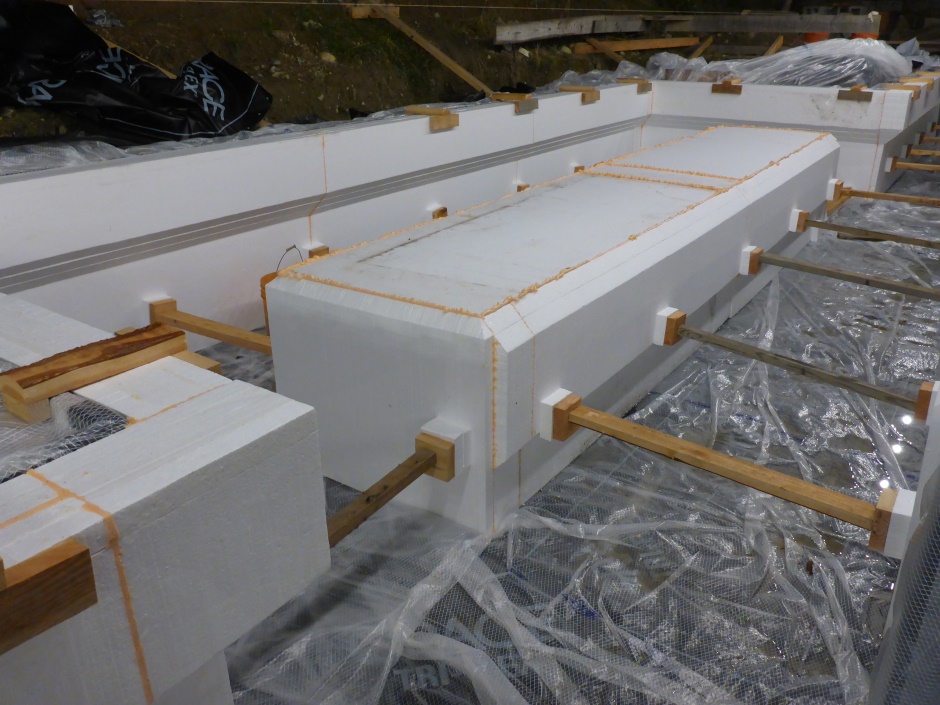
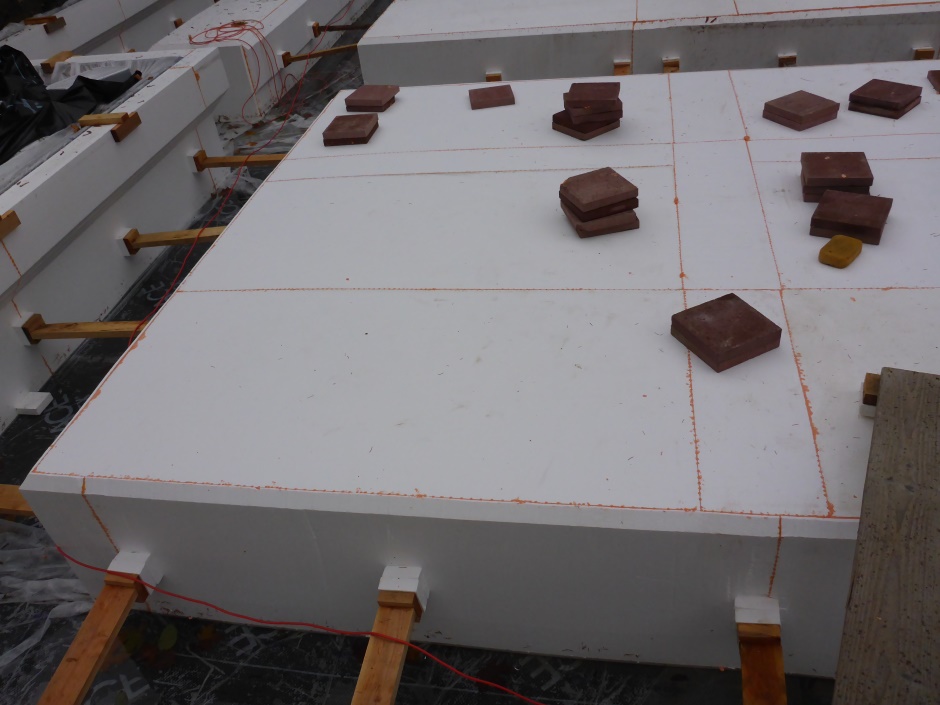
Cover slab area with second layer of 2" EPS
Get the right mix of 40psi and 15psi EPS
As described in Techniques - Building Science - Foundation and Wall Design in the section called "Distributing the load", it is important to use the right mix of psi rated polystyrene sheets in order to give the right distribution of load on the slab.
The second layer (the layer being described here) is done using mainly 2' wide sheets of 40psi adjacent to the footings and then 15psi sheets for the rest of the slab to the center. At the north and south edges of the slab area I use 4' pieces of 40psi before switching to the 15psi.
The 8'x2' sheets round the outside are first cut on the hotwire bench with a 45 degree angle along one long edge.
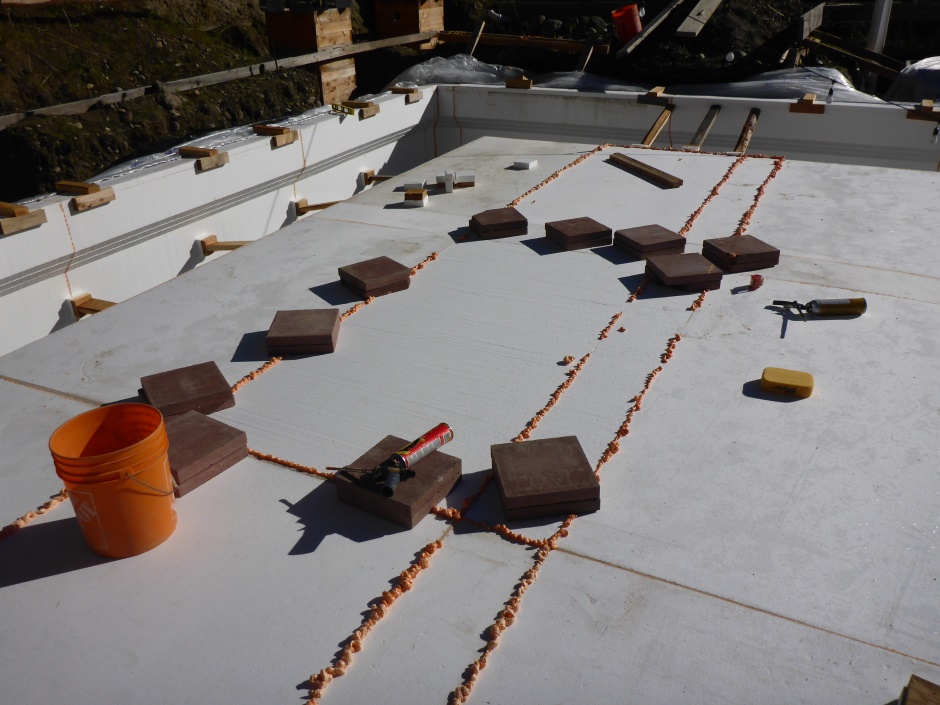
Lay EPS sheets in a staggered joint pattern
You need to avoid there ever being a case where a join in the second EPS layer corresponds with a join in the first EPS layer. The joint staggering is achieved because 40psi EPS on the outside of this layer is cut to be only half the size of the first layer. Use a small amount of foam adhesive between the two EPS sheet layers. Use foam gap filler between the sheet edges. Use packing tape and paving slabs while the foam adhesive and foam gap filler is drying. As needed, go back with the foam gun to fill in any joint gaps to make it rain-proof.
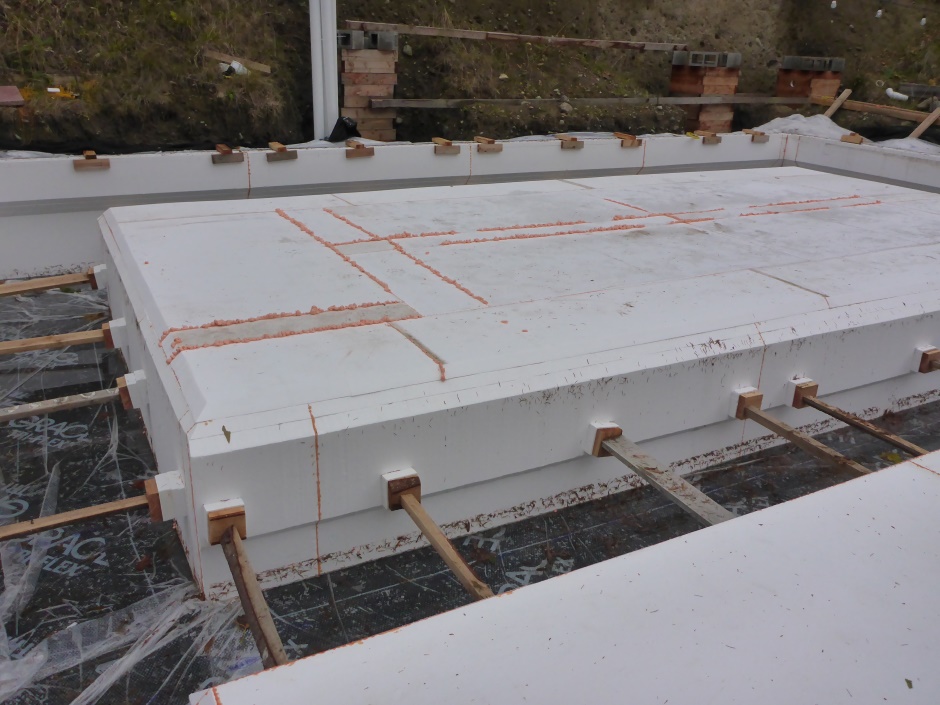
After the foam is dry, use a 9mm long blade craft knife to cut off the excess foam to create a nice flat surface.