


Home Site Map - Steps - Foundations -
Form Footing - Outer EPS
![]() Add polystyrene between the Form-A-Drain round the outside.
Add polystyrene between the Form-A-Drain round the outside.
Polystyrene between outer Form-a-drain
Function
Between the upper and lower Form-a-drain you need some 1.5" thick polystyrene sheet. It needs to be cut into strips that are 1' 10-1/4" wide for the outer Form-a-drain. It is worth getting these widths right so that the polystyrene is a good interference fit between the Form-a-drain. You need to edge it in there by pushing it with the palm of your hand. You measure the inside distance between the spacer pipes and where necessary cut the polystyrene strips to that length.
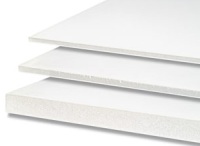
Expanded Polystyrene Sheet (EPS)
Between the Form-a-drain you need to use 1.5" thick Expanded Polystyrene Sheet to match the Form-a-drain width. Most of the other EPS used is 2" thick.
Implementation
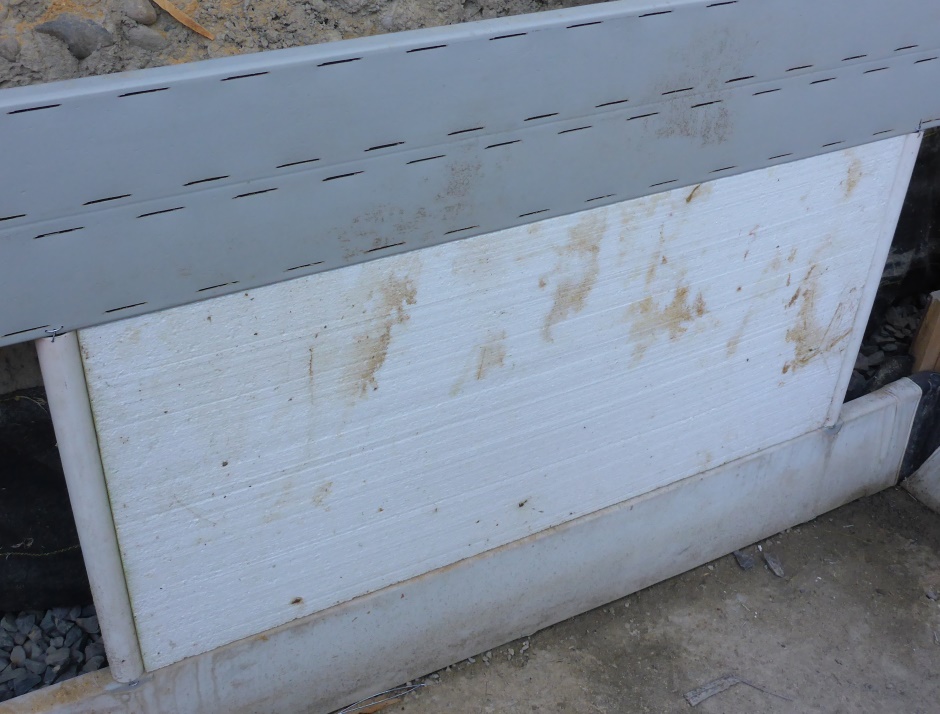
The EPS between the outer Form-a-drain is held in place (from the inward pressure of the crushed rock backfill) by having a wider sheet of 2" EPS on the outside of the Form-a-drain. This extra EPS provides important insulation for the footing.
As you will see on the foundation drawing the additional 2" EPS sheeting is placed on the outside of the outer Form-a-drain . It overlaps the bottom of the top outer Form-a-drain by 1" (so that it is under the lumber bracing) and overlaps the lower outer Form-a-drain by 3/4" (to provide a mechanical stop, yet not cover the drainage holes). The overall width of the outer EPS is 24" (which is conveniently half a 4' wide sheet). At the bottom you may need to cut it and/or groove it to avoid the rebar stakes.
Note for the future: After the concrete pour for the foundations, the last 9" up to the top of the Form-a-drain will have extra 2" EPS sheet added, but this cannot be now because the lumber bracing (added in a future step) needs to be removed before this can happen.
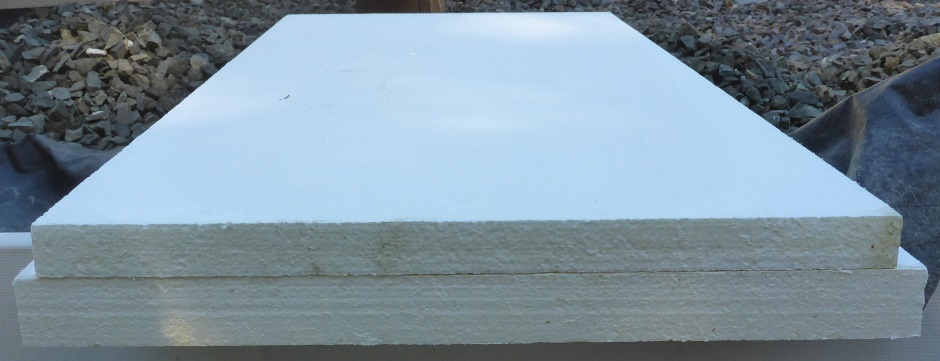
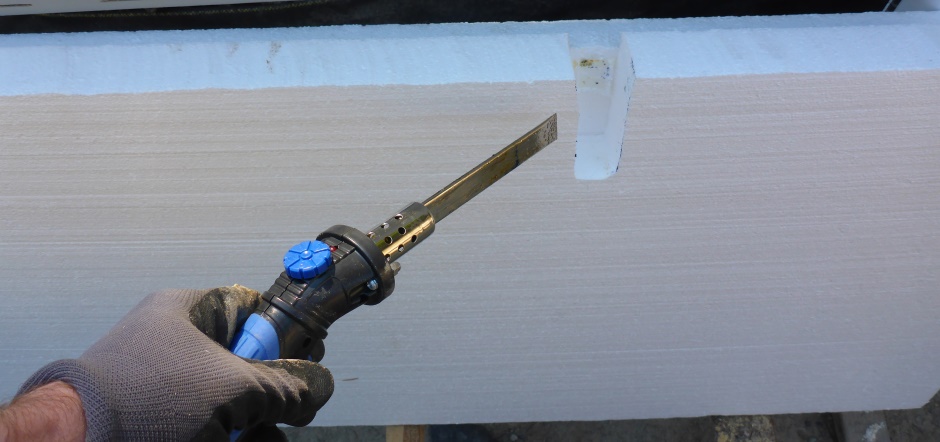
Use a Hotwire cutting bench to cut the 1.5" polystyrene sheet to 1' 10-1/4" wide strips that are 4' long. Also cut some 2" thick EPS sheet to be 2' wide. Use foam adhesive to glue two sheets together. At the bottom the overlap is 3/4" and at the top 1". Weight the assembly down while the foam adhesive is drying.
Fit the polystyrene assemblies between the outer Form-a-drain.
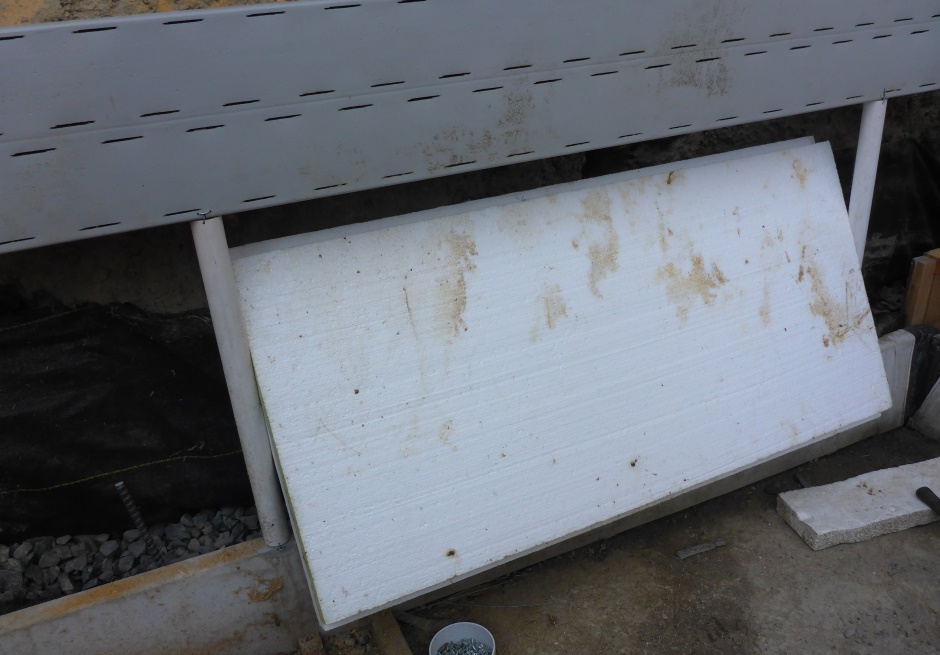
Where there is a rebar stake in the way, cut away the EPS as necessary.
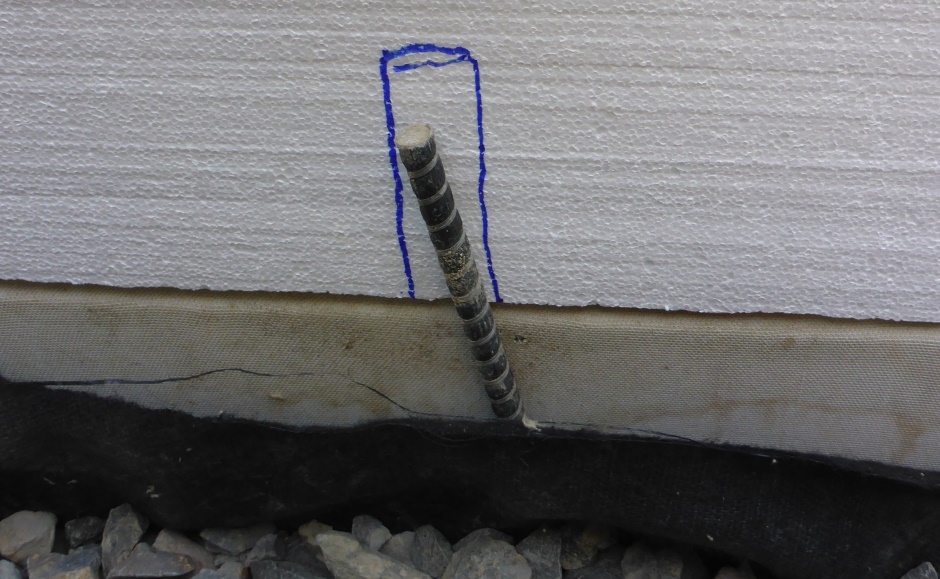
You can use a hotwire knife, but actually I usually prefer to use a 9mm long blade craft knife.
![]()
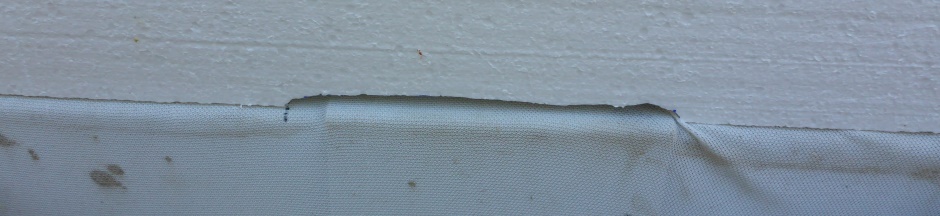
Some trimming is necessary where there are Form-a-drain joins.
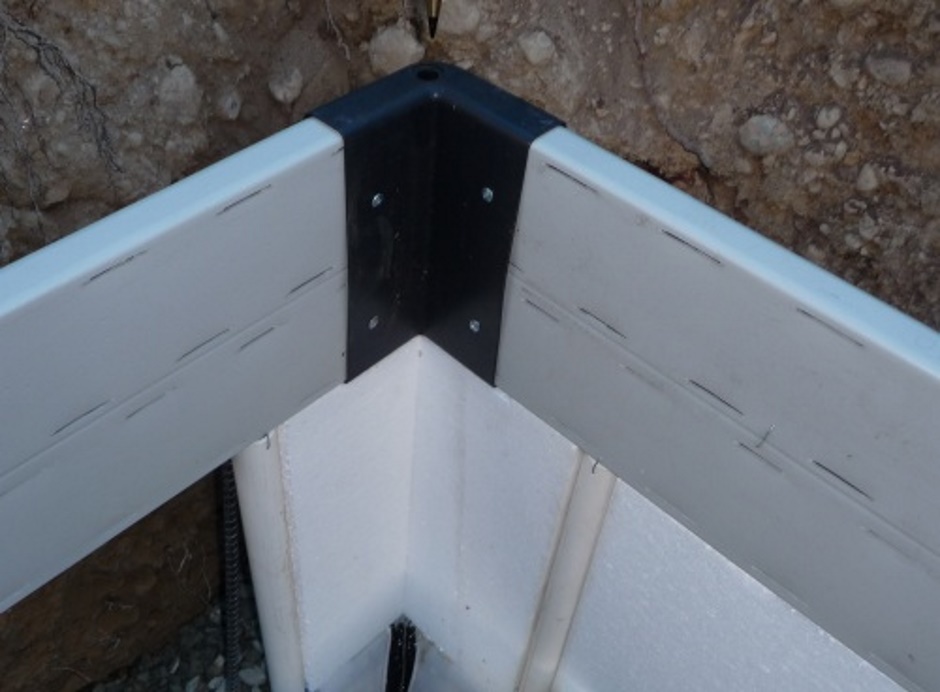
At the corners, cut lengths of EPS assembly to fit. Use foam gap filler to glue the edges.
Outer Form-A-Drain height
When you have installed the Form-a-drain all the way round the building, check for levelness and height using a self leveling laser level and a length of white 2" PVC pipe with a felt pen marker line. If any slight adjustment to the levelness of the upper Form-a-drain is needed then this should be done by slight padding under the lower Form-a-drain with porcelain tile shims.
At this stage of accurate height setting it is good to have a laser target on the far side of the build site to ensure the laser height has not moved.
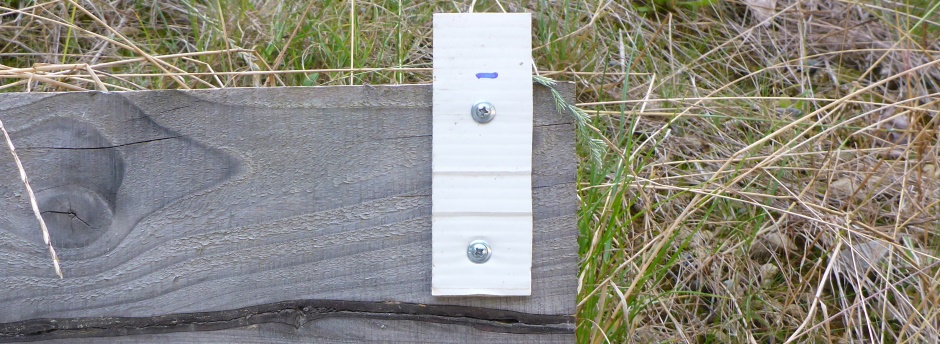
The distance from the top of the outer upper Form-a-drain to grade should be 2'2" which in my case is also 2'2" below the batter board strings.
It goes without saying that you need to set this very accurately. The top needs to be 2'2" at all points.